Mohan Raj
Posted on January 17, 2021

In this tutorial, we will use React's Context API and Reducers in a React application to maintain the state for the theme of the application (dark/light).
Goals
By the end of this tutorial, you’ll know:
How the Context API works.
When to use the Context API instead of Redux.
How to implement dark mode in a React application using React's Context API.
Prerequisites
We will not cover the fundamentals of React in this tutorial. If you are not comfortable with the fundamentals, here is a helpful tutorial that you can go through before beginning with this project.
Overview
We'll be going through these steps in this article:
- Context API.
- When to use the Context API instead of Redux.
- Reducers.
- Cloning the starter code.
- Adding the Context and Reducer.
- Consuming the Context.
- Recap.
Context API
According to the official documentation, Context API provides a way to pass data through the component tree without having to pass props down manually at each level.
In other words, React’s Context API is there to solve a simple problem. How to manage state that is required in multiple components (not necessarily a direct child component) without passing it all the way down.
The context API consists of three building blocks:
A Context Object.
A Context Provider.
A Context Consumer.
We need to create a Context object using the createContext method.
const Context = createContext();
Every Context object comes with a Provider component. All the components that consume the context must be a descendant of the Provider component. The Provider component accepts a value prop that will be passed to the consuming components.
<Context.Provider value={value}>
  {/* Children */}
</Context.Provider>;
To subscribe to the Context object, we will use the useContext hook and pass the Context object created by createContext to it.
When a component subscribes to the Context object, it will read the current context value from the closest matching Provider above it in the tree.
const context = useContext(Context);
When to use the Context API instead of Redux
Redux serves as a centralized store for the state that needs to be used across your entire application. It has rules ensuring that the state can only be updated in a predictable manner. Since Redux is an external library, it is supported by other frameworks such as Angular, Flutter, etc.
If you want to learn more about Redux, check out this tutorial.
Context API is a perfect alternative to Redux when building small applications. It is much easier to implement. Furthermore, it results in a smaller bundle size and improved project maintainability.
However, the Context API is not built for high-frequency updates at the time of writing this article. You should, therefore, only use it for low-frequency updates like the theme and authentication. This is because whenever the context's value changes, the descendant components of the Provider will be re-rendered.
Reducers
A Reducer is a function that takes 2 arguments, the current state, and an action. Based on the type of action, the function will return a new state.
For example:
const reducer = (state, action) => {
  switch (action.type) {
    case "TYPE_1":
      return new_state;

    case "TYPE_2":
      return new_state;

    default:
      return state;
  }
};
The useReducer hooks take 2 arguments, the reducer function, and the initial state. It will return the current state value and a function called dispatch which should be used to manipulate the state.
const [state, dispatch] = useReducer(reducer, initialState);
If you pass this state and dispatch to the value prop of the Context Provider, you can consume the state and update it using the dispatch from any consumer.
Cloning the starter code
To focus more on the use of the context API and reducers, I've prepared a starter code. You can clone it from this repository on GitHub. Follow the Repository's README for instructions.
If you'd like to take a look at the final code, please refer to this GitHub Repository.
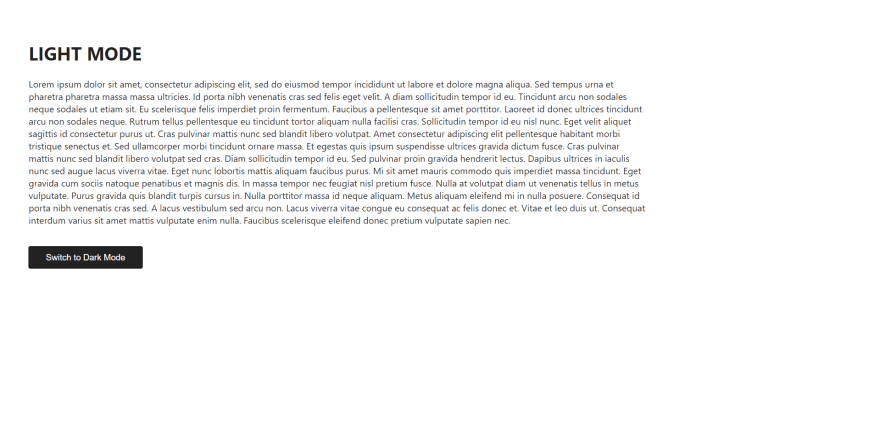
In the starter code, I've set up a simple screen with text and a button to switch to dark mode. I've also written all the CSS styles required for the dark mode and the light mode. Take a look at them or feel free to edit them in src/App.css.
Adding the Context and Reducer
In the src folder, create a new file called ThemeContext.js.
The next step is to create a Context object for the theme. We need to export this object from this file. This allows us to import it into the component where we want to consume this context.
export const ThemeContext = createContext();
Now, We should write a HOC (Higher Order Component) that'll be used to wrap any component with the Context provider.
In this HOC, we need to use the useReducer hook to create a state and the dispatch function to update that state and pass it to the provider component's value prop.
We need to write a reducer function to switch between dark mode and light mode.
Realistically, you won't need a reducer for this simple state update. You can just use a normal
stateandsetStatefrom theuseStatehook. But, for the sake of learning how to use reducers along with the Context API, I'll be using reducers to update the theme state.
The initial state will be:
const initialState = { darkMode: false };
The reducer function will be:
const themeReducer = (state, action) => {
  switch (action.type) {
    case "LIGHTMODE":
      return { darkMode: false };
    case "DARKMODE":
      return { darkMode: true };
    default:
      return state;
  }
};
Now, we need to pass this themeReducer function and the initialState to the useReducer hook.
const [state, dispatch] = useReducer(themeReducer, initialState);
Now, let's write the HOC and export it from this file. We should pass the state and the dispatch function to the value prop of the Provider.
export function ThemeProvider(props) {
  const [state, dispatch] = useReducer(themeReducer, initialState);

  return <ThemeContext.Provider value={{ state: state, dispatch: dispatch }}>{props.children}</ThemeContext.Provider>;
}
Consuming the Context
We should wrap the ThemeProvider HOC around the component from which we want to consume the context. Since the theme is supposed to affect the application globally, let's wrap it around the App component.
In the index.js file, import the ThemeProvider, as shown below.
import { ThemeProvider } from "./ThemeContext";
Now, let's wrap <App></App> with <ThemeProvider></ThemeProvider>.
ReactDOM.render(
  <React.StrictMode>
    <ThemeProvider>
      <App />
    </ThemeProvider>
  </React.StrictMode>,
  document.getElementById("root")
);
This will make the theme context available for all the descendants of the App component.
In the App.js file, import the ThemeContext and the useContext hook.
import React, { useContext } from "react";
import { ThemeContext } from "./ThemeContext";
We need to pass the ThemeContext object to the useContext hook.
const theme = useContext(ThemeContext);
The useContext hook will return the object that we passed to the value prop of the provider.
So, to access the dark mode state, we use theme.state.darkMode.
const darkMode = theme.state.darkMode;
We can now use this state to alternate between the CSS classes that we need to apply for the elements.
For example,
<div className={`bg ${darkMode ? "bg-dark" : "bg-light"}`}>
Now, do the same for the h1 and the p tags.
<h1 className={`heading ${darkMode ? "heading-dark" : "heading-light"}`}>
  {darkMode ? "Dark Mode" : "Light Mode"}
</h1>
<p className={`para ${darkMode ? "para-dark" : "para-light"}`}>
  ...
</p>
Next, we should use the dispatch function to update the state between dark mode and light mode.
In Button.js, let's import the ThemeContext and the useContext hook.
import React, { useContext } from "react";
import { ThemeContext } from "./ThemeContext";
Similar to what we did in the App.js file, we need to pass the ThemeContext object to the useContext hook.
const theme = useContext(ThemeContext);
const darkMode = theme.state.darkMode;
When the user clicks the swtich theme button, we should call the dispatch function with the correct type. If the current theme is in light mode, the dispatch type should be of dark mode and vice-versa.
Let's write a function for when the user clicks on the button and pass it to the onClick property of the button.
export default function SwitchButton() {
  const theme = useContext(ThemeContext);
  const darkMode = theme.state.darkMode;

  const onClick = () => {
    if (darkMode)
      theme.dispatch({ type: "LIGHTMODE" });
    else
      theme.dispatch({ type: "DARKMODE" });
  };

  return (
    <button className={`btn ${darkMode ? "btn-dark" : "btn-light"}`} onClick={onClick}>
      {darkMode ? "Switch to Light Mode" : "Switch to Dark Mode"}
    </button>
  );
}
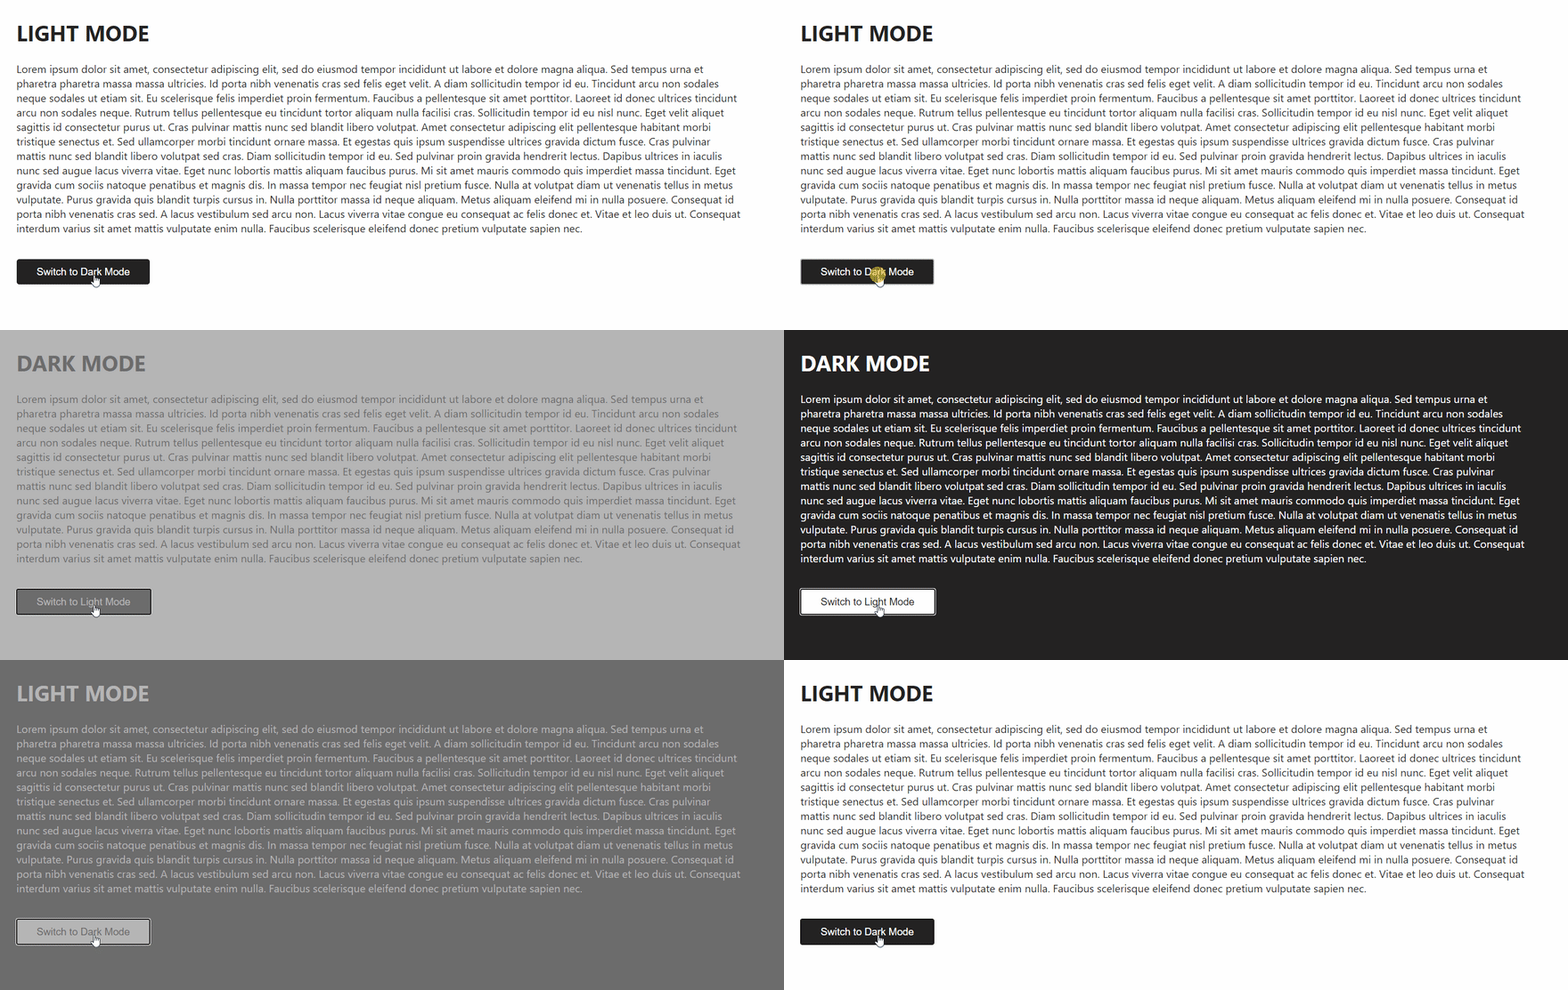
Now, when you click on the button, the theme should change.
Let's Recap
We learned about the Context API.
We learned about when to use Context API.
We learned about Reducers and how to use them along with the Context API.
We built an application that uses context API and reducers to implement dark mode in the application.
Congratulations, You did it.
Thanks for reading!

Posted on January 17, 2021
Join Our Newsletter. No Spam, Only the good stuff.
Sign up to receive the latest update from our blog.

