Youssef Selem
Posted on April 20, 2020

so i was trying to deploy Laravel web application on AWS elastic beanstalk, although it appeared to be easy it wasn't. some obstacles were hidden or unanswered whether i should upload all project files ,how to connect to this instance, where to begin and many more questions. I've found answers for most of these questions,before i get started special thanks to the youtube channel ProCoder it helped me a lot.
Note: this tutorial is for Linux users especially Ubuntu
Requirements:
- stable project on your localhost
- AWS account , you can use the free tier
Create a new empty project
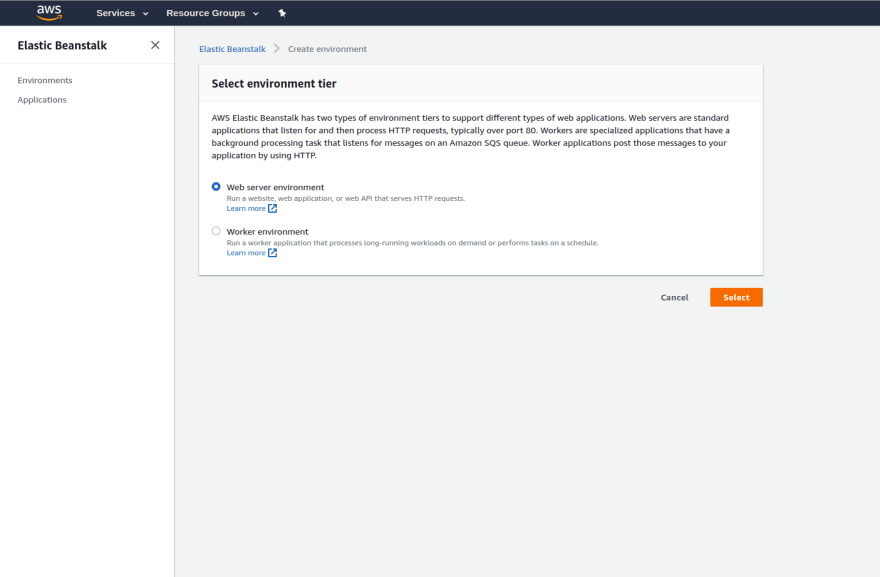
on your AWS console choose elastic beanstalk and create new project without adding anything from your project
select web server environment, then you will be in Application page
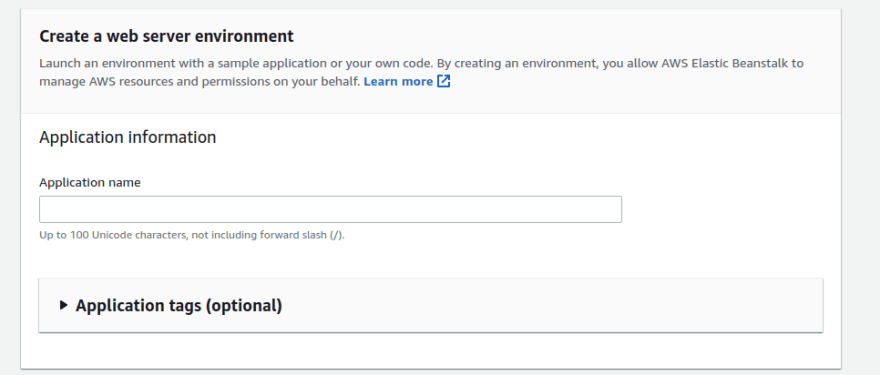
write your application info
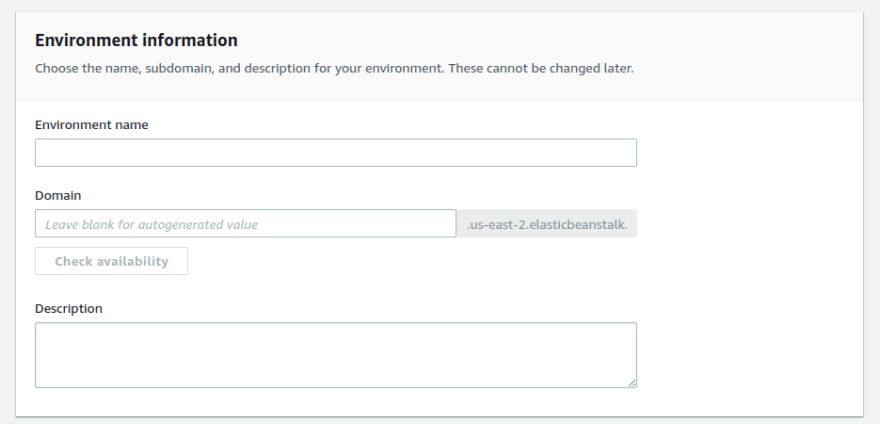
write your environment name , domin and descrption
Note: by default AWS will choose them for you
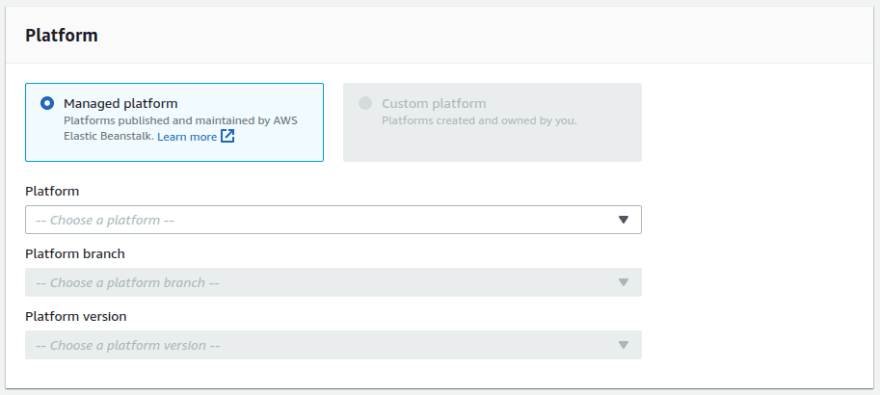
from platform drop down menu choose PHP and the rest will be chosen automatically
Note: feel free to change both the platform branch and platform version
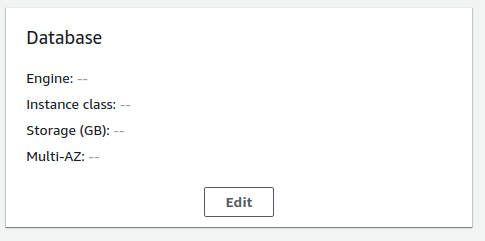
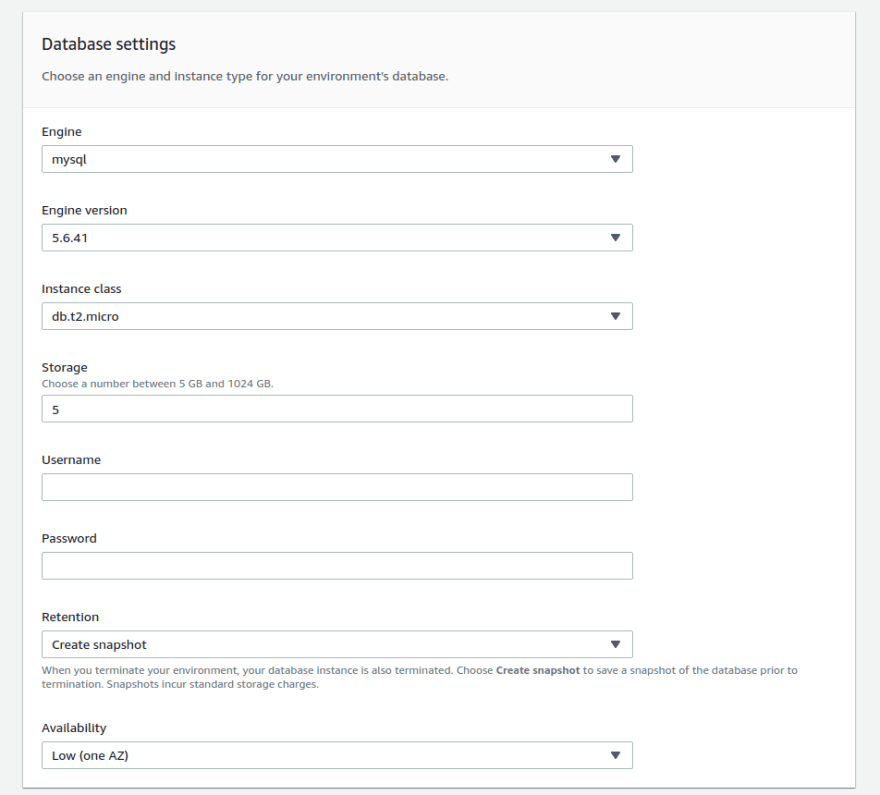
choose sample application and click on configure , scroll down till you find Database click on edit
in this section the most important part is the username and password, save your settings and create your instance
Note: if your AWS account is free stick to db.t2.micro instance
In your laravel project
Edit database configuration
open your database config file /config/database.php now edit and make three global variables
define('RDS_HOSTNAME', $_SERVER['RDS_HOSTNAME']);
define('RDS_USERNAME', $_SERVER['RDS_USERNAME']);
define('RDS_PASSWORD', $_SERVER['RDS_PASSWORD']);
define('RDS_DB_NAME', $_SERVER['RDS_DB_NAME']);
now scroll down to connections and edit it to be something like that
'mysql' => [
            'driver' => 'mysql',
            'host' => RDS_HOSTNAME,
            'port' => env('DB_PORT', '3306'),
            'database' => RDS_DB_NAME,
            'username' => RDS_USERNAME,
            'password' => RDS_PASSWORD,
        ]
Zip your files
this part is a little bit tricky cause if you didn't notice the files you're zipping it might affect your server,also make sure you're not adding any hidden folders. your files should be something like that:
- app
- bootstrap
- config
- database
- hooks
- public
- resources
- routes
- storage
- tests
- .editorconfig
- .env
- .env.example
- .gitattributes
- .styleci.yml
- artisan
- composer.json
- composer.lock
- package.json
- package-lock.json
- phpunit.xml
- server.php
- webpack.mix.js
Note: i've added the .env file to the file tree to make it easier but feel free to remove it
Upload zipped file
now open your elastic beanstalk tab ,choose the environment that you'd like to deploy to , then click on the upload and deploy button,choose your file give it a label and press deploy.
Web app route
on the left-side of your environment page click on configuration,then edit your software section,now change document root to be /public and apply the changes
Note: if your application need to migrate data and/or other installation don't worry continue to the SSH section
Add key pair to your elastic beanstalk
this step is very important because it will help you connect with your EC2 instance from anywhere of course by using your key pair file(.pem)
If you haven't made a key pair yet, make one by clicking Key Pairs below Security Group in the EC2 tab
- In the AWS console, open the Elastic Beanstalk tab
- Select Environment
- Select Configurations in left panel
- Select Security
- Under "EC2 key pair:", select the name of your key pair in the Existing Key Pair field
open your env using SSH
open EC2 tab then choose running instance and click on connect ,follow the instruction page about accessing your instance and you'd be online
Install composer in your instance
sudo curl -sS https://getcomposer.org/installer | sudo php
sudo mv composer.phar /user/local/bin/composer
sudo ln /user/local/bin/composer /user/bin/composer
Open current version
first give the current user permission to write
sudo chown -R ec2-user /var/app/current/
Note: ec2-user is the name of your ec2 by default
cd /var/app/current/
composer dump-autoload
now all your artisan commands will work perfectly fine
php artisan migrate
change your storage file permission so that the server can access it
sudo chmod -R 0777 storage
sudo chmod 777 storage/logs/laravel.log
sudo chmod 777 storage/framework/cache
now everything is working perfectly fine you can run your own artisan commands

Posted on April 20, 2020
Join Our Newsletter. No Spam, Only the good stuff.
Sign up to receive the latest update from our blog.
