Wio terminal plant translator and other projects

Paula
Posted on December 12, 2020

Hi again!
Hello! It's been a long while since I wrote around here. As you already realized the health crisis had heavy consequences over everyone lives, mine included. My job, family and housing went crazy and I couldn't find time neither inspiration to write. But recently I found strength again for testing ideas around electronics, and for so I wanted to come back with this topic. I'm actually so happy to come back to this community.
New inspiration
I've been using some of my spare time to design boards, testing garden and weareable electronics and testing things I had in my lab, in order to slowly have fun again with my electronics.
Wio Terminal
Before going further I'd like to start with Wio Terminal. The nice people of seeed sent me a Wio Terminal to test it out, although at the moment the resources weren't as nice as now and the implementation with Arduino, my main and favourite IDE, didn't work very well and needed a few hours to get an example running, which frustrated me (The port kept messing up, the uploading therefore failed, etc) but I didn't want to write with su little testing. Last couple of months, though, they launched some veeery nice libraries and configuration files for Arduino, so now it works like a charm! I found myself very happy to have the opportunity of testing it again.
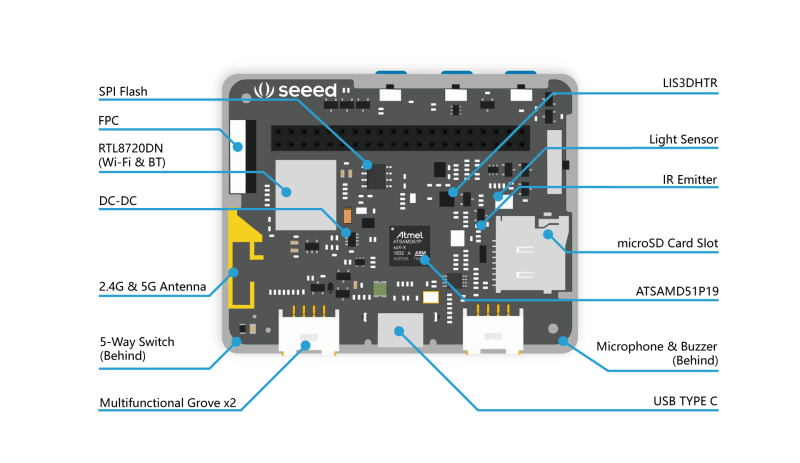
Wio terminal is a IoT focused open sourced device that is handy for different communication protocols, but it has a lot of things, let's take a look:
The best thing actually, apart from the protocols that let me test out the JTAG and use it for education, is the pinout and networking.
Plants!
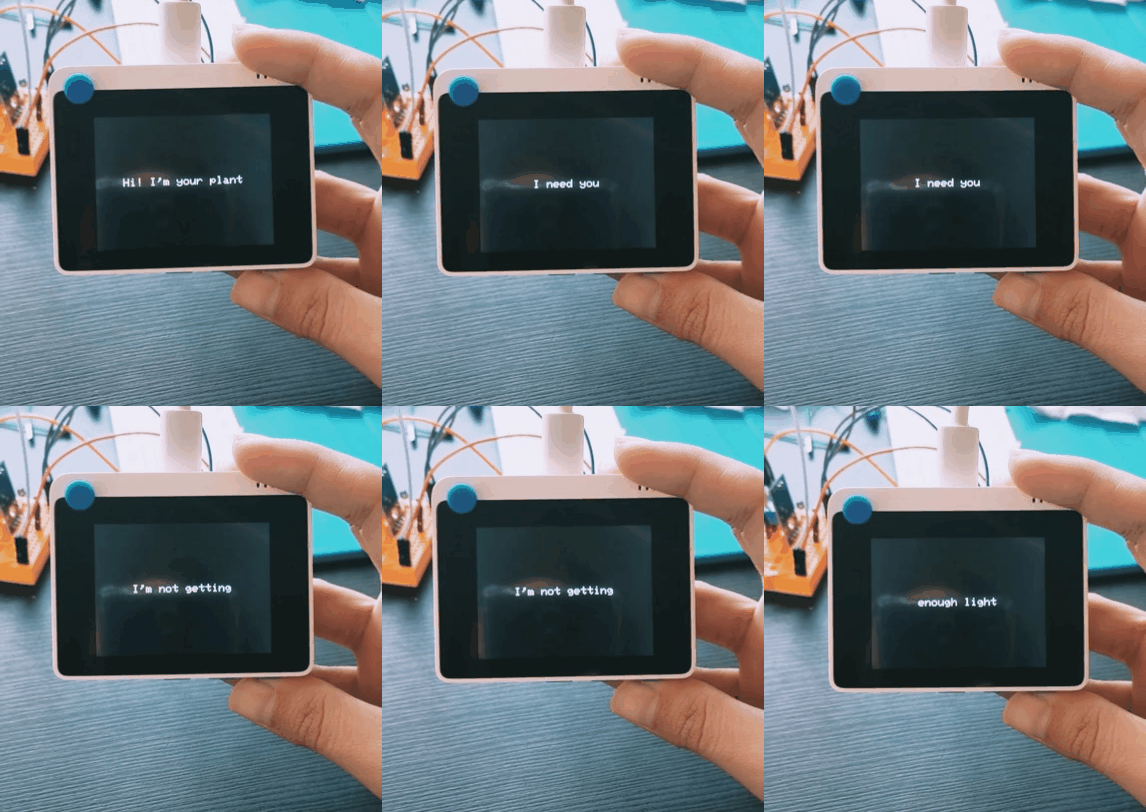
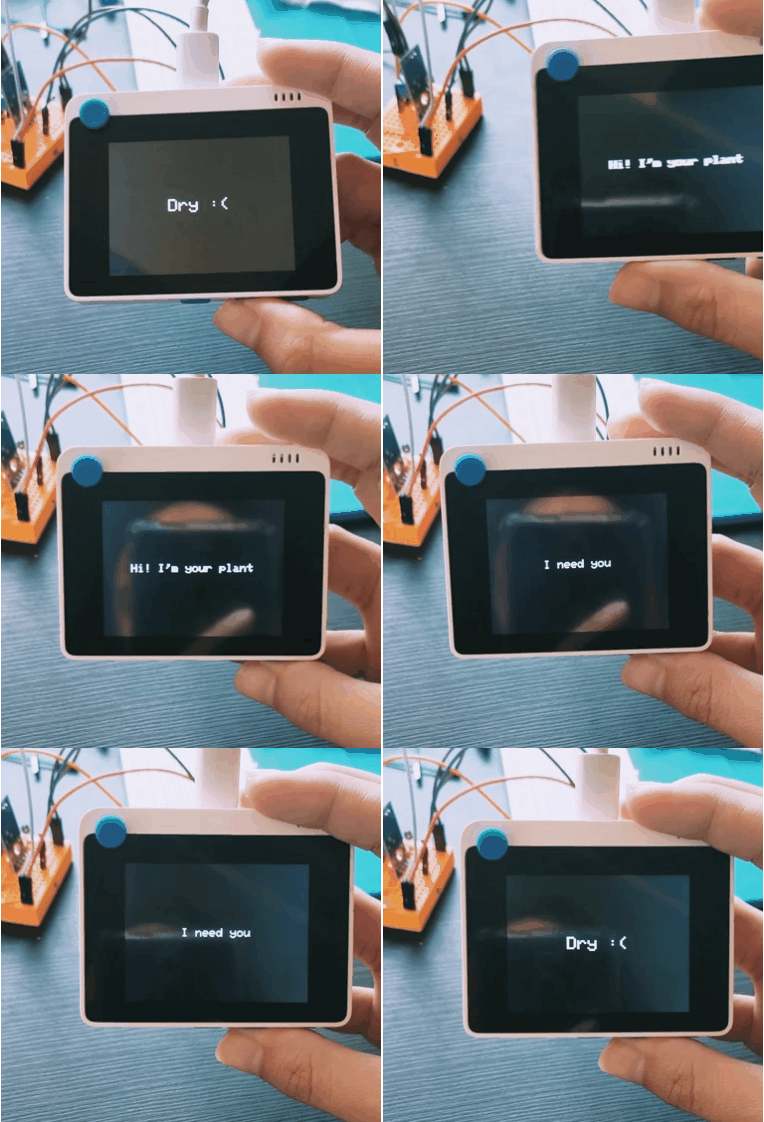
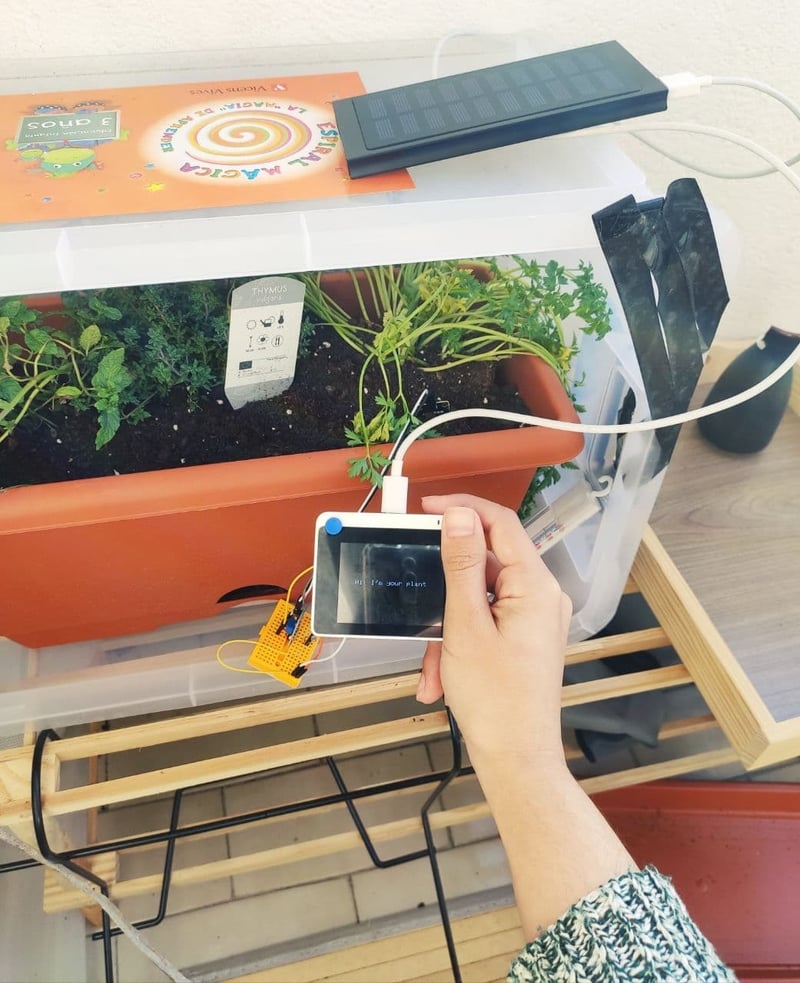
You see, this is an ideal device for my gardening projects. In my case I created a simple plant-human translator based in plant needs. If the plant needs you, it will tell you, also working with solar energy using usb C.
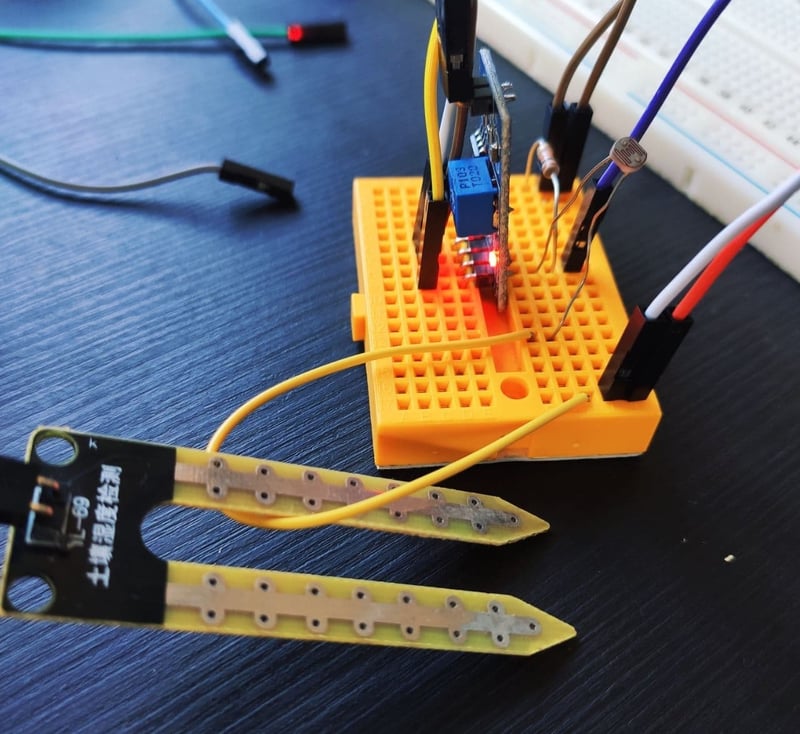
I basically take advantage of the pinout to connect a photoresistor and a soil humidity sensor and adapt the code in order to check if that's dry/wet, light or not light enough. In order to check the details of the needs I programmed the 3 buttons that the Wio already has to give extra information. Check the code here. Some things I want to add: Wifi connection to my Vocore2 for making a plant monitoring wireless point, maybe ML to learn about the plant needs and more. I'd also like to transform the prototype into a nice PCB that works with the Wio (or maybe arduino with display).
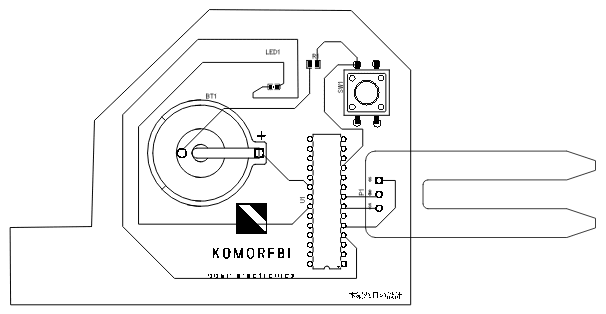
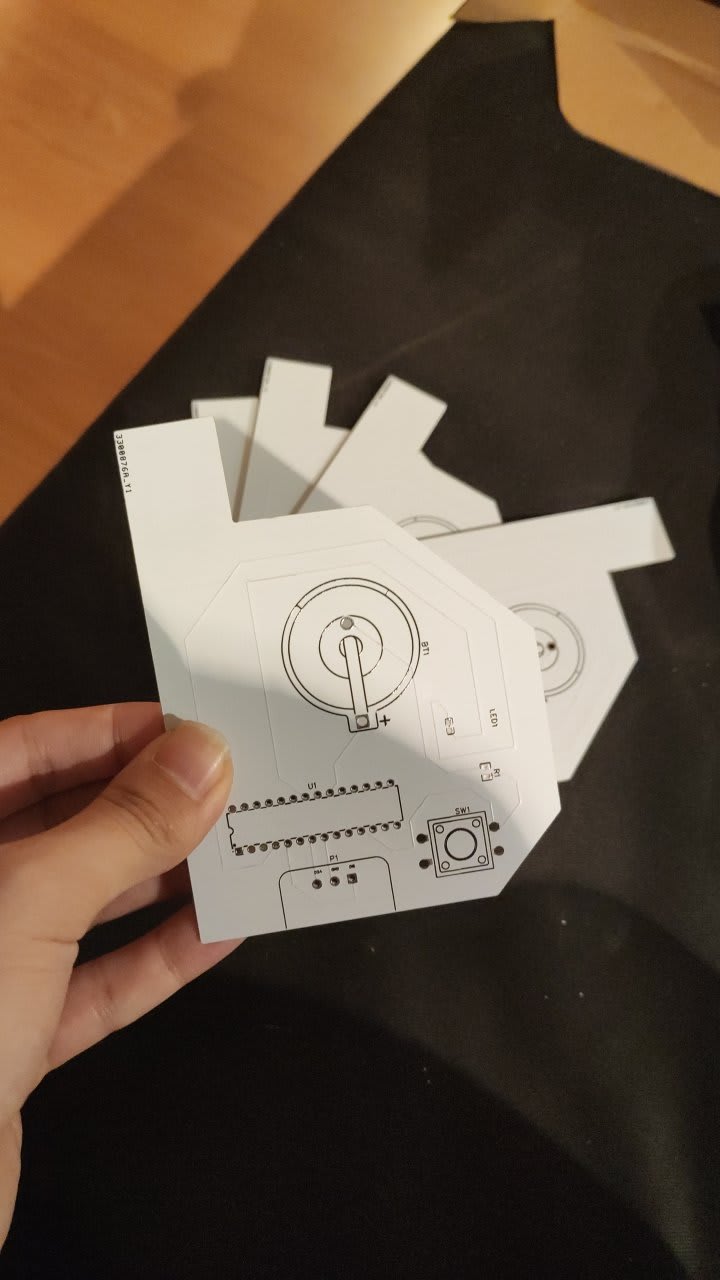
But setting the Wio aside, I began to design some PCBs for gardening as well. First one that I printed is a PCB that lights a led when soil is dry, but also has this shape that allows to use the PCB as plant tag:
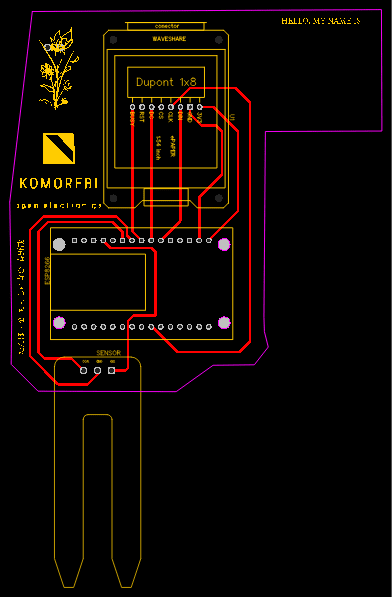
And a more complex design using WiFi (ESP8266) and a display for ATmega:
Wereables
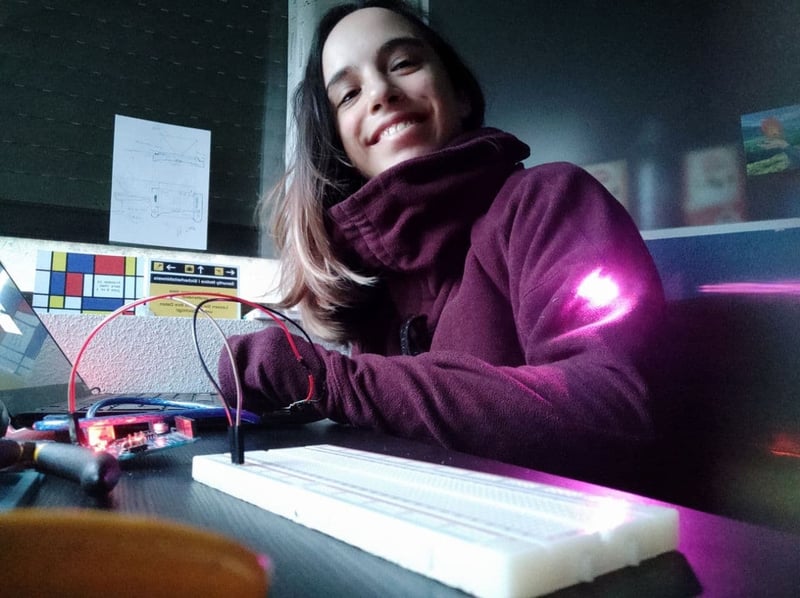
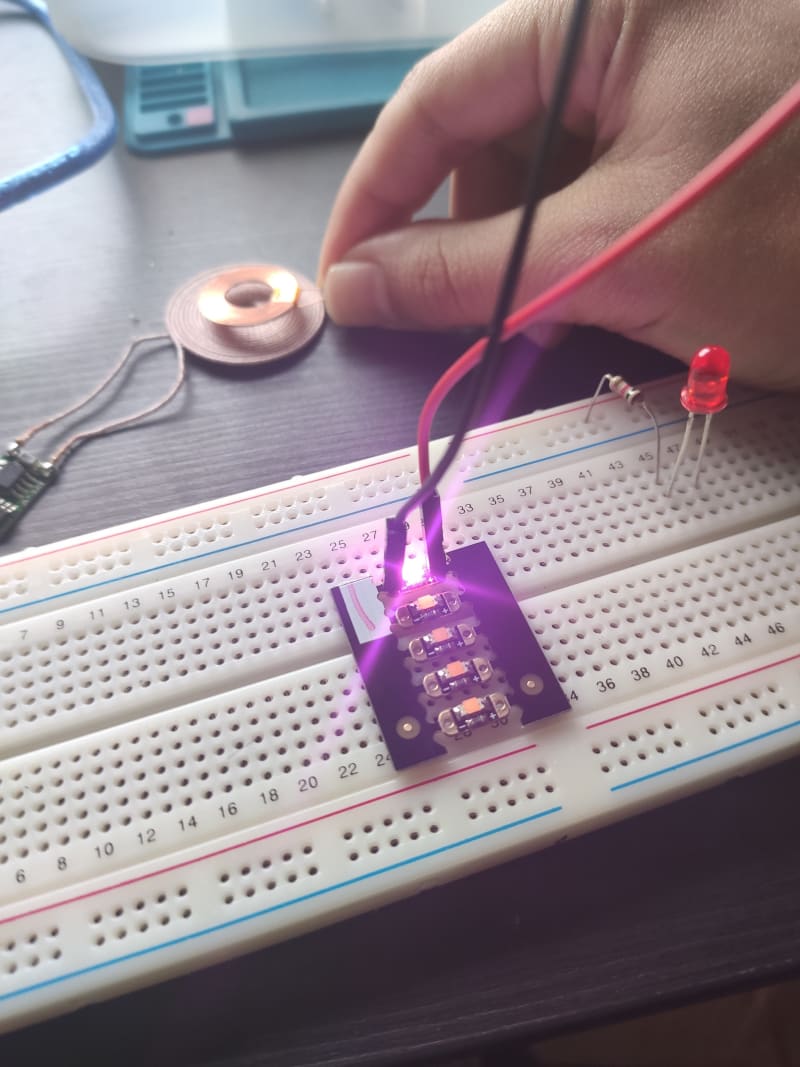
I also wanted to test contuctive sewing thread, but I found it inconvenient to have the microprocessor in the clothes, so I decided to test out a wireless design using induction.
In this case the code is quite simple:
// pin connected to the induction coil 5V
int led= 7;

// the setup function runs once when you press reset or power the board
void setup() {
  // initialize digital pin LED_BUILTIN as an output.
  pinMode(led, OUTPUT);
}

// the loop function runs over and over again forever
void loop() {
  digitalWrite(led, HIGH);   // turn the LED on (HIGH is the voltage level)
  delay(1000);                       // wait for a second
  digitalWrite(led, LOW);    // turn the LED off by making the voltage LOW
  delay(1000);                       // wait for a second
}
the trick is in the connection. The microprocessor (arduino uno/nano in this case) is connected to the induction coil that transmit, and the 5V of the coil is in the programmed pin 7 of the Arduino, while the sew-able pink leds are attached to the receiving coil GND and 5v (being 5V susceptible of the programmed blink). This way is lighter and more easy to sew (using conductive thread, as I said).
Anyway, I'm glad to be back and I hope I can keep writing for now on!

Posted on December 12, 2020
Join Our Newsletter. No Spam, Only the good stuff.
Sign up to receive the latest update from our blog.
