Exploring Namespaces and Virtual Ethernet Networks: A Step-by-Step Tutorial

Tanvir Rahman
Posted on June 21, 2023
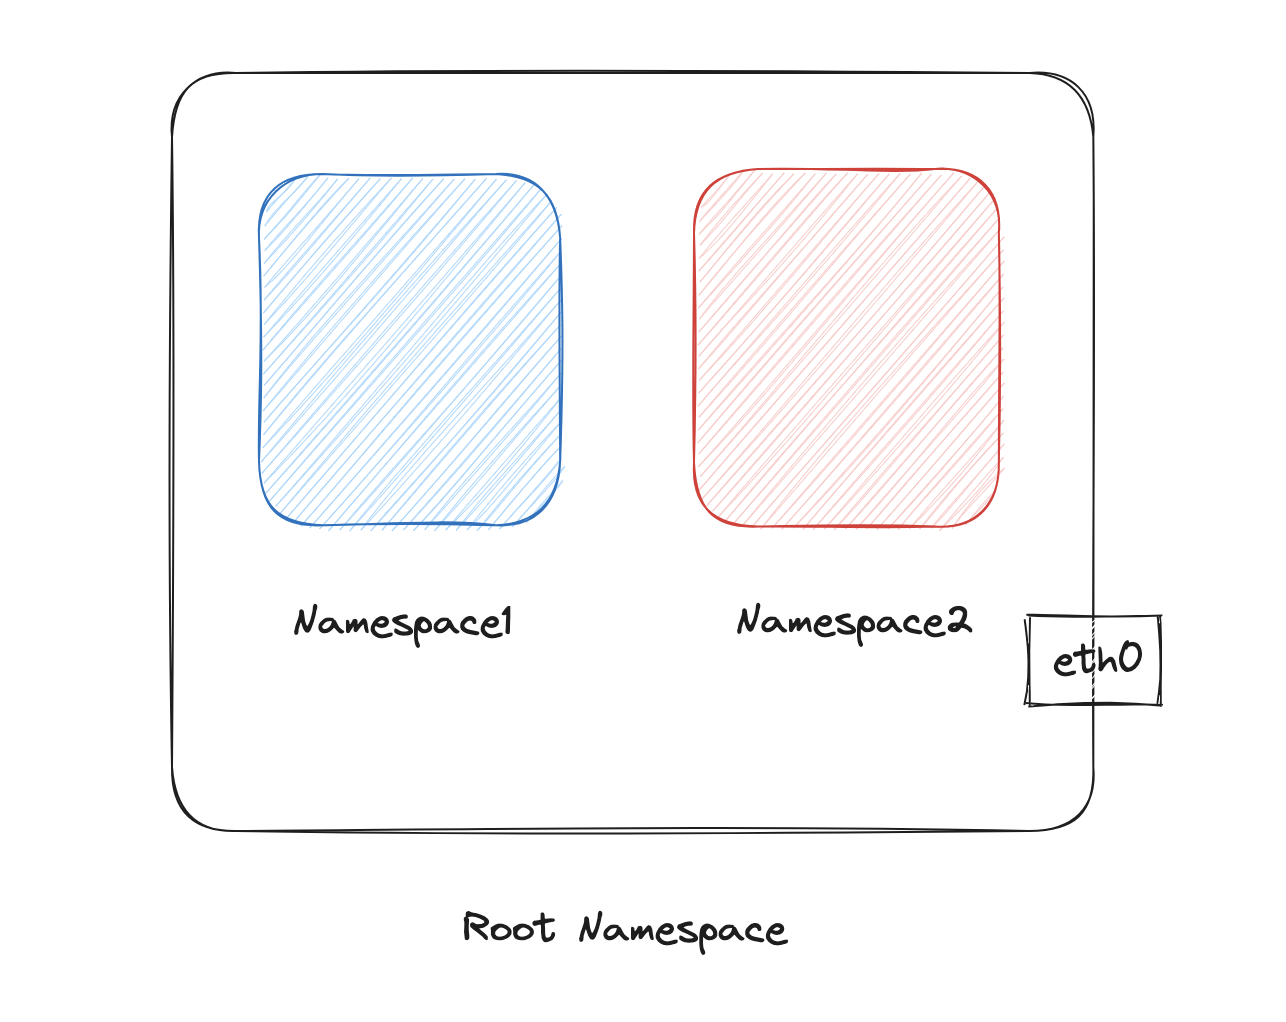
Network namespaces provide isolated network environments for processes, meaning that different network namespaces can have their own network resources.
In this tutorial, we're going to have a bit of fun with namespaces, specifying as 'namespace1' and 'namespace2'. We're not just stopping at creating these namespaces, also setting up a virtual Ethernet network between them using the power of veth interfaces.
Why, you may ask?
Well, this will enable these namespaces to communicate and interact with each other, kind of like two rooms connected by a hallway. The cherry on top? They'll be able to ping each other, adding a whole new layer of interactivity.
So, buckle up and get ready to dive into the fascinating world of namespaces and virtual Ethernet networks!
Prerequisites
Before we dive in, we need to make sure our system is up-to-date and equipped with the right tools. Here's a handy checklist of prerequisites that you need to take care of. Run these commands to get everything set up:
- Update your package lists for upgrades and new package installations: ```
sudo apt update
2. Upgrade all your installed packages to their latest available versions:
sudo apt upgrade -y
3. Install **iproute2**, which provides us with the `ip` command for manipulating routes, devices, policy routing, and tunnels:
sudo apt install iproute2
4. Install **net-tools**, which will give us access to networking utilities like `ifconfig`, `netstat`, `route`, etc.:
sudo apt install net-tools
With these prerequisites handled, we're now ready to venture into the wonderful world of networking namespaces and virtual Ethernet interfaces! Let's get started!
## Step1
Now, we're moving on to the exciting part, creating our networking namespaces. The command **ip netns add** will create a new network namespace. Let's add two of them, one called **namespace1** and another called **namespace2**.
Execute the following commands in your terminal:
`ip netns add namespace1`
`ip netns add namespace2`

## Step2
Next, we'll create a pair of virtual Ethernet (veth) interfaces, `veth-1` and `veth-2`. These interfaces act like a virtual patch cable, connecting our two network namespaces.
Run this command in your terminal:
```bash
ip link add veth-1 type veth peer name veth-2
To view the list of networking interfaces available in your system, you can run the following command:
ip link list
Now we've created our virtual Ethernet pair. Think of these as the ends of a network cable, ready to plug into our namespaces, linking them together. In the next steps, we'll attach these interfaces to our namespaces. Onward!
Step 3
To assign your newly created virtual Ethernet interfaces (veth-1 and veth-2) to the respective network namespaces (namespace1 and namespace2), you'll execute these commands:
ip link set veth-1 netns namespace1
ip link set veth-2 netns namespace2
These commands move veth-1 into namespace1 and veth-2 into namespace2. Now, each network namespace has its own dedicated network interface, enabling you to configure them independently and establish communication between the namespaces.
To view the network interfaces within our namespace1, we can utilize ip netns exec. Here's how:
ip netns exec namespace1 ip link
Our newly created interface is down and doesn't have an assigned IP address. Let's turn it on and assign an IP.
Step 4
Next, we're going to assign IP addresses to the veth interfaces inside each namespace. For namespace1, we'll assign the IP 192.168.0.1 and for namespace2, we'll assign 192.168.0.2. We execute these commands:
ip netns exec namespace1 ip addr add 192.168.0.1/24 dev veth-1
ip netns exec namespace2 ip addr add 192.168.0.2/24 dev veth-2
This way, each interface within its respective namespace gets its own IP address within the 192.168.0.0/24 subnet.
Step 5
Next, we're going to activate (or "bring up") the veth-1 and veth-2 interfaces within their respective namespaces. Here's how we do it:
ip netns exec namespace1 ip link set veth-1 up
ip netns exec namespace2 ip link set veth-2 up
The ip link set <interface> up command will turn on the specified network interface. Now veth-1 and veth-2 are up and running, ready to establish the communication between namespace1 and namespace2.
Step 6
Now that our interfaces are up and running, we need to set the default routes for each namespace. This tells the system how to route packets destined for any IP address. Here's how you can do this:
ip netns exec namespace1 ip route add default via 192.168.0.1 dev veth-1
ip netns exec namespace2 ip route add default via 192.168.0.2 dev veth-2
These commands establish the default routes, indicating that any general network request from namespace1 should be routed through veth-1 at IP 192.168.0.1, and vice versa for namespace2.
Step 6
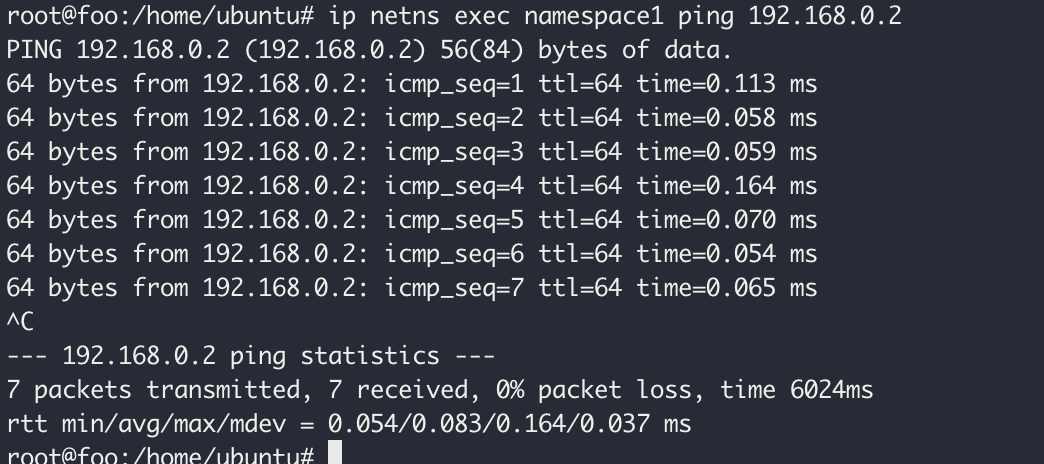
Now Let's ping ```ip
netns exec namespace1 ping 192.168.0.2
If everything is set up correctly, you should receive echo reply packets from 192.168.0.2 indicating that the host is reachable from within the namespace1 network namespace

### Note
```sudo
sysctl -w net.ipv4.ip_forward=1
The command is for forwarding packets between different networks, which is not required for pinging between network namespaces within the same host.

Posted on June 21, 2023
Join Our Newsletter. No Spam, Only the good stuff.
Sign up to receive the latest update from our blog.
Related
June 21, 2023


