How to contribute to an Open Source project as a Beginner - The Flow

Suraj Vishwakarma
Posted on July 15, 2022

Open Source contribution is one of the x-factors in the portfolio of a developer. A developer learns many things from understanding different codebases to communicating properly with the maintainers of the repo. Open Source contribution can land you a job. It will highly boost your portfolio.
As a beginner, I struggle to find a proper method to follow while making an Open Source Contribution. You find difficulties such as finding a repository, how to create issues and pull requests, and all. So today, we are going to look into methods to follow when contributing to an open source project. We are going to learn workflow to follow while contributing to an open source.
We are going to learn all this with an example of one of the early open source contributions that I made to forem.
What I Contributed??
BEFORE :
AFTER :
It was a UI issue that I encountered while navigating to the profile via the chat section. Now it is fixed. So let's get started.
Finding Repository to contribute
In Code:
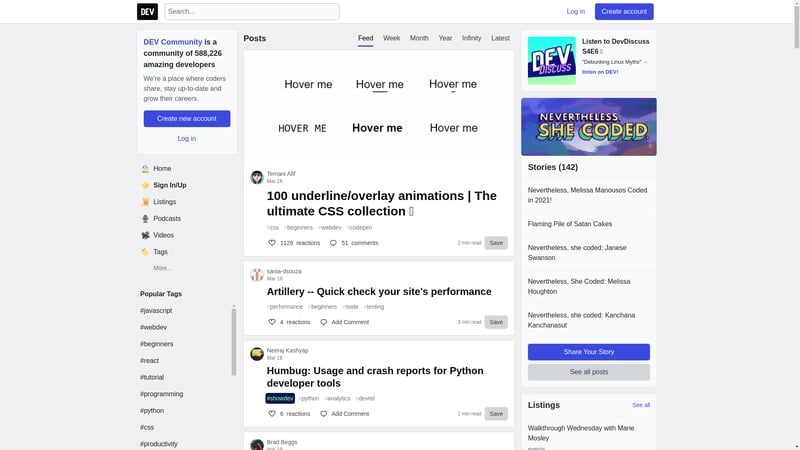
If you are a regular user of any open source project. You might encounter bugs in UI, structuring, functionality, etc. For my issue, I find it while messaging my friend on dev.to. This led me to create an issue in the forem repository on GitHub.
In Docs:
If you find any missing information or outdated instruction or even a typo in docs. This can also lead you to create an issue in the open source repository.
You can search for issues on GitHub
You can work on existing issues that are created by different users or maintainers. You can take the help of different tools to find issues in various GitHub repositories. Here are my favorite 4 tools:
I have written a detailed post about finding issues through these tools. You can read Find Open Source Project to Contribute
Creating An Issue/Getting assigned an issue
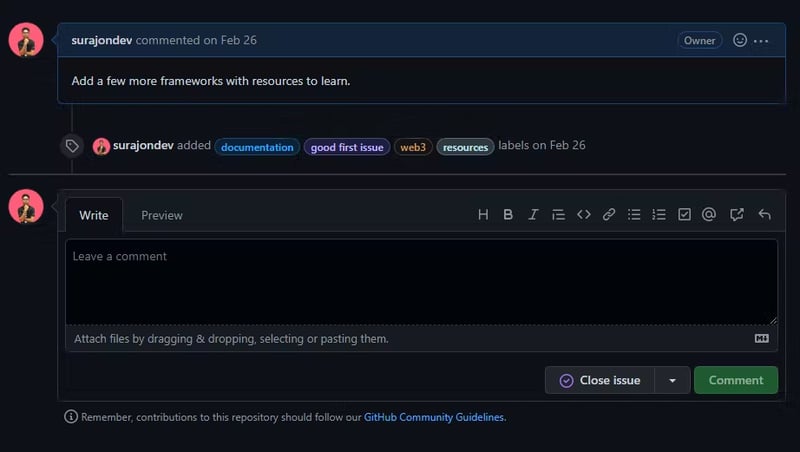
If you want to work on an existing issue, just comment on that issue about getting assigned to work on the issue. They will assign on the issue.
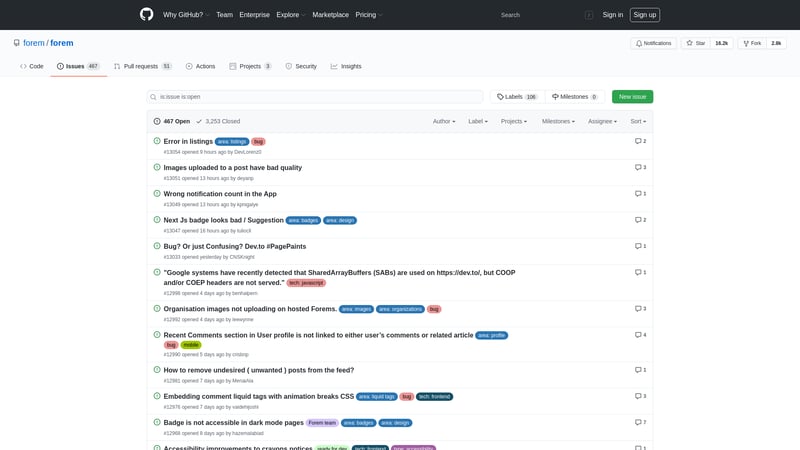
If you want to create a new issue. Go to the Issue tab and click on New Issue on the GitHub repository. Many popular repositories have a template for creating issues. You just need to fill in the data regarding the issues. Provide a proper name to the issue and click on the Submit new issue button.
After successfully creating an issue, just wait for their reply. In this period, they take a closer look into the issue and come back to you with an answer. After listening to them, just voluntarily asked them to help in solving the issue. Most probably they will assign you to the issue.
When I created the issue on the forem. They have an excellent template for issues. I just need to fill in that information regarding the issue. After 2-3 days, they reached out to me through created issues regarding a detailed explanation of the issues such as "What is the issue in detail?" and "What might causing it?". After that, I asked them to get assigned the issue. Later that day, I get assigned to the issue by one of their maintainers.
Once you are assigned to the issue, you are ready to get your hands dirty with the code.
Coding
Most of the repositories have a CONTRIBUTION.md file. As the name suggests, it helps contributors with installation, guide, and code of conduct while contributing to the repository. It will help you in installing the project in the local environment.
If there is not any contribution guidance. Most of the projects follow a simple contribution flow. Let's learn about it.
Fork: First fork the repository to your GitHub. You can do this by clicking on the
Forkbutton from the top-right section of the repository. Forking will make a copy of the repository into your GitHub repository, where you can experiment with the code.Clone Now it's time to get the repo locally. Open the terminal and run the following command
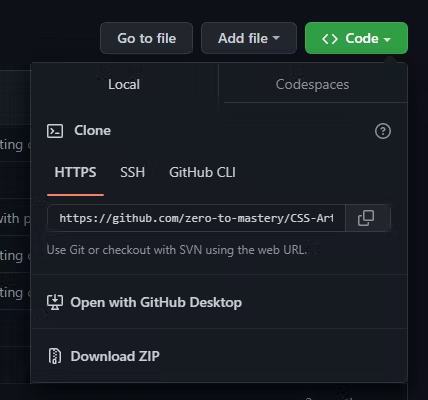
git clone <HTTPS URL>
You can get the HTTPS URL from the code section of the repository.
Run: After getting code locally, now we have to install necessary dependencies according to the codebase. For most of the JavaScript/NodeJS-based projects, you need to run
npm installto install all the libraries based dependencies. You can find about running the project locally through theREADME.mdorCONTRIBUTION.mdfile from the repository.Branch: Create a different branch for adding your code. Don't push your code directly to the
mainbranch. You can create a different branch with the following code:
git checkout -b <branch-name>
You can give the branch any name. I will recommend giving it your GitHub username.
Code: Now you have made the changes in the code/docs.
Push: Once you are done with the coding, it's time to push the code to your GitHub repository. You can do it with the following commands:
Run commands one by one
 $ git add .   // adds a change in the working directory to the staging area

 $ git commit -m"<add message to commit>" // commits create a snapshot of your repository

  $git push origin <branch-name> // push will create a pull request through the created branch to the main
-
Merge:Once pushed, go to the repository on your GitHub account. In the repository, you will find a Pull Request. A necessary test will be run, once it will pass all the tests. It will be available to be merged into the main. Click on
Merge PRto merge it into your main branch repository.
I have followed the above steps to add the code in to my codebase on GitHub. Now we have everything set up in our codebase. Now it's time to create a Pull Request into their repository.
Creating Pull Request
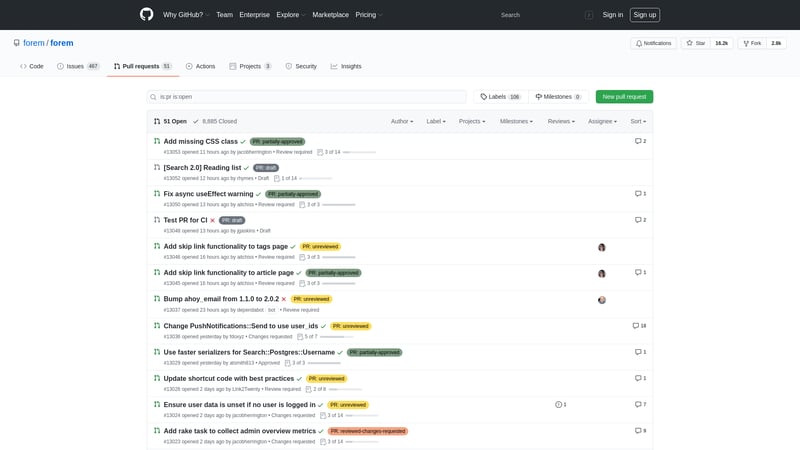
After you feel satisfied with the necessary changes that you added. Create Pull to their repository. Follow the following steps to create a Pull Request:
Go to the
Pull Requesttab.Click on the
New pull request, it will show the changes that you have made after comparing it with the base repository.Click on
Create pull request, and you will redirect to the base repository with a tab. In this tab, we need to name the pull request with a description. Description can have a template where you just need to fill in the information regarding the pull request. Click onCreate pull requestto create the pull request.After successfully creating a pull request wait for some time (might be 1-2 days depending on workdays) to get their feedback. They might ask for changes if they felt it can be better. They provide their vision and instruction to achieve it. Once they will be satisfied the Pull Request will be merged into their codebase.
I have a great experience with the maintenance of forem. They provide me with the necessary information to make changes. When they felt my code is perfect. They merged my code into their repository.
Conclusion
Contributing to open source is one of the exciting jobs to do to get exposure to real-world working scenarios and improve communication with technical skills. There is a ton of benefits to contributing to an open source project.
I hope this article has helped you understand the method/steps to follow for contributing to an Open Source repository on GitHub.
Happy Coding!!!

Posted on July 15, 2022
Join Our Newsletter. No Spam, Only the good stuff.
Sign up to receive the latest update from our blog.


