Next Dev
Posted on June 11, 2022

Welcome 👋 brothers and sisters to this amazing blog post where you will learn how to get started with Prisma setup in nextjs.
Things which we will need:
Prisma Client
Nextjs Project
Supabase or Any other database
😁Enjoyment
**Step1: **Make a Nextjs project and open the terminal
**Step2: **Write this command in the terminal
npm i @prisma/client
Then write this command:
prisma init
Then you will find a new folder named: ‘prisma’ in your root directory.
Now go to ‘schema.prisma’
You can see something like this.
Then go to ‘.env’ file in your directory.
You have to paste your database URI there
So, let’s go to supabase to find the URI:
Just paste it into your .env file
Now you can enjoy it. You have set up all the things.
🤔Situation
Now you have two situations. Either you have tables or you don’t have any tables inside your database.
1. If you have tables in your database.
Just write the command
prisma db pull
Then check out the ‘schema.prisma’ file
2. You don’t have any tables in your database.
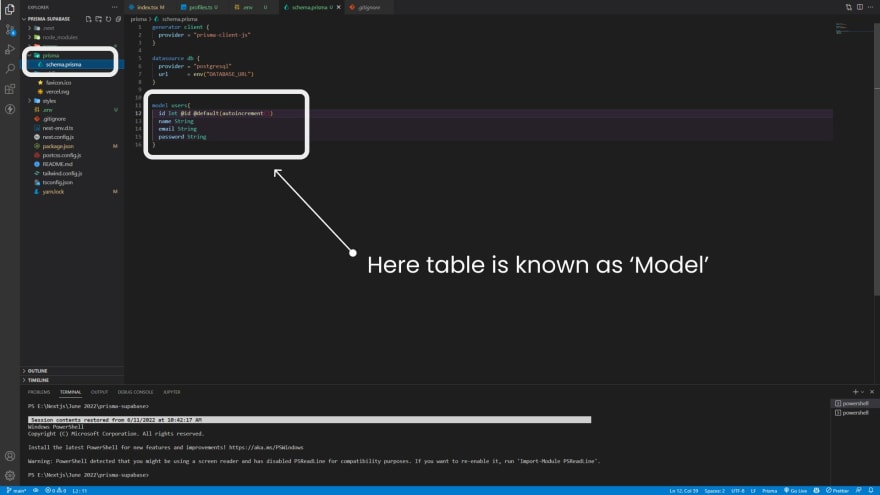
For example, you can write this command in your ‘schema.prisma’ to make tables.
Code:
Now, you have to write the command
prisma migrate dev
Then it will ask you for your migration name.
You can write there anything you want.
Then you will see one folder as **Migrations **in your **prisma **directory.
You can check your database and see the results.
Thanks for reading this blog post.
For people who Hindi:
https://youtu.be/pnai0oGVN9g
For people who want to join discord:
Join the Next Dev's server Discord Server!

Posted on June 11, 2022
Join Our Newsletter. No Spam, Only the good stuff.
Sign up to receive the latest update from our blog.


