Using Your Mind to Print Hello World to the Terminal with Node

AJ
Posted on February 11, 2020
I've been writing brain powered apps for years. I've written brain applications in electron mainly, which uses NodeJS. If you've got a Notion from Neurosity or want to get one, you'll find this article interesting because I'm going to show:
- How to set up a NodeJS project
- How to install dependencies from NPM
- How to load sensitive environment variables into your NodeJS application
- How to authenticate with a Notion
- How to print
Hello Worldvia calm meditation - How to print
Hello Worldvia a mental Kinesis command
To begin, you'll need to set up an account one time with Neurosity via console.neurosity.co. If you don't have a Notion, join the waitlist to get one on the next batch! Learn how to create an account with Neurosity Developer Console.
Prerequisites
To download the necessary tools, clone the repository, and install dependencies via npm, you need network access.
NPM
You'll need the following tools:
- Git
- Node.JS
- NPM, use a package manager to install.
Install and build all of the dependencies using NPM
VSCode
We'll be using VSCode to program this tutorial. For a little added fun, we recommend adding the Neurosity VSCode extension to track your flow state while programming. Check out our guide to installing and getting started with VSCode and the Notion extension.
Tutorial Repository
Want to see the complete project before reading anymore? You can view all the code from this project in it's repository on Github.
Setup your Project
Hello World Folder
Create a new folder called hello-world
mkdir hello-world
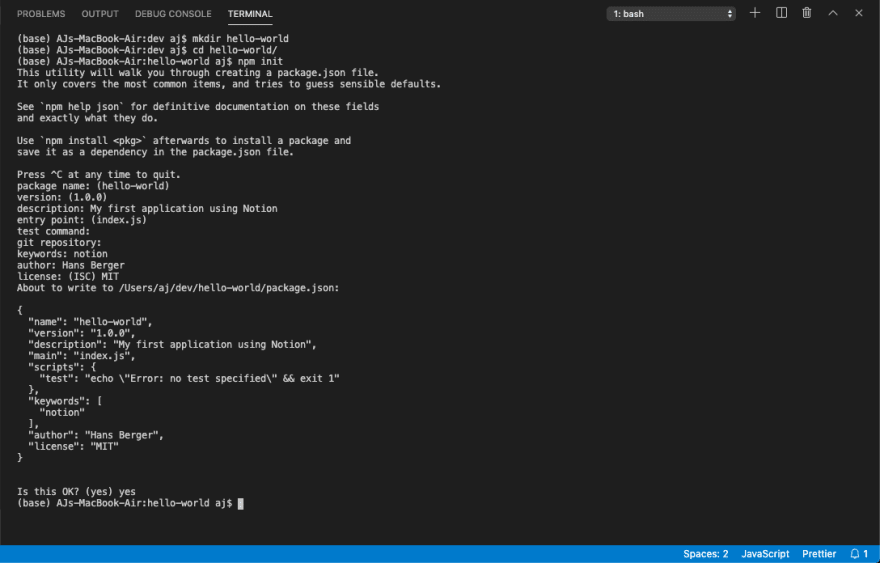
Enter into the directory and initialize the npm project.
cd hello-world
npm init
You'll need to run through the initial questions:
package name: (hello-world)
version: (1.0.0)
description: My first application using Notion
entry point: (index.js)
test command:
git repository:
keywords: notion
author: Hans Berger
license: (ISC) MIT
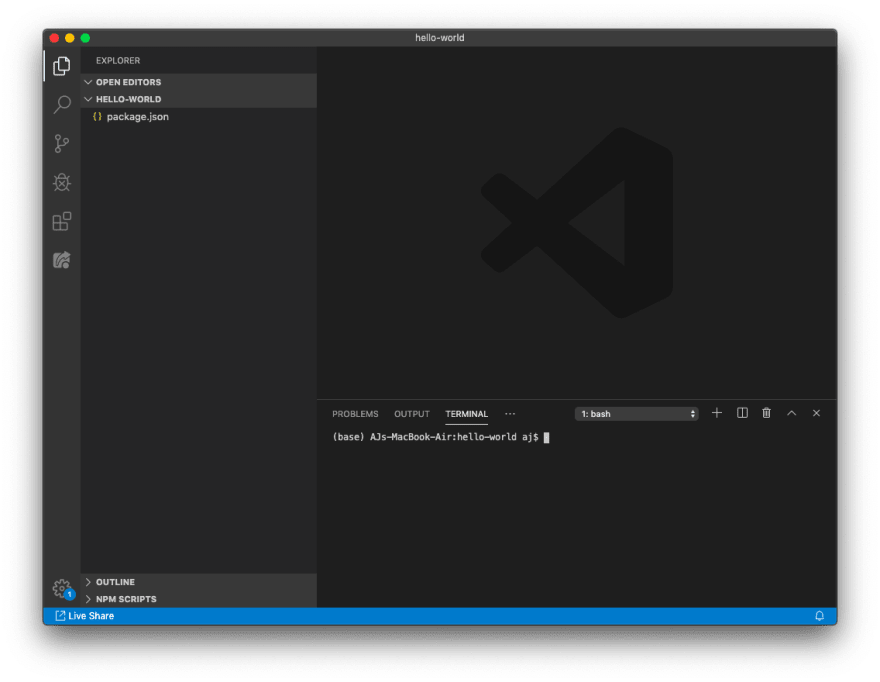
Next, you'll want to launch a VSCode window for the newly created project.
code .
Working in VSCode
You'll need to launch a terminal window inside VS Code, you may toggle the terminal with CTRL+~.
To create a new file, you may select the new file button.
Go ahead and make a new file called index.js, we'll use it soon as the base of our new project.
Adding Notion to a Node Project
Add .gitignore file
The first thing we want to do is add a file called .gitignore to tell git to ignore certain files. Add another file to the root directory called .gitignore, then add the following:
node_modules
On macOS, we'll go ahead and add another commonly ignored file:
.DS_Store
Adding node_modules will help VS Code run a little bit better because we're telling it that we don't need to track anything in that folder.
Install Dependencies
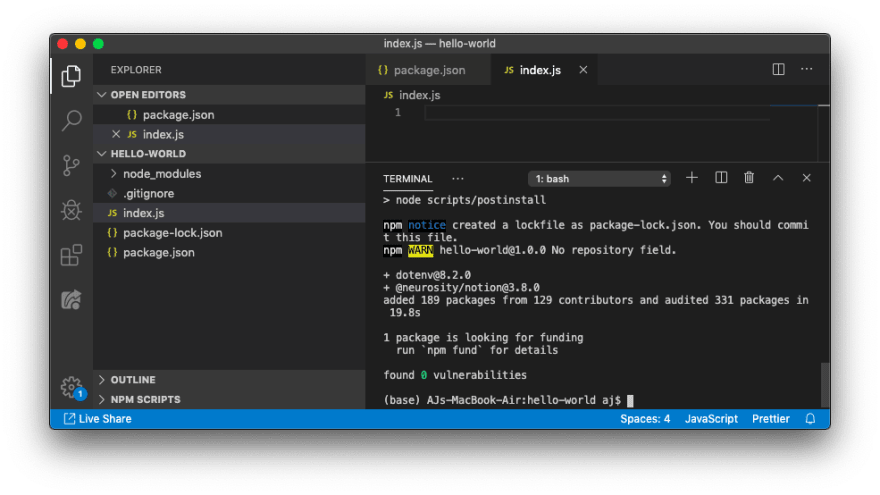
The first dependency we need to install is from Neurosity, it's called Notion. We'll end up using some environment variables from a .env file, so go ahead and install another dependency for that as well. From the command line, enter:
npm install @neurosity/notion dotenv
Add Dependencies to index.js
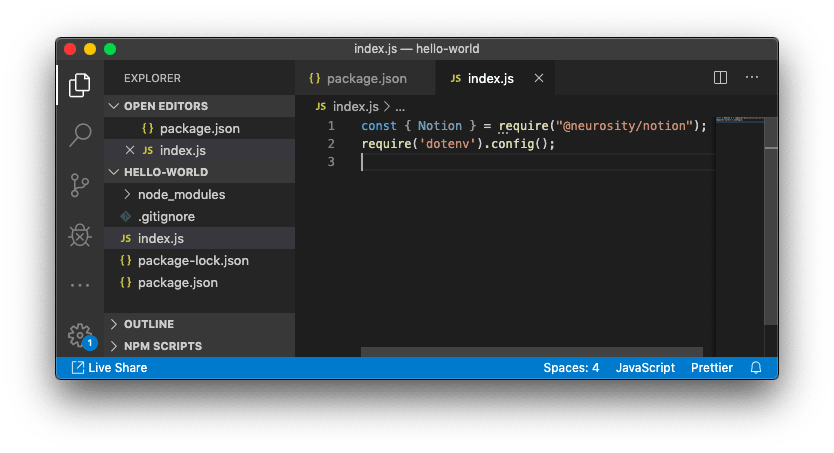
Importing libraries in Node is quite simple, all you have to do is add the following to the top of your index.js file:
const { Notion } = require("@neurosity/notion");
require("dotenv").config();
Add start script to package.json
Now head over to the file called package.json. The package.json is at the core of every Node package. Ignore the file called package-lock.json, it's automatically generated.
Find the section called "scripts" and add a property called "start" that will start the node process:
"start": "node index.js"
Your package.json will look like below once added:
{
  "name": "hello-world",
  "version": "1.0.0",
  "description": "My first application using Notion",
  "main": "index.js",
  "scripts": {
    "start": "node index.js",
    "test": "echo \"Error: no test specified\" && exit 1"
  },
  "keywords": ["notion"],
  "author": "Hans Berger",
  "license": "MIT",
  "dependencies": {
    "@neurosity/notion": "^3.8.0",
    "dotenv": "^8.2.0"
  }
}
Run the project from the CLI
Navigate back to the terminal and run npm start to make sure the project runs without any errors.
npm start
You should see the program run and exit successfully.
Add Authentication
At this point you will need to have created an account with console.neurosity.co and claimed your Notion.
Get variables from .env file
We'll first attempt to get our environment variables to show what happens when they are not there at runtime. Add the following code to pull the deviceId, email and password from the enviroment variables:
const deviceId = process.env.DEVICE_ID || "";
const email = process.env.EMAIL || "";
const password = process.env.PASSWORD || "";
To verify that the variables are not blank, we could add a function to check for that and quit the program if so. Add the following function to your program next:
const verifyEnvs = (email, password, deviceId) => {
  const invalidEnv = env => {
    return env === "" || env === 0;
  };
  if (
    invalidEnv(email) ||
    invalidEnv(password) ||
    invalidEnv(deviceId)
  ) {
    console.error(
      "Please verify deviceId, email and password are in .env file, quitting..."
    );
    process.exit(0);
  }
};
verifyEnvs(email, password, deviceId);

console.log(`${email} attempting to authenticate to ${deviceId}`);
Now, if we run our program, we should see an error print out! Run with npm start from the CLI.
Add .env file
Next, we'll add a .env to store our deviceId, login, and password. Add a new file called .env and add your deviceId, email, and password. Learn how to find your device ID.
DEVICE_ID=442333d1bcea35533daba9b51234abcd
EMAIL=hans.berger@neurosity.co
PASSWORD=Password#1!
Now, if we run our program, we should see a success message print out, informing us that our variables have been extracted successfully.
Instantiate a Notion Session
We can then use the deviceId to instantiate a new Notion session by adding the following line to our file.
const notion = new Notion({
  deviceId
});
Add async login
We need to use an async/await paradigm for authenticating to the device. Go ahead and create an async function called main to the index.js file.
const main = async () => {
  await notion
    .login({
      email,
      password
    })
    .catch(error => {
      console.log(error);
      throw new Error(error);
    });
  console.log("Logged in");
};

main();
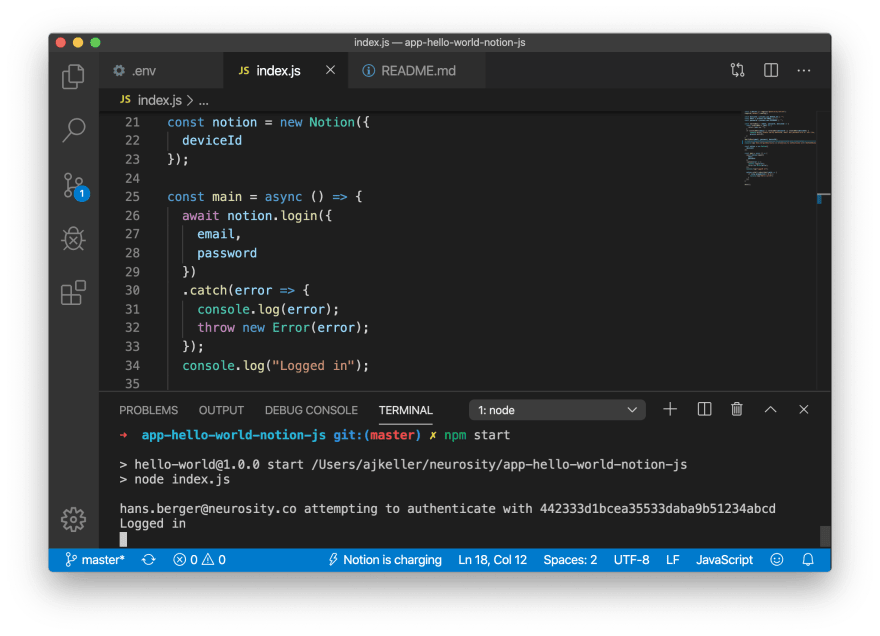
Then run the program with npm start in the CLI. If all worked, then you should see:
Add Subscriptions
Calm Subscription
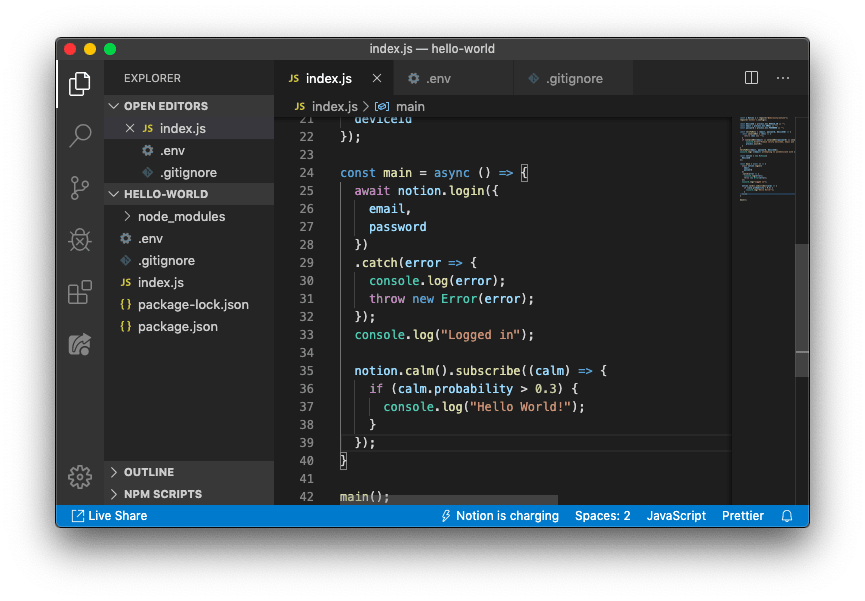
Now that you are authenticated, print out hello world when you're calm increases past 0.3, a significant number.
Add the following code to your main() function after login.
notion.calm().subscribe(calm => {
  if (calm.probability > 0.3) {
    console.log("Hello World!");
  }
});
Your index.js file is now ready to print Hello World!
Kinesis Training
Head over to the Developer Console and train Left Hand Pinch. Learn how to train an imagined movement thought. Do at least 15 trials.
When we write code to interact with Notion, we use camel case, so Left Hand Pinch in code is leftHandPinch.
Now that the leftHandPinch thought is trained, you'll be able to use load it into your Notion for use.
Kinesis Subscription
In the index.js file we can remove the calm subscription from above and replace it with the code below.
Check out the Kinesis guide or Kinesis API docs.
notion.kinesis("leftHandPinch").subscribe(intent => {
  console.log("Hello World!");
});
Your index.js file should look like:
Conclusion
Developing with Neurosity Notion can be a lot of fun! Join the waitlist to get one on the next batch. There are two main types of thought processes that Notion detects, intent and background. The foreground we consider to be the kinesis() where you're intending to do something and the background is calm() or focus() that occurs in the background of the mind.
Dive into development
We're looking for talented developers to help us improve the kinesis training. So, head over to the training guide and learn how to build your a training module.
If you're looking for exact API references, check out the API section of these docs!

Posted on February 11, 2020
Join Our Newsletter. No Spam, Only the good stuff.
Sign up to receive the latest update from our blog.
