Web3 backend and smart contract development for Python developers: Musical NFTs part 2

ilija
Posted on September 15, 2023
We will build few versions of this project:
1) Pure Django + postgres sql db;
2) Django REST, React for frontend + sql database;
3) Django REST, React front-end and Google cloud service's (firestore noSql db, google storage and authentication).
What means in third version we will avoid whole ORM layer of Django and substitute with Google services.
There will be two options here:
Simple Git clone
In this option you can simple git clone project, run Django server locally and play with functionalities and code.
# make dir and clone project github repo
$md musical_nft_thumbnails && cd musical_nft_thumbnails

$git clone https://github.com/ilijapet/musical_nft_thumbnails.git .

# you need to have env or similar enviroment manager
$python -m venv env && source env/bin/activate

# you need to have pip installed
$pip install -r requirements.txt

# run django server
$python manage.py runserver
Now you can go to http://127.0.0.1:8000/ and play with app. Or change source code as you find most suitable.
Step by step guide
Second option is focused more on process for devs interested in how to put all this things together.
$md musical_nft_thumbnails && cd musical_nft_thumbnails
$git init
# Create .gitignore with our future env folder
$echo "env/" > .gitignore
$git add -A
$ git commit -m "First commit"
$git branch -M main
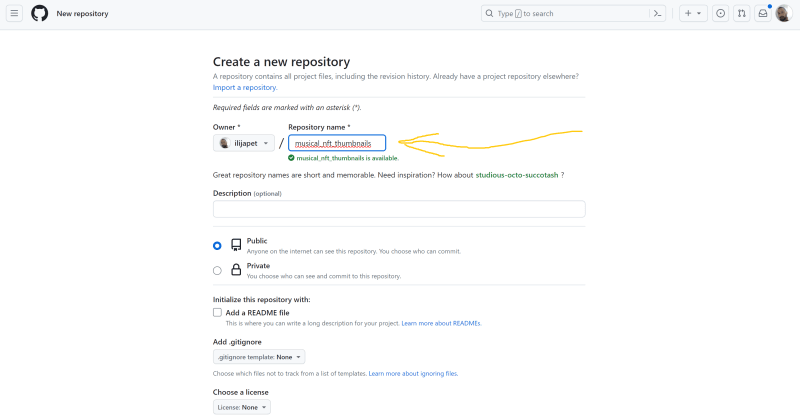
Go go Github repo and create new repo:
Now from command line =>
# add name of your branch
$git remote add origin https://github.com/ilijapet/musical_nft_thumbnails.git
$git push -u origin main
At this point we have local git repo, initial commit and code in your github repo.
Lets create virtual environment and activate them:
$python -m venv env && source env/bin/activate
Now we have local git, dedicated and with local git connected Github repo as well as local virtual environment created and activated.
Lets install Django and create our requirements.txt
# install django
$pip install django

# create requirements.txt
$pip freeze > requirements.txt
Basically from this point on we are ready to start coding. But before that here is overall architecture. In short: client send some request to our backend server, routed through urls our app views will handle the call. Read and write from sql database. Communicate with our smart contract when needed. Mix together all this processed data and return page to client. Fairly standard flow except web3 element with Polygon testnet Mumbai.
Code can be found in github repo

Posted on September 15, 2023
Join Our Newsletter. No Spam, Only the good stuff.
Sign up to receive the latest update from our blog.
Related
September 15, 2023

