Another Javascript Event Calendar?...

Connor Tangney
Posted on October 1, 2019
Yes. Another Javascript event calendar.
"But Couch3ater... Why?! There are hundreds, if not thousands, readily available for you to use on the internet!"
You're right. There sure are. That said, there are a couple reasons I decided that I wanted to go ahead and make yet another:
- A lot of the event calendars that support the features I am looking for come with some sort of pay-to-play model, offering a few of the features for free while only offering the "premium" features after paying a one-time or subscription fee. I can't stand these types of "Freemium" models.
- Many of the free event calendars that do offer all the features I am looking for do not support the ability to apply custom themes, or even make basic color changes. Not altogether useful when I'm trying to drop a free component into a white-label website!
Rationality aside, let's just jump into it. As with any problem that I am aim to solve, I try to break things down into their core elements. At its most basic, an event calendar really only needs a few things to work and look good (at least in this implementation 😅):
- Data.
- A list view.
- A details view.
Let's start with the data.
At the end of the day, unless you connect your calendar to some data, it's not really going to be that useful. In my case, this calendar is likely going to be communicating with a JSON document store, so for the sake of example, I will just have a smattering of event data stored in an array.
const _EVENTS = [
  {
    id: 1,
    name: 'PARK EVENT 1',
    date: '2019/10/20',
    desc: 'Short description of the event here. Displays on event LISTING.',
    info: 'Longer, more verbose description of the event. Displays on event MODAL in the content body.',
    type: 'park',
    img: 'https://placehold.it/150x150'
  },
  ...
]
For the sake of brevity, I have only included one event object, but that should be enough to give you a good idea of how I have structured my data. I am on the fence about adding an additional field labeled "thumbnail" that would allow users to upload a separate image to be used as the thumbnail for the event listing. Right now, the "img" field is used as both the listing thumbnail and the modal header. Luckily, where I've spun this up myself, changing this is easily accomplished 😁
Now on to the looks.
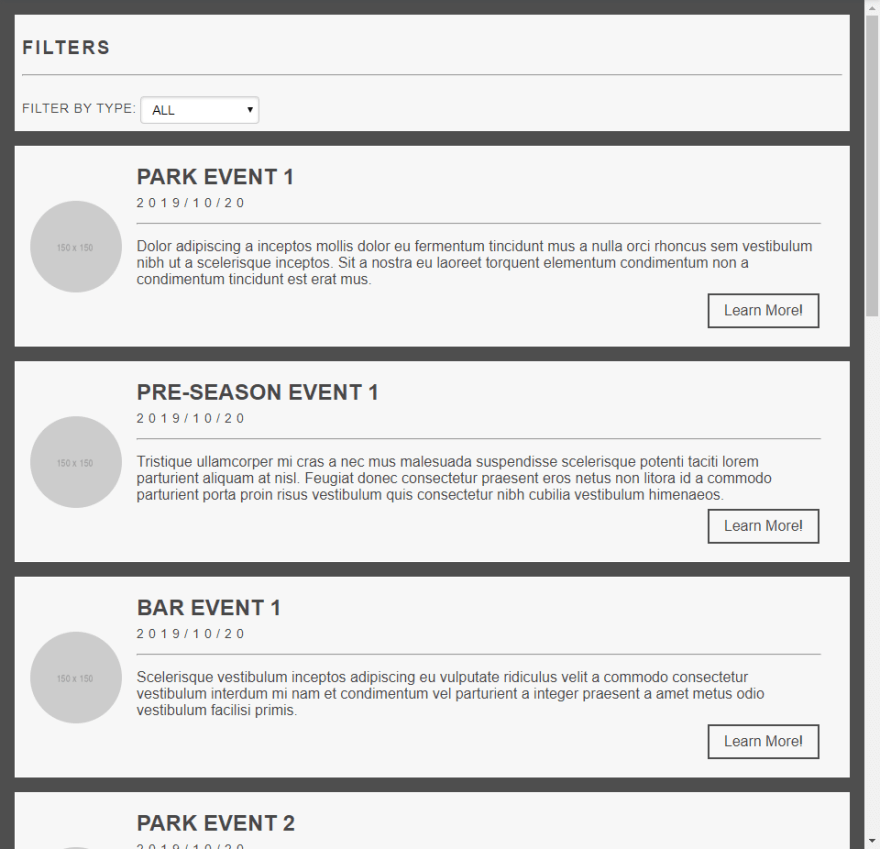
With a rough layout for my data hammered down, it was time to move onto the more exciting part -- designing the actual calendar! As someone who has used event calendars in the past, I have formed some opinions on what I like to see from them, namely that I hate the standard "calendar" view. Nowadays, when I see a calendar interface, my mind immediately defaults to "Oh, this is a DatePicker," and I find myself trying to select a range of dates. This is just my personal experience, but I'd be lying if I said it didn't impact my design choice. After all, you're looking at a list view layout, now aren't you?
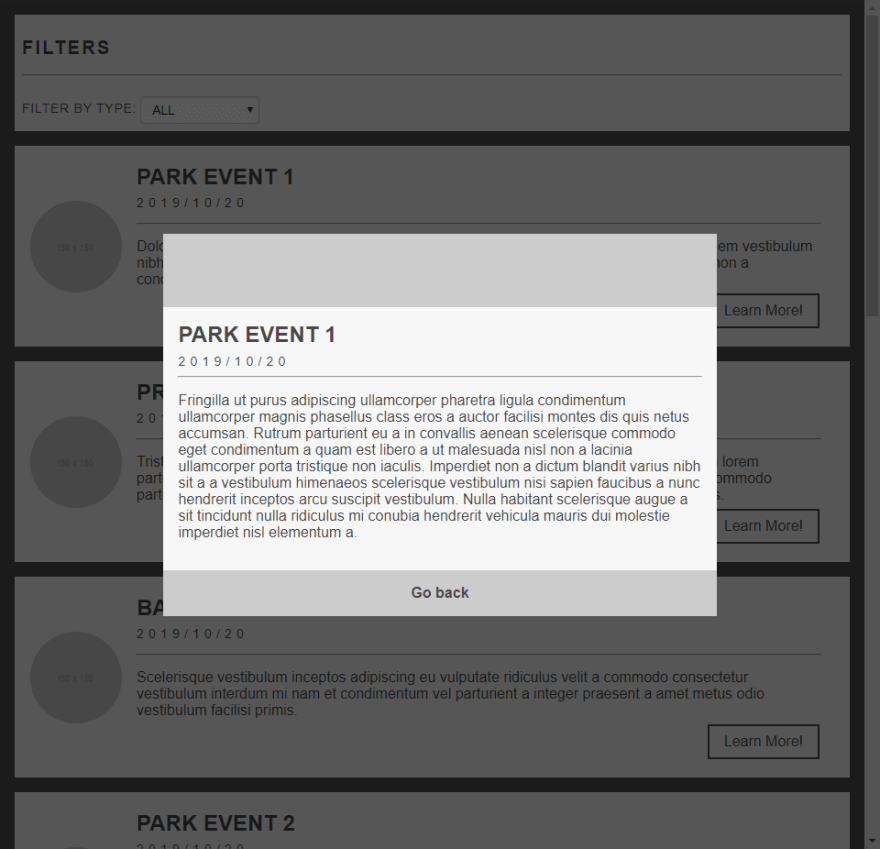
It was necessary to also inlude a secondary view for the calendar in order to display the expanded details about the event. For this, I just went with a pretty simple modal that opens when a user selects the Learn More button. Through some black-magic trickery (also read: regex), information from the event data is pulled from the array by index...
  const target = event.target;

  let eventId = target.closest('section.event-listing');
  eventId = eventId.getAttribute('data-event-id')
  eventId = eventId.match(/\d+/g)[0];

  const eventListing = _EVENTS[eventId - 1];
Then dumped into the modal. You'll notice I'm subtracting one from my eventId value. This is because my ID's are not zero-indexed. If I were to use this in a production setting, I would almost certainly normalize these indexes to reduce confusion, but for the time being, this footnote will have to be good enough to remind me! 😆
Tie it all together...
Once I had everything mostly planned out, I set out to writing the code to make it all work. As I had set the foundations nicely, all I really needed to do was loop through my events and append a new child to the DOM for each one. I made it a goal to not use innerHTML for anything because I mean, why should I be using that in the first place? Where I am not connecting this to an API for the moment, I won't go over how to fetch your data, nor will I go over any implementation of a "loading" state, but setting something like that up should be child's play if you comfortably read this far!
If there's any interest, I can certainly do a quick write up of how I went about plugging this in to my current project and tying it to backend data.
Thanks for reading!

Posted on October 1, 2019
Join Our Newsletter. No Spam, Only the good stuff.
Sign up to receive the latest update from our blog.
Related
February 19, 2021


