Mech Keebs 101 - Customising a keyboard

Codeidoscope
Posted on March 19, 2020

This article is part of my Mechanical Keyboards 101 series in which I talk about mechanical keyboards, their components, customisation and how to get started. Read the rest of the series here.
Table of Contents
How do you customise a mechanical keyboard?
I - Cases
II - PCBs
III - Switches
IV - Keycaps
IV - Cables
How do you customise a mechanical keyboard?
This article is a long one, so get yourself a cuppa and don't hesitate to bookmark it if you want to keep it for later!
Cases
Cases make for one of the most important parts of the keyboard in terms of aesthetic as they are, along with the keycaps, the most visible part.
You can find cases in so many different materials, although metal and plastic seem to be the most common ones. People have been getting creative with concrete and wood cases, however. The type of case you choose will impact your typing experience, mostly in terms of how your keyboard will sound when you type. Metal cases are often used for higher-end keyboards, and can be pretty hefty, weighing between 800gm and 1.5kg+!
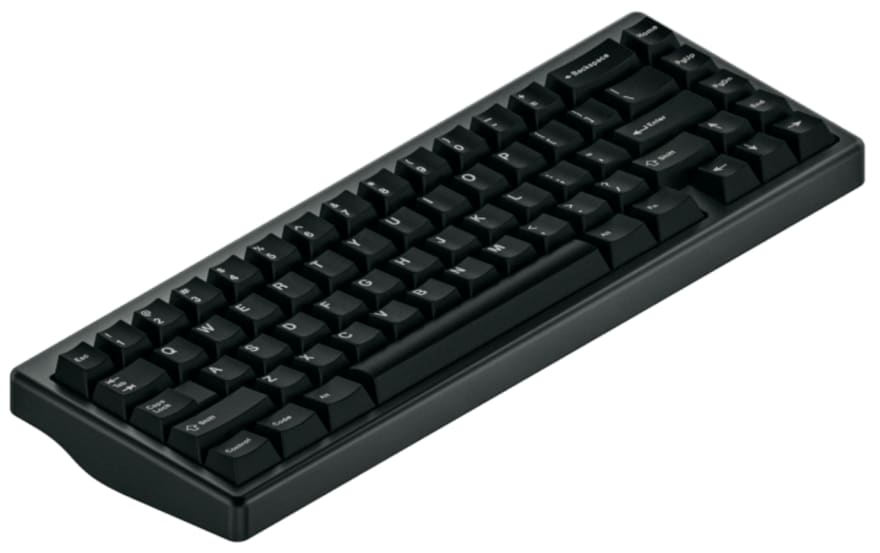
An aluminium keyboard - src
A concrete case - src
PCBs
Printed Circuit Boards are not as customised as the rest of the keyboard parts, but for each size, you will find different PCBs. Some will have LEDs incorporated so that you can light up your keyboard in different colours. Some allow you to programme your keyboard entirely, depending on the software they ship with. Some will require you to solder your switches to them, while others are 'hot-swappable'. Your PCB will also determine the type of connector to use, whether it's USB-C or micro-USB or other.
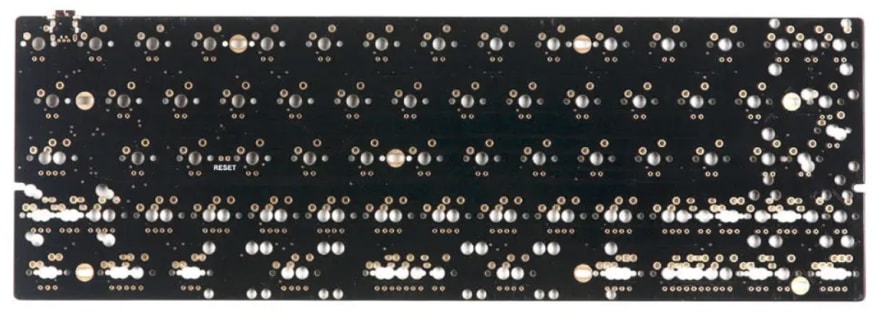
A PCB - src
Plates
Plates are another hidden component that still has its importance. They're not available on all keyboards, but if you use one, it will likely bear the weight of the switches (as opposed to the PCB doing that). This impacts how your keyboard sounds when you type, and the material in which the board is made also affects this. It also stabilises switches more than if they are PCB-mounted.
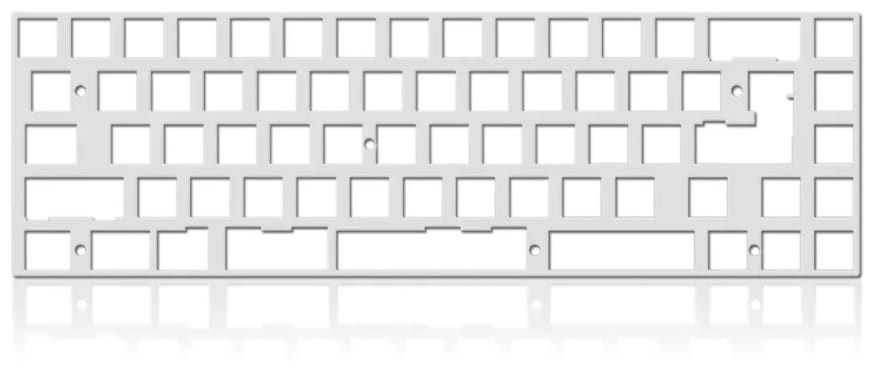
An aluminium mounting plate - src
Switches
Switches are one of the most customisable parts of a keyboard, and are also probably the most difficult part to choose when starting. The switch is what determines your typing experience. Do you want to hear audible clicks when you type? Do you want a fast key for gaming? Do you make lots of typos? Do your fingers tire after a while typing? These are all dependent on switch.
I - Types of switches
Arguably one of the most important thing to get right when building your keyboard is to pick the right switches.
There are several variable to take into account when choosing a switch:
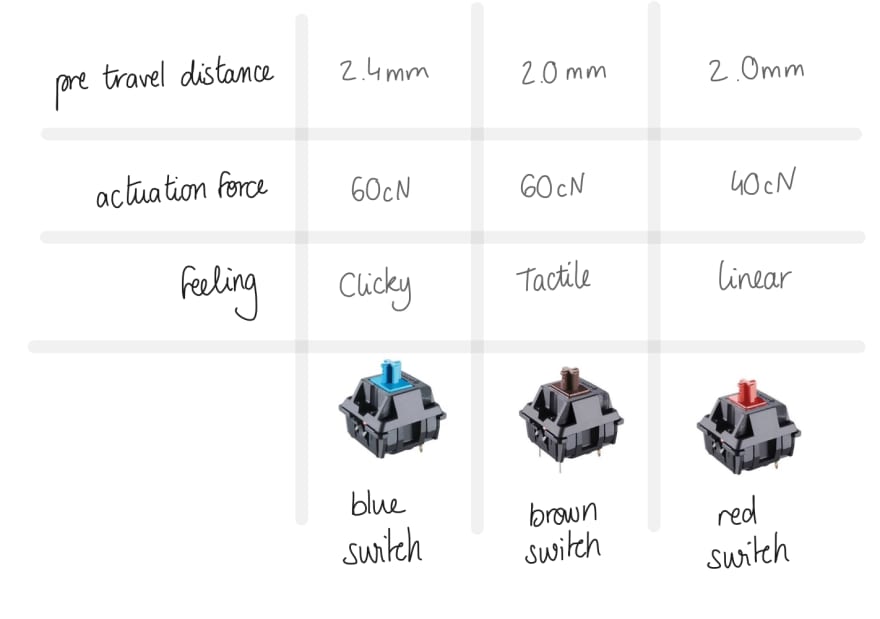
- The pre-travel distance, which indicates how far down a keycap has to travel before the keystroke is registered by your keyboard
- The actuation force, which is how hard you need to press the key for it to move (the higher the number, the harder it is to press the key)
- The feeling, which determines what kind of feedback (audible or tactile) you will get
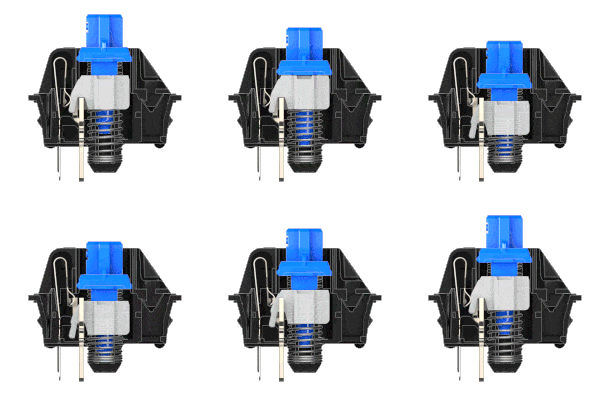
- The sound, which is generated by a buckling spring, which produces an audible click, or can happen when a key "bottoms out", meaning that the stem of the switch goes all the way back into the casing. The "thock" sound a keycap makes when it hits the casing, if you will.
There are three main categories of switches: Linear, Tactile and Clicky.
Linear switches are quiet and require very little force to press, making them reactive and quiet, which is useful for fast typers, gamers who may need to repeatedly press the same key, and people who work in offices and don't want to disturb everyone. They give the user almost no audible feedback, and no tactile feedback.
Tactile switches give the user more feedback. They require a little more force to press than linear switches, and are often a good compromise for those who want quiet switches that are less mushy than linear switches. They give the user tactile feedback, but little audible feedback.
Clicky switches, however, require the most force to press down, and make an audible click when pressed. They give the user both tactile and audible feedback. They will probably annoy everyone around you, but they make for great ASMR if that's what you're into!
To get an idea of what the switches sound like when typing, I invite you to watch this video, which extensively compares the sound of the different types of switches.
You may have noticed in the matrix above that different switches have different colours. The most common switches you will find are Cherry switches. Other brands such as Gateron and Kailh model their stems on the Cherry switch to ensure compatibility between keycap sets. There are variations, of course, with "box" switches offering more stability and less wobble for the keycap, for example.
There also exists Alps switches, and Topre switches, although compatibility with those may affect what possible keycap sets you will be able to use.
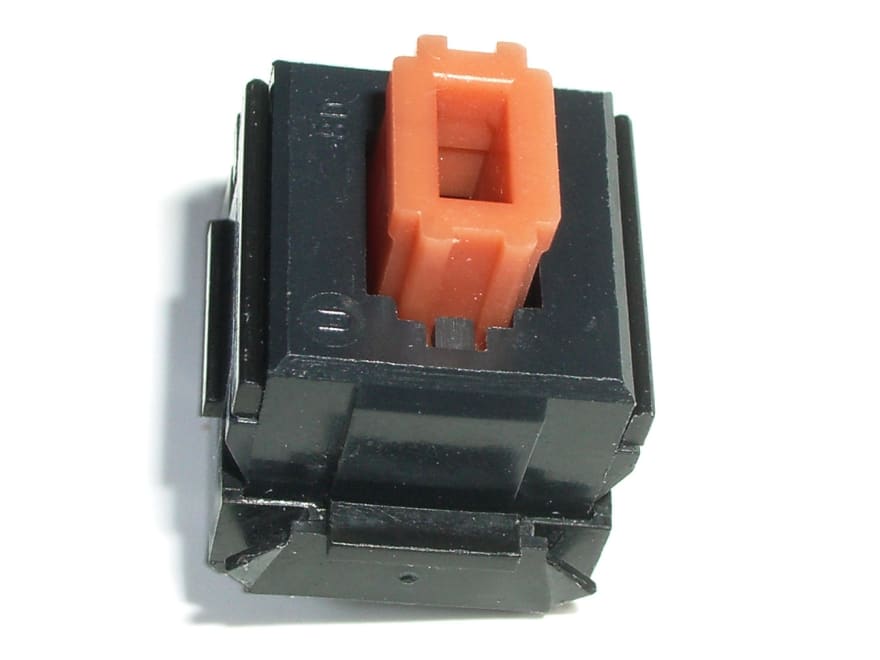
Alp switch - src
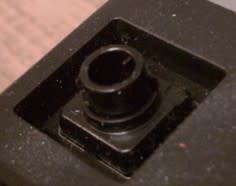
Topre switch - src
Keycaps
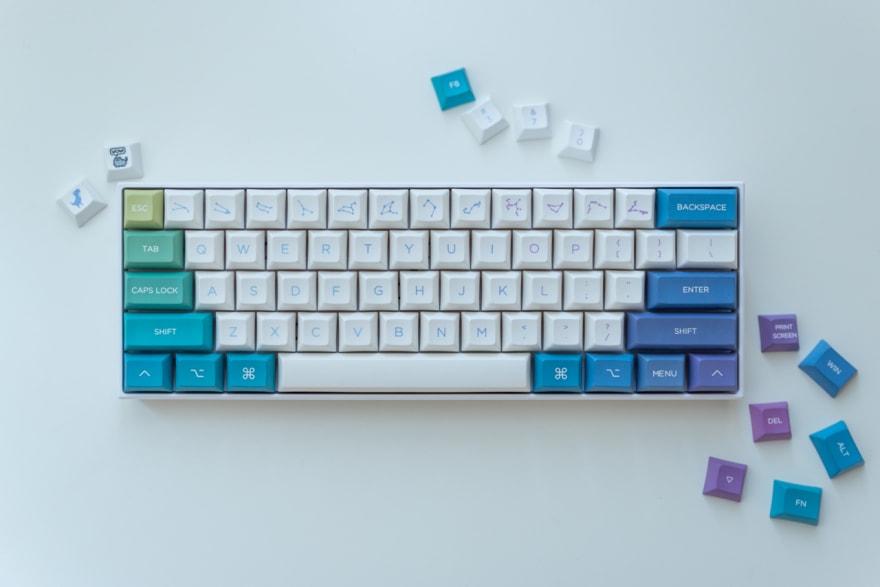
Now for my favourite part, the keycaps! Keycaps are what most people will notice first when looking at your board. You might want some regular plain keycaps, some keycaps that let the light of your RGB through, or just some over the top, ridiculous keycaps!
The bad news is the choice is vast... The good news is... The choice is vast! Let's dig deeper. First things first, each section of your keyboard has a name, which can be useful to understand what people are talking about when they refer to things like modifiers or function keys.
Remembering these sections is useful when figuring out what keycaps are needed for your own keyboard. Some kits are sold without a numpad, so you're fine if you have a TKL or a 60% keyboard, but you will be missing keys if you own a 100%.
Next, it's important to know that keycaps have different profiles. The profile of a cap determines its shape and height, which in turn will inform your own comfort when typing. I enjoy flat keys that are more stable, so prefer higher keys.
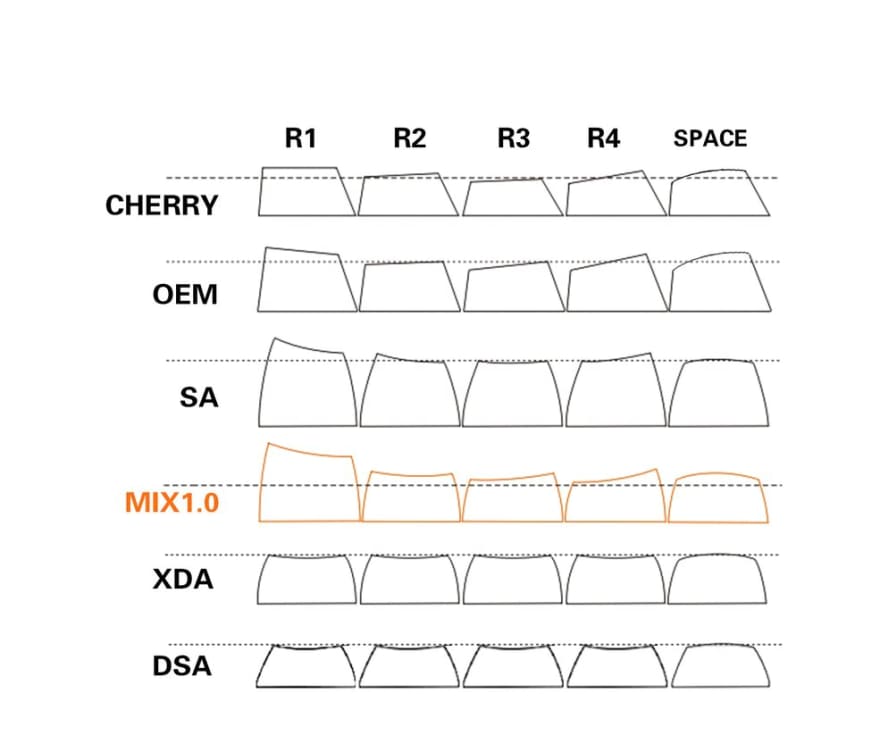
Keycap profiles - src
You are likely to encounter these profiles in the names of the keycap sets that members of the community design, such as GMK Vaporwave (GMK is a German manufacturer that uses a Cherry profile), or DSA Mystery.
In practice, this is what two different profiles might looks like:
The next thing to take into consideration once you've gone down the rabbit hole that is mechanical keyboards is the materials used to make the keycaps. They are usually made out of plastics (ABS, POM, PBT) that have different properties. POM are known to be a little slippery, and ABS to get shiny pretty quickly, for example.
The keycaps that are not made of plastic can be made of pretty much anything. There are sets made of brass or wood, and there is also a subcategory of keycaps called "artisan" keycaps. These are handmade or made in very small quantities, and are pretty much guaranteed to burn a hole through your bank account. They can be made to match your keyboard, or to represent whatever you want.
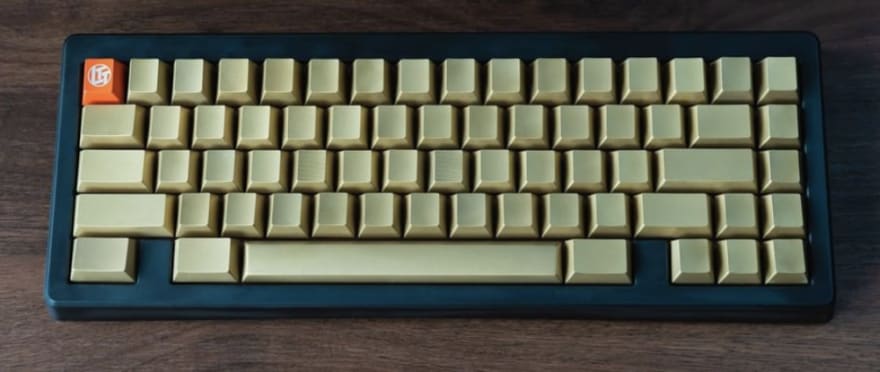
An all-brass keyset by Salvun - src
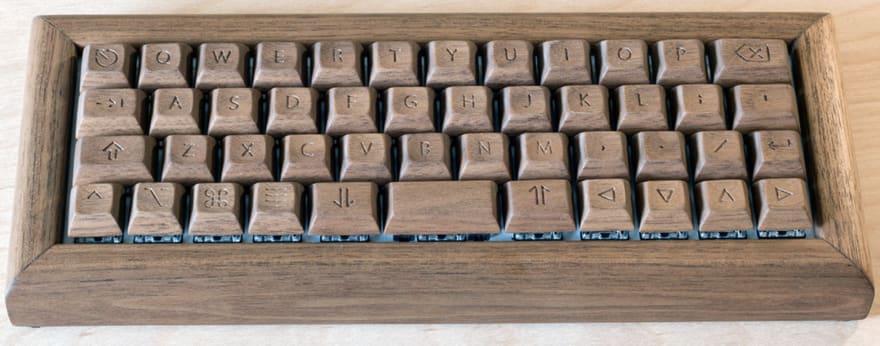
An all-wood keyset - src

An artisan keycap by tinymakesthings - src
Cables
Finally, let's discuss cables! You might not need one if you keyboard supports Bluetooth, but cables can very much be a statement accessory to complete the look of your keyboard.
They currently tend to be handmade, although you can buy kits to make your own if you want to practice your soldering skills. Cables are coiled or straight, depending on the look you're going for, and some people also add aviation connectors to add a little something to their cables.
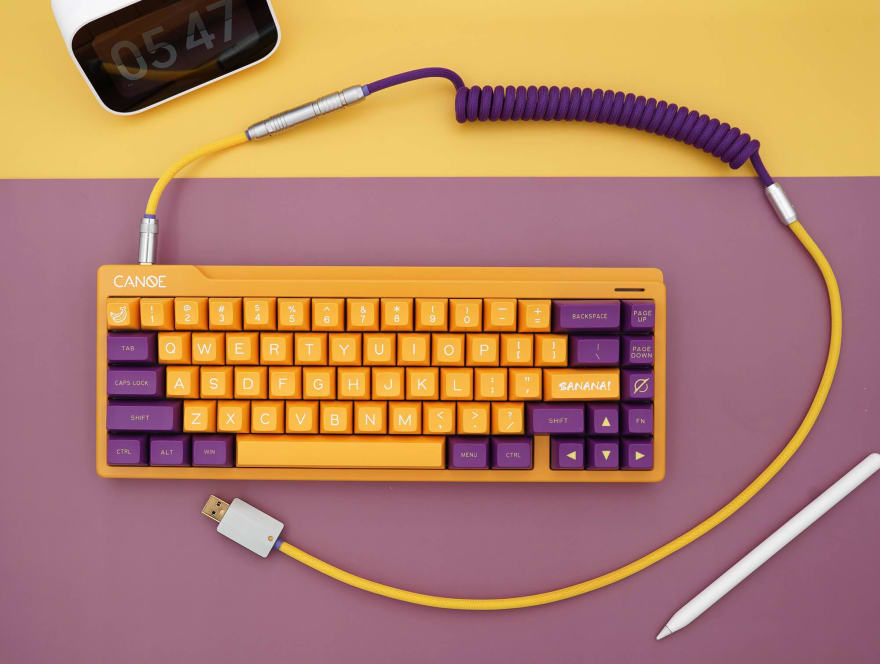
A custom cable - src
Congrats, you made it to the end! Now that you know about the types of keyboards you can find, and can parts can be customised and how, let's get you started with mech keyboards!.
To read the rest of the articles in my Mechanical Keyboard 101 series, head over to this page, or read about different types of keyboards or how to get into mechanical keyboards.

Posted on March 19, 2020
Join Our Newsletter. No Spam, Only the good stuff.
Sign up to receive the latest update from our blog.
