Synchronize Chrome Extensions state using custom events

Carlo Gino Catapang
Posted on March 6, 2023
How to use custom events to sync state between Chrome Extension instances
Introduction
This is a continuation of the previous article about creating a Chrome Extension using Svelte and Tailwind.
The problem
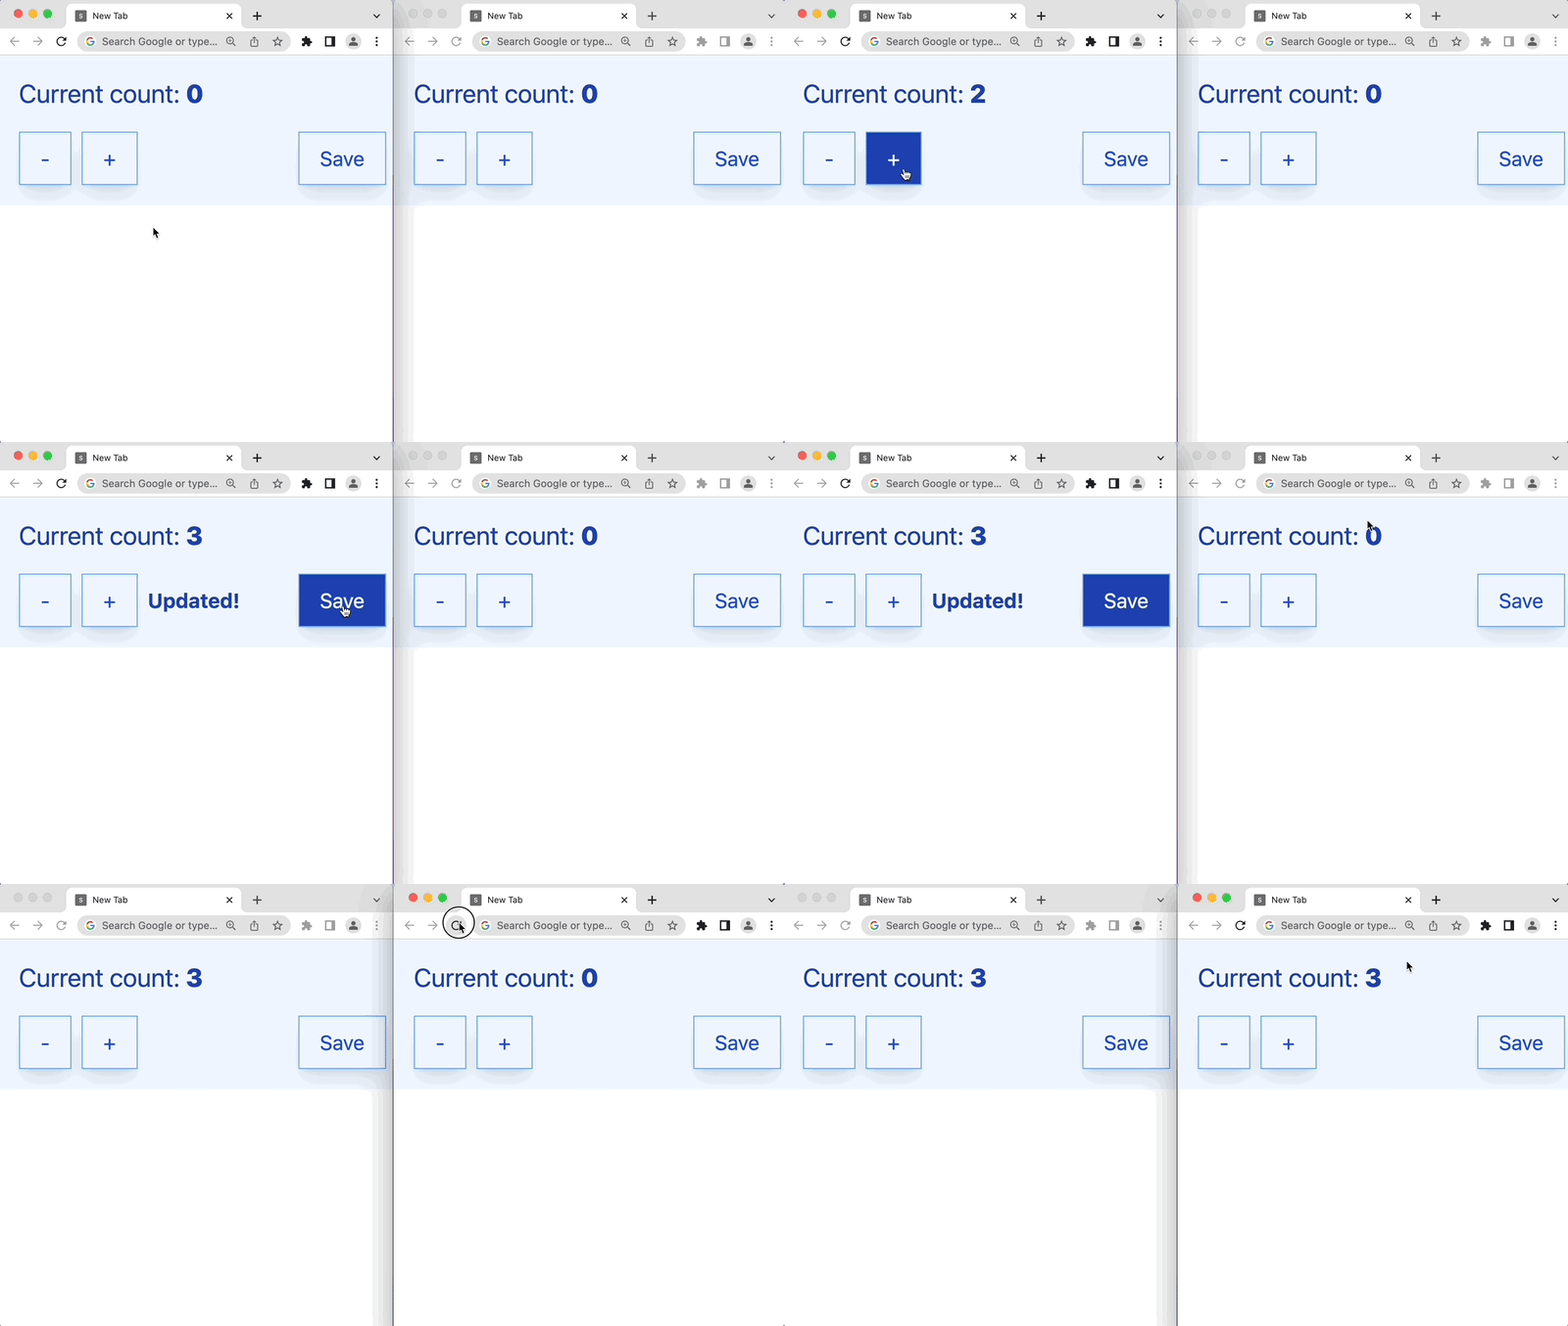
When an action is performed in one instance of the plugin, the data is not synced automatically. For example, if the user updates the count in one tab, the other tabs' content does not automatically react to changes.
Project setup
Clone the repo from the previous blog
The easiest way is to use degit.
npx degit codegino/svelte-tailwind-chrome-plugin#02-options my-target-folder
Install dependencies and run the applicaiton
cd my-target-folder
npm install
npm run dev
Handling Event Communication
This article will focus on using custom events to allow plugin communication. Check the api documentation to learn more about handling other events.
To create our custom events, we can use the chrome.runtime API. The runtime API provides a way to send messages between different parts of the extension.
Here are the steps that we can follow when creating custom events:
- Trigger an event (REQUIRED)
- Add event listener (REQUIRED)
- Handle the response from listeners
- Handle connection error
- Handle disconnection
1. Trigger an event
This step includes two changes. First, we need to change the function declaration to an async/await syntax so it will be easier to read later on. Second, we need to dispatch a message with some payload.
The payload could be anything. In this example, I added a
typeproperty to the payload to identify the event in the event listener.
// src/components/Counter.svelte
<script lang="ts">
  export let count: number;
  let message: string = null;

  const increment = () => (count += 1);
  const decrement = () => (count -= 1);


-  const handleSave = () => {
-    chrome.storage.sync.set({ count }).then(() => {
-      message = "Updated!";
-
-      setTimeout(() => {
-        message = null;
-      }, 2000);
-    });
-  };
+  const handleSave = async () => {
+    await chrome.storage.sync.set({ count });
+    message = "Updated!";
+
+    // This is the only different behavior
+    await chrome.runtime.sendMessage({count, type: "count_updated"});
+
+    setTimeout(() => {
+      message = null;
+    }, 2000);
+  };
</script>
2. Add an event listener
Since we are using Svelte, we can use the onMount hook to add the listener.
// src/components/Counter.svelte
<script lang="ts">
+  import { onMount } from "svelte";

  export let count: number;
  let message: string = null;


+  onMount(() => {
+    chrome.runtime.onMessage.addListener(handleMessageEvent);
+  });
+
+  function handleMessageEvent(request, _, sendResponse) {
+    if (request.type === "count_updated") {
+      count = request.count;
+    }
+  }

  const increment = () => (count += 1);
  const decrement = () => (count -= 1);

  const handleSave = async () => {
    await chrome.storage.sync.set({ count });
    message = "Updated!";

    await chrome.runtime.sendMessage({count, type: "count_updated"});

    setTimeout(() => {
      message = null;
    }, 2000);
  };
</script>
After adding the listener, we can see that the count is updated in all tabs.
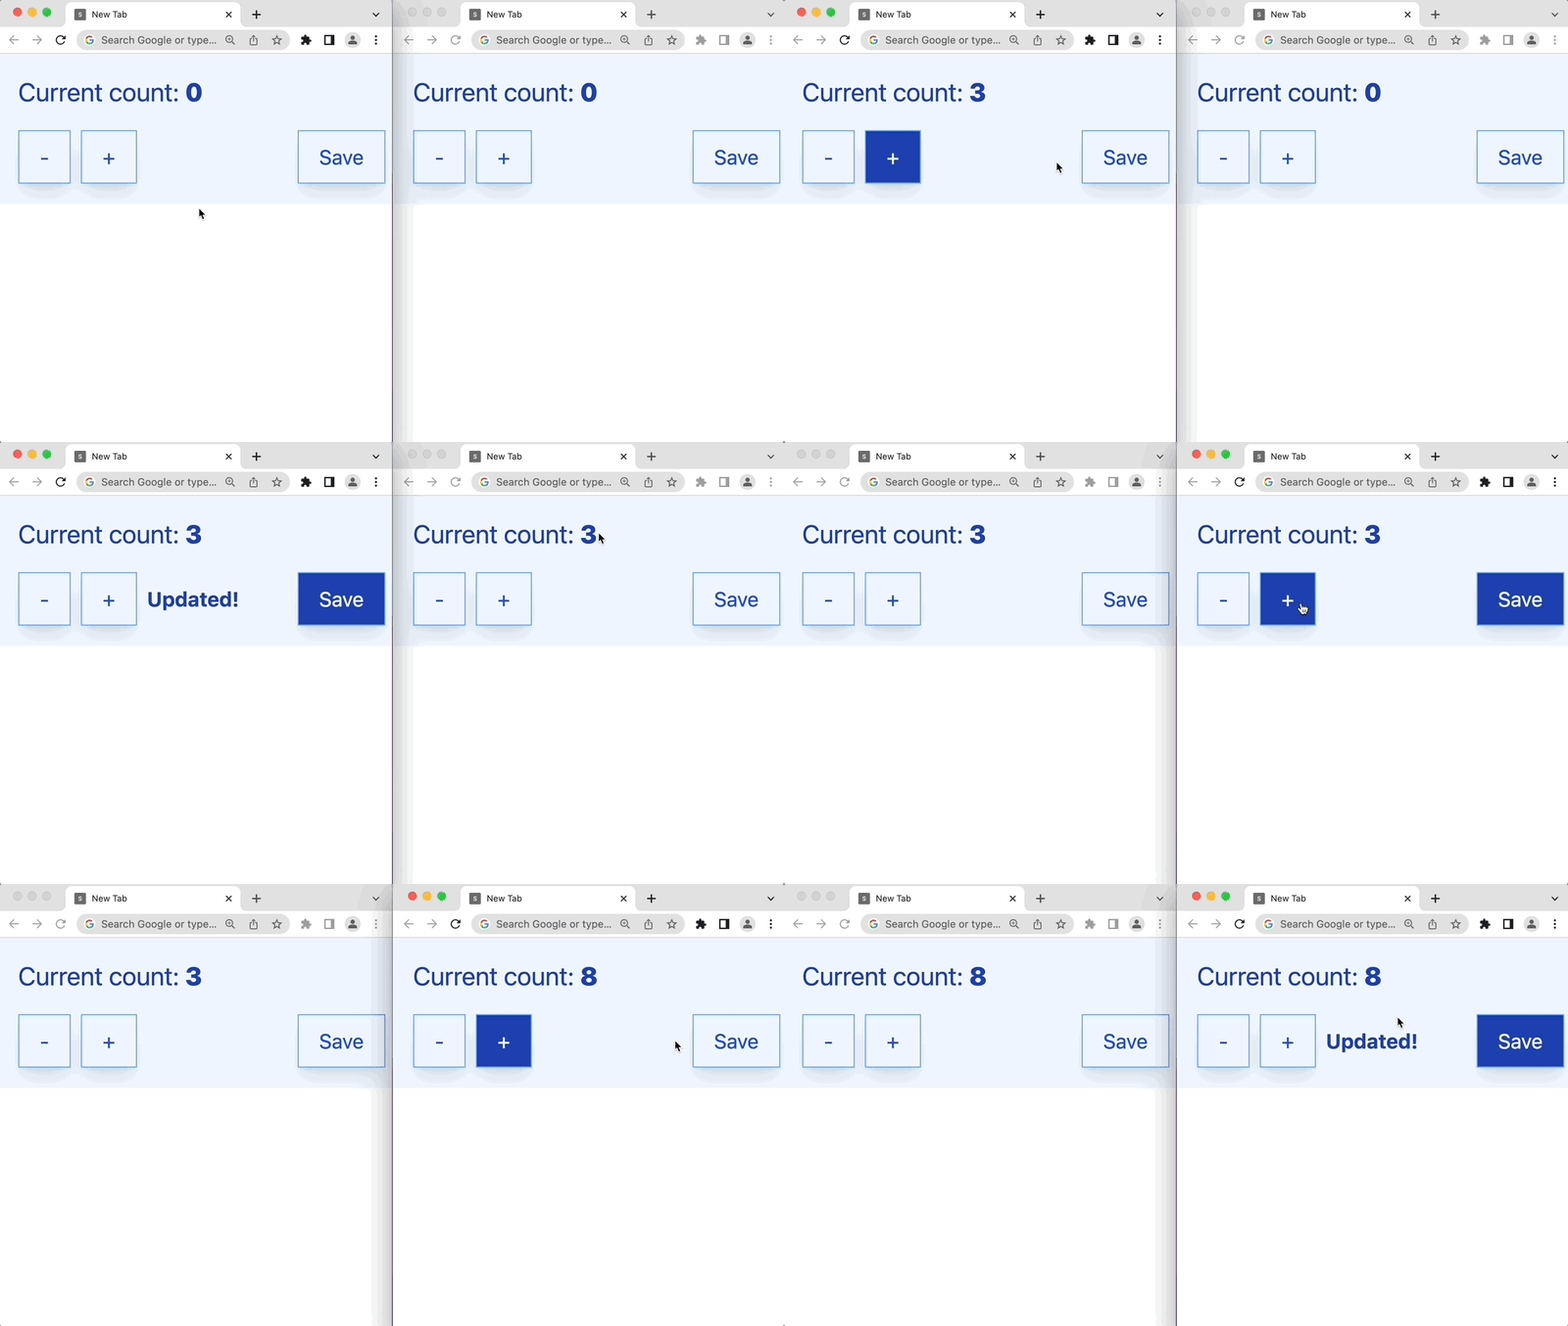
It is easy verify that it will also work in the popup because we are using the same component.

3. Handle the response from listeners
In the event handler, we can call a sendResponse function with the payload that we want to send back to the sender. In this example, I'm sending back the change in the count value.
The sendMessage function returns a promise. We can use the await keyword to get the response from the listener. In this example, I'm simply appending the response to the message;
// src/components/Counter.svelte
function handleMessageEvent(request, _, sendResponse) {
  if (request.type === "count_updated") {
+    sendResponse({ message: `from ${count} to ${request.count}` });
    count = request.count;
  }
}

const handleSave = async () => {
  await chrome.storage.sync.set({ count });
  message = "Updated!";


-  await chrome.runtime.sendMessage({count, type: "count_updated"});
+  const res = await chrome.runtime.sendMessage({count, type: "count_updated"});
+  message += ` ${res.message}`;

  setTimeout(() => {
    message = null;
  }, 2000);
};
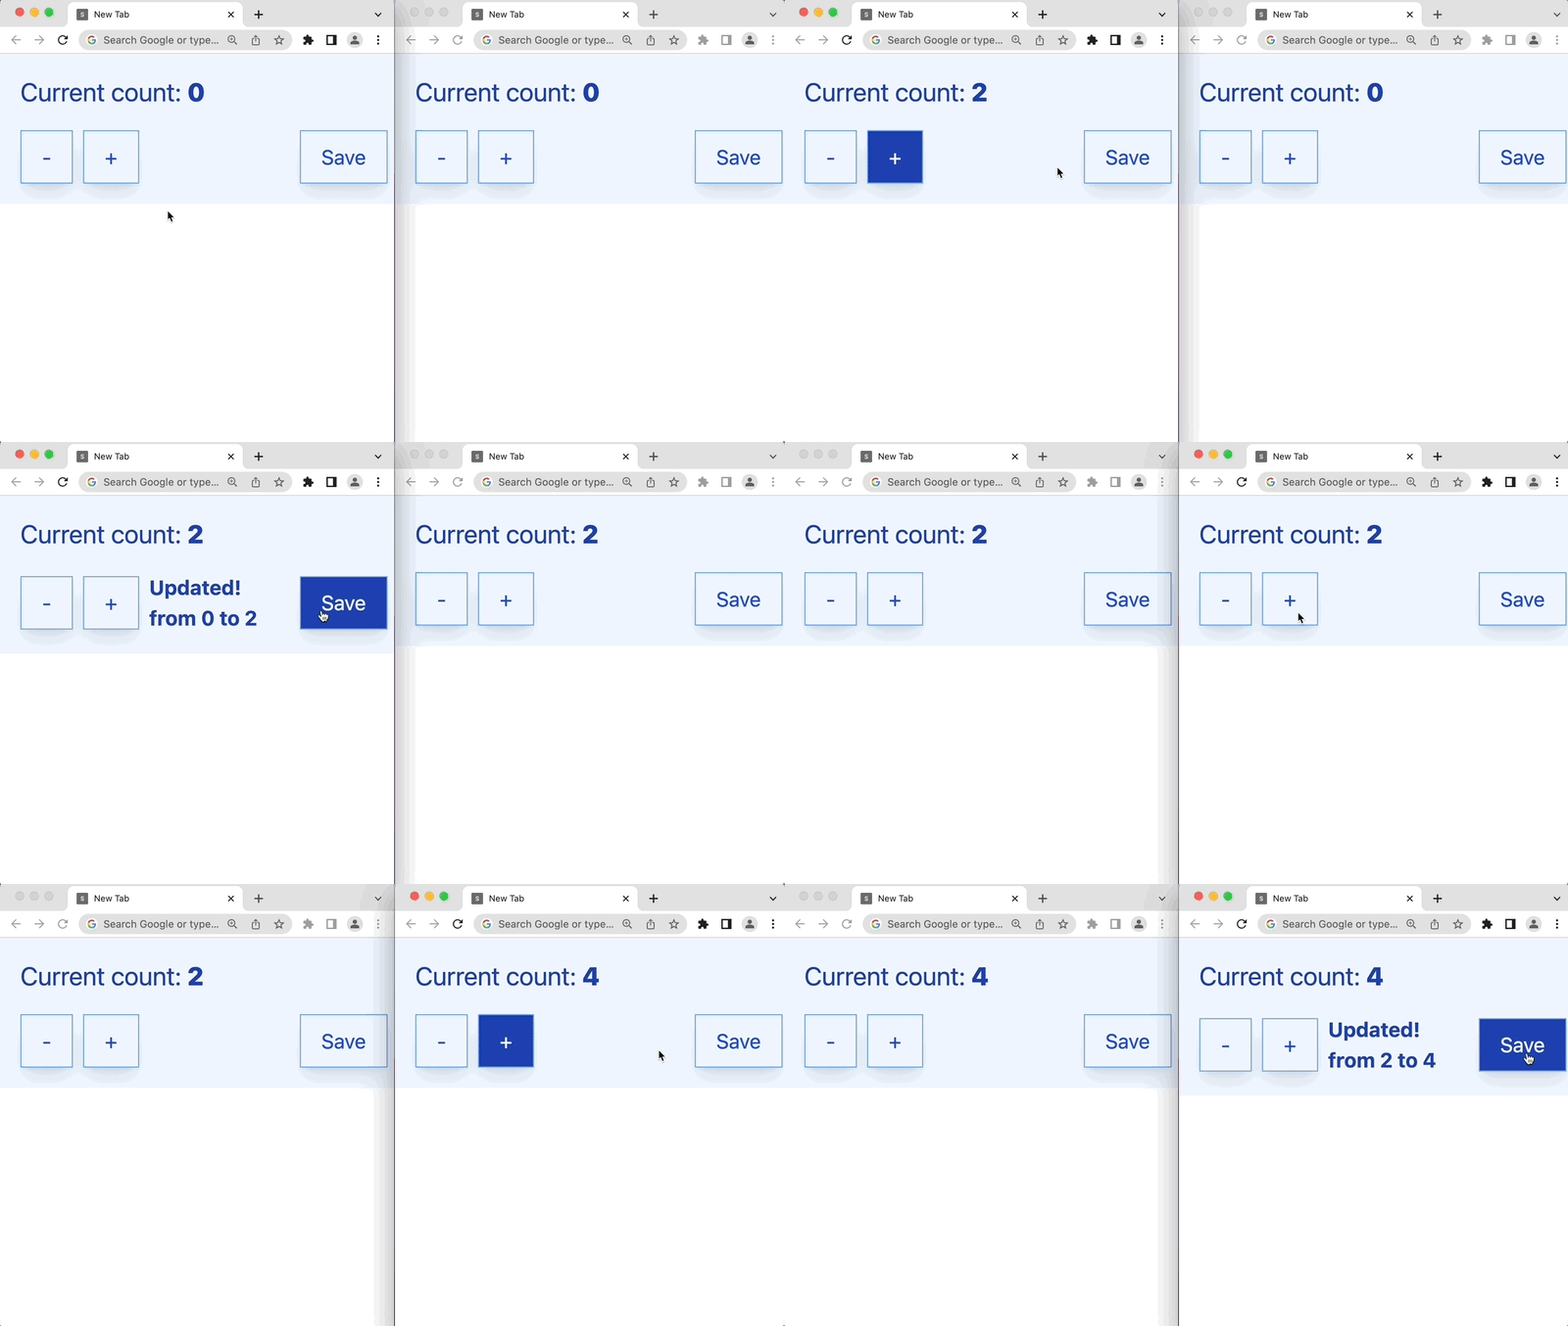
The response is now at the end of the success message.
4. Handle connection error
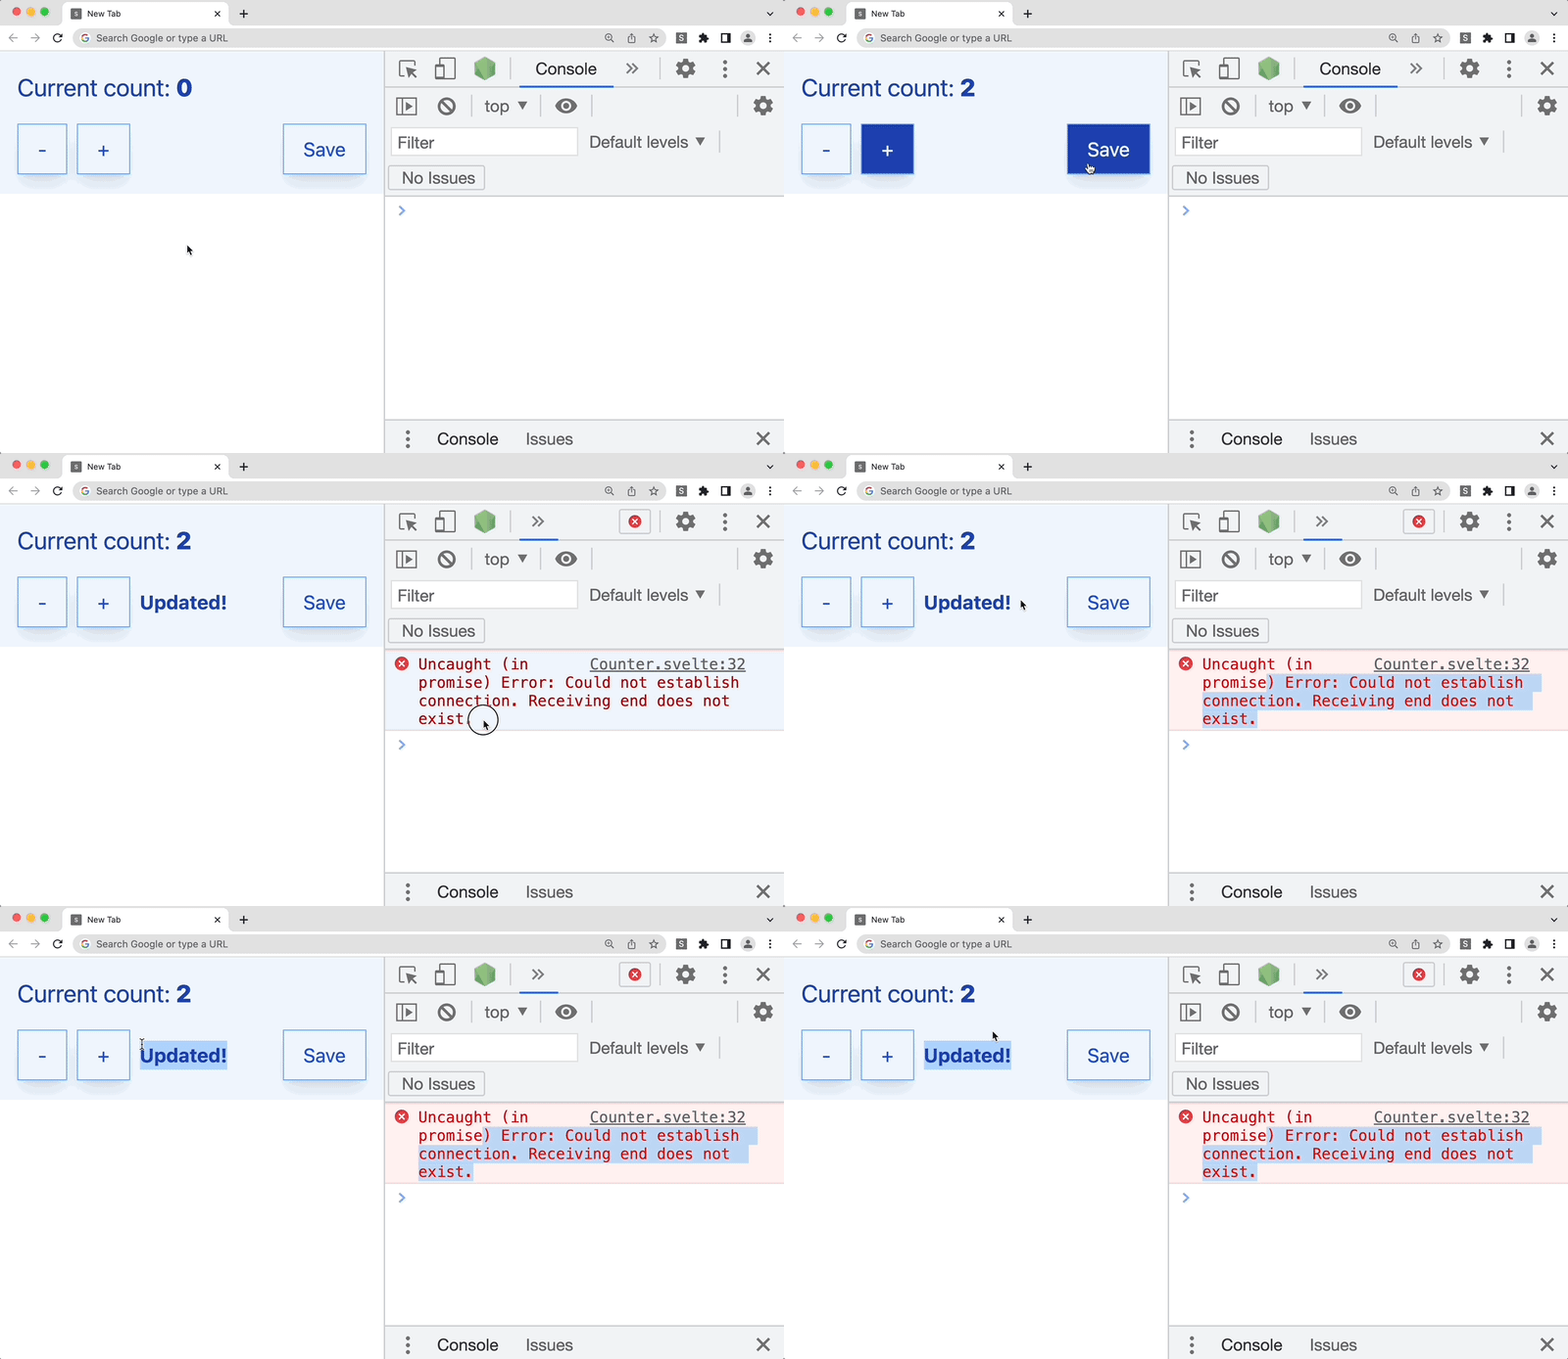
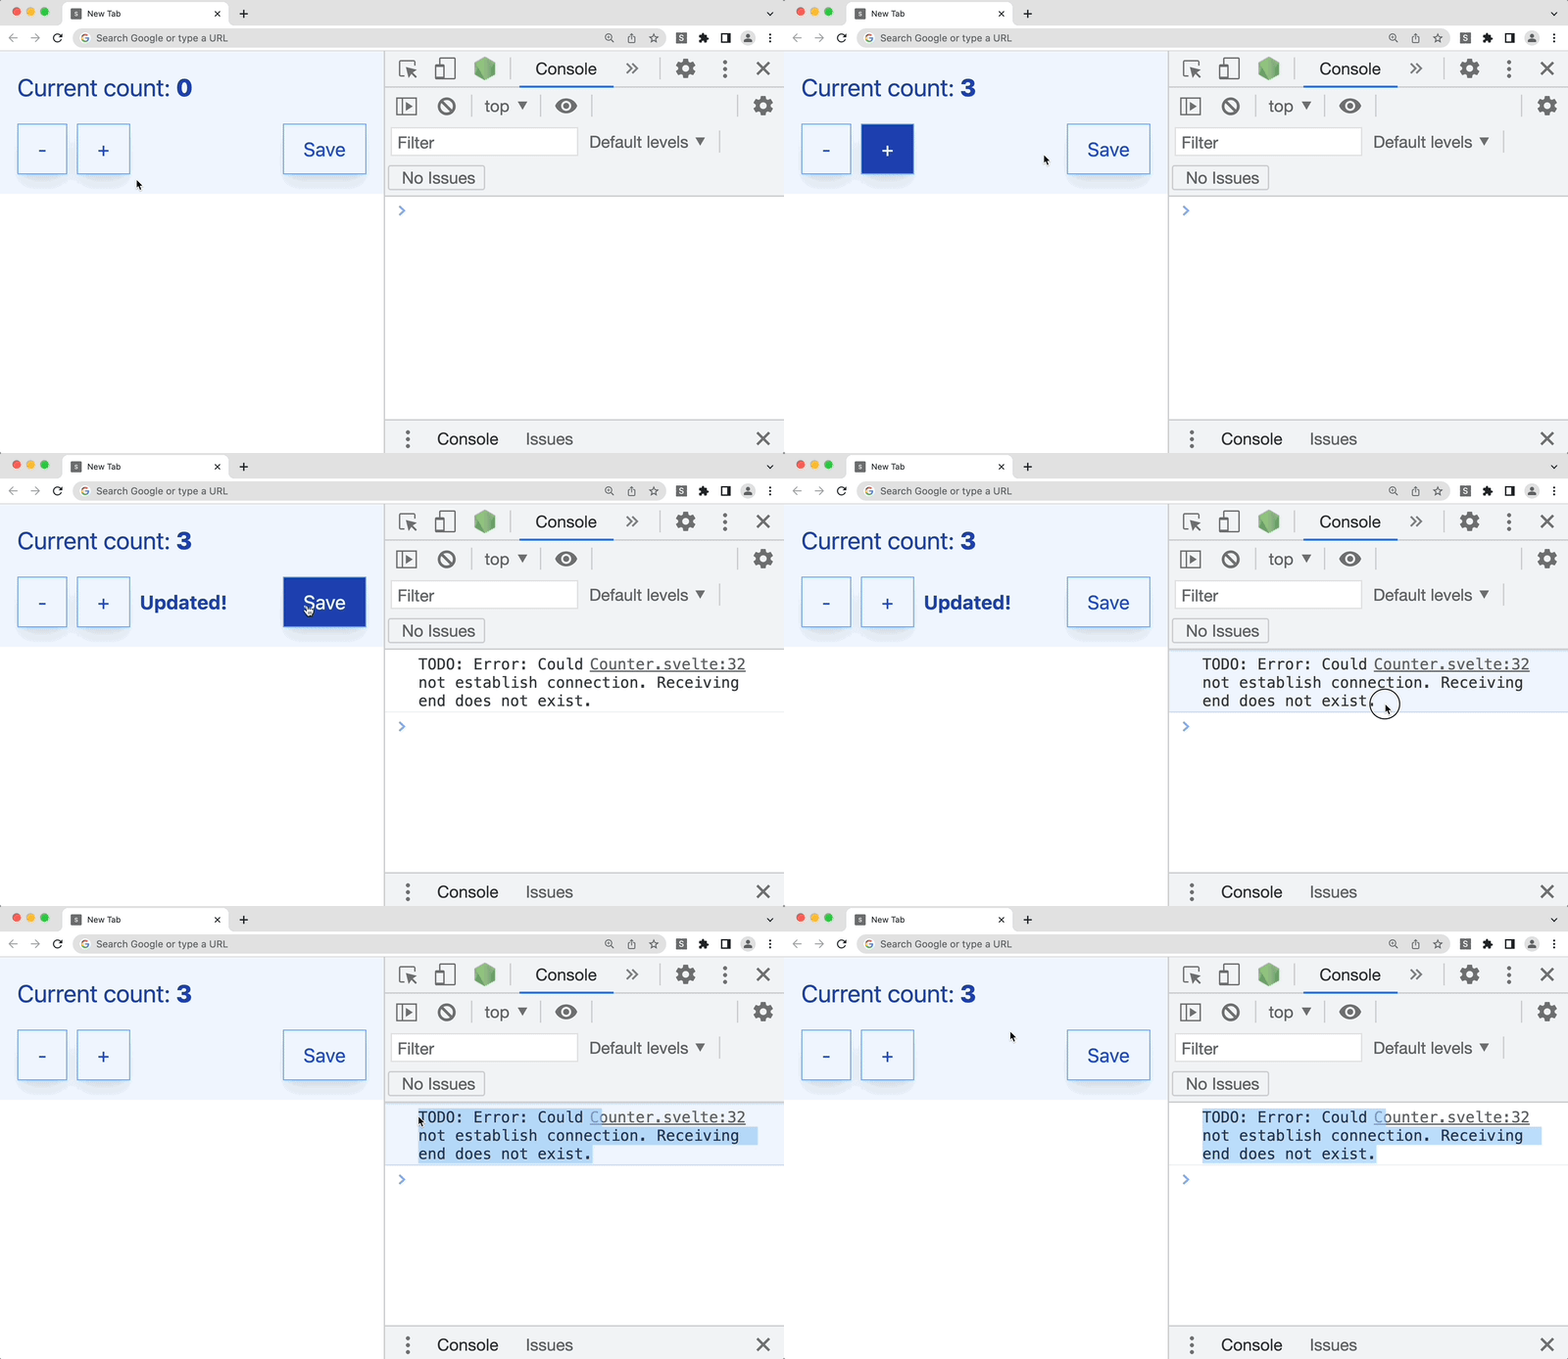
In case we only have one instance of the plugin running, the sendMessage function will throw an error. Also, the success message Updated! will always be visible because the code to hide the message will not be reached.
We can handle the error by wrapping the sendMessage in a try/catch block.
// src/components/Counter.svelte
  const handleSave = async () => {
    await chrome.storage.sync.set({ count });
    message = "Updated!";


-    const res = await chrome.runtime.sendMessage({count, type: "count_updated"});
-    message += ` ${res.message}`;
+    try {
+      const res = await chrome.runtime.sendMessage({count, type: "count_updated"});
+      message += ` ${res.message}`;
+    } catch (error) {
+      // Handle error here
+      console.log("TODO:", error);
+    }

    setTimeout(() => {
      message = null;
    }, 2000);
  };
Side note: Handle connection error with callback
If you are using a callback for whatever reason, you need to explicitly check for the error.
// src/components/Counter.svelte
const handleSave = async () => {
  await chrome.storage.sync.set({ count });
  message = "Updated!";

  chrome.runtime.sendMessage({count, type: "count_updated"},
    (res) => {
      const lastError = chrome.runtime.lastError;

      // This conditional check is important to remove the error
      if (lastError) {
        // Handle error here
        console.log("TODO:", lastError.message);
        return;
      }
      message += ` ${res.message}`;
    }
  );

  setTimeout(() => {
    message = null;
  }, 2000);
};
Now, the error is handled properly, and the code to hide the message continues to execute.
5. Unsubscribe from the listener
Sometimes, we need to free up resources. In this case, we can use the onDestroy hook to remove the listener.
// src/components/Counter.svelte
import { onDestroy } from "svelte";

// Rest of the code...

onDestroy(() => {
  chrome.runtime.onMessage.removeListener(handleMessageEvent);
});
An alternative is to return a function from the onMount hook. This function will be called when the component is destroyed.
// src/components/Counter.svelte
// Rest of the code...

onMount(() => {
  chrome.runtime.onMessage.addListener(handleMessageEvent);

  return () => {
    chrome.runtime.onMessage.removeListener(handleMessageEvent);
  };
});
To simplify the demo of removing the listener, I'm removing the listener after 4 seconds the component is mounted.
// src/components/Counter.svelte
onMount(() => {
  chrome.runtime.onMessage.addListener(handleMessageEvent);

  // For demo purposes only
  setTimeout(() => {
    chrome.runtime.onMessage.removeListener(handleMessageEvent);
  }, 4000);

  return () => {
    chrome.runtime.onMessage.removeListener(handleMessageEvent);
  };
});
The other tabs will stop listening count_changed event, and there will be an error because no one is listening.

Repository
Check the source code here
What's next
- [ ] Add a content script
- [ ] Add a background script
- [ ] Add a dev tools page
- [ ] Deploying the extension

Posted on March 6, 2023
Join Our Newsletter. No Spam, Only the good stuff.
Sign up to receive the latest update from our blog.
Related

August 14, 2023
