3 Aspects to consider when using Google Cloud Serverless VPC Access

Ernesto Lopez
Posted on December 26, 2022

Serverless VPC Access is a service inside Google Cloud that allows to connect serverless services to your Virtual private cloud.By default, services like Cloud Functions, Cloud Run, App Engine uses external endpoints that allow other services to reach to them. In case that you want to keep connection to these services only accessible to other instances inside a VPC and to use private IPs and private DNS you need to use Serverless VPC Access
There are good documentation about how to use it, even for Shared VPC:
- Cloud Run: Connecting to a Shared VPC network
- Cloud Functions: Connecting to a Shared VPC network
- App Engine: Connecting to a Shared VPC network
On the next sections, I will focus on 3 networking aspects that we should consider when using Serverless VPC Access:
IP Addressing
In reality, Serverless VPC Access consist of an access conector that is created using VM instances (On December 2022 there are only 3 types: f1-micro, e2-micro,e2-standard-4). The Instance selection is based on the network Throughput you require and the "cluster" can be minimum 2 instances and maximum 10 instances, in fact this is the default configuration.
NOTE: These instances are not listed inside GCE instance API. You can test it by running gcloud compute instances list
It is recommended to set a custom number for maximum and then increased based on your needs because connectors don't scale down automatically or manually.
When configuring the Serverless VPC connector you need to:
- Associate the connector to a VPC network, one connector to one VPC. The VPC can be in the same project or in another project.
- Create an IP Range, more on this point Next.This also mean that the Connector is associated with a Region, it is not Global.
- Define Escaling configuration (min and max) and instance Type. All instances are the same type, you cannot mix
f1-microwith e2-micro` inside the same connector.
Now, let's get to the point, IP Addressing. You must configure /28 IP CIDR Range, unused inside the same VPC (example 192.168.1.0/28). This is important, the iP Addressing range must not overlap with any existing Subnet range inside the VPC.
You cannot use a different mask other than /28, and the reason behind it rest in the maximum configuration, if tyou recall you can have up to 10 instances, a /28 subnet mask will give you 16 IP Address, Google reserve 4 for their use, you have 12 IP Addresses that you can use.
If you try to use a different ip range it will show an error:
As you may have noticed, it evens pre-populate the /28 for you and it is grayed out, an indicator that is not configurable.
Another detail, this IP Range will not appear inside the VPC's Subnet ranges, In the following example you may see 4 subnets

But when you enter inside the VPC Subnets details it appears only 2:
Even if you try to list the subnets using gcloud compute networks subnets list you will not be able to see them. you can use the following CLI command to retrieve the vpc-access subnets:
gcloud compute networks vpc-access connectors list --region=us-central1 --filter='NETWORK=vpc-demo-1'
The best option is to create a Subnet and assign that subnet during connector creation, that way you will be able to track the subnets related to VPC Access:
Note: Remember that you need to use /28 otherwise it will not recognize the subnet during Serverless VPC Connector
Now when we create the connector:
Look the difference between a connector using an Existing Subnet and one using CUSTOM IP.
From the security section, you can use IP Assigned with Firewall Rules, additionally serverless VPC Access Connector is created with two tags that you can use for firewall rules:
-
Universal network tag:
vpc-connector -
Unique network tag:
vpc-connector-REGION-CONNECTOR_NAME. Example:vpc-connector-us-central1-vpc-access-test-connector
CLOUD NAT
TL;TR
When you use Serverless VPC Access with Cloud NAT, the port allocation for Cloud NAT is for Serverless VPC connector instances and no for functions or container, so if you have 2 Instances in the connector and one public IP Addresses the port allocation is between the instances in the region, incluiding the 2 instances in the connector.
Where we have:
-
One Cloud Run function that curl an external URL
http://ifconfig.me. - One Serverless VPC Connector with Custom IP in
us-central1. - Cloud NAT in
us-central1with one public ip address and dynamic port allocation.
If you want to replicate this example, create a cloud run service with a code simialr to this:
`
import os
import requests

from flask import Flask

app = Flask(__name__)


@app.route("/")
def hello_world():
    r = requests.get('http://ifconfig.me')
    return "Hello {}!".format(r)


if __name__ == "__main__":
    app.run(debug=True, host="0.0.0.0", port=int(os.environ.get("PORT", 8080)))
Deploy the cloud run service:
gcloud run deploy curler-private-egress \
--vpc-connector projects/vpn-site1/locations/us-central1/connectors/run-external-traffic \
--vpc-egress=all-traffic \
--platform managed \
--region us-central1 \
--no-allow-unauthenticated \
--max-instances=10
```
Serverless VPC Connector:

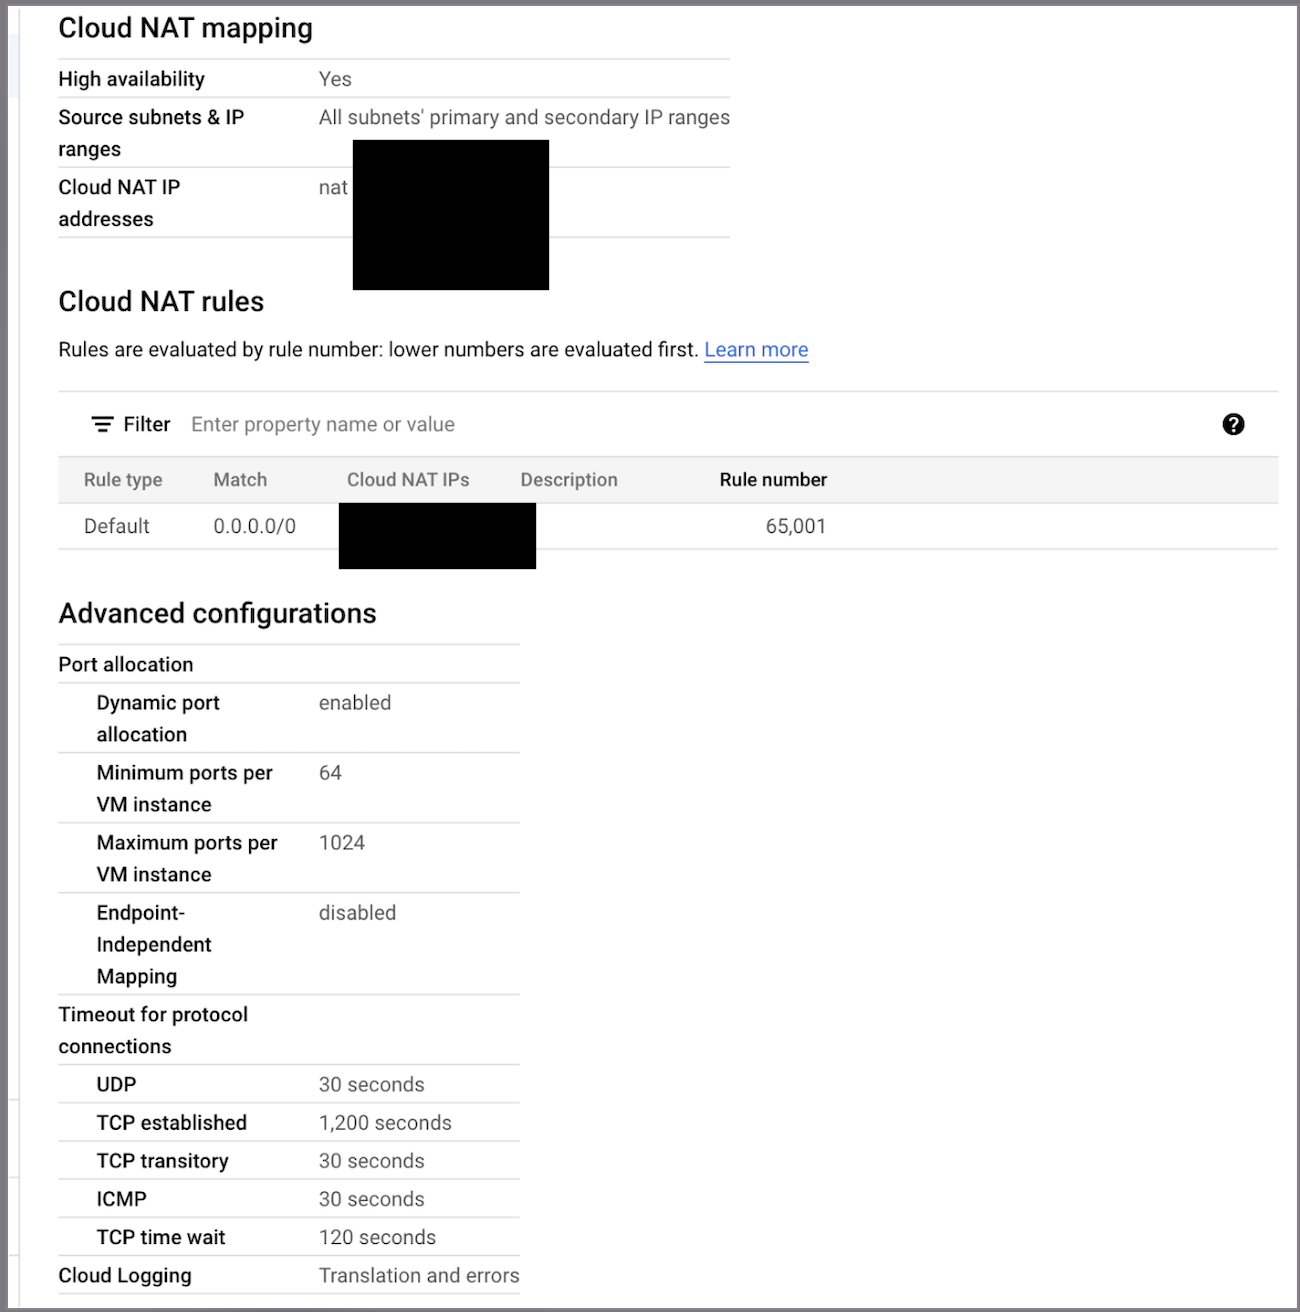
And Cloud NAT config similar to this

After triggering several time the service, by calling the **cloud run service's DNS** from an instance inside the same VPC. The instance's service account require the `cloud run invoker` role.
You can use something like this:
````console
for i in {1..100}
do
curl -H "Authorization: Bearer $(gcloud auth print-identity-token)" https://curler-private-egress-61zgbtvvvv-uc.a.run.app
done
```

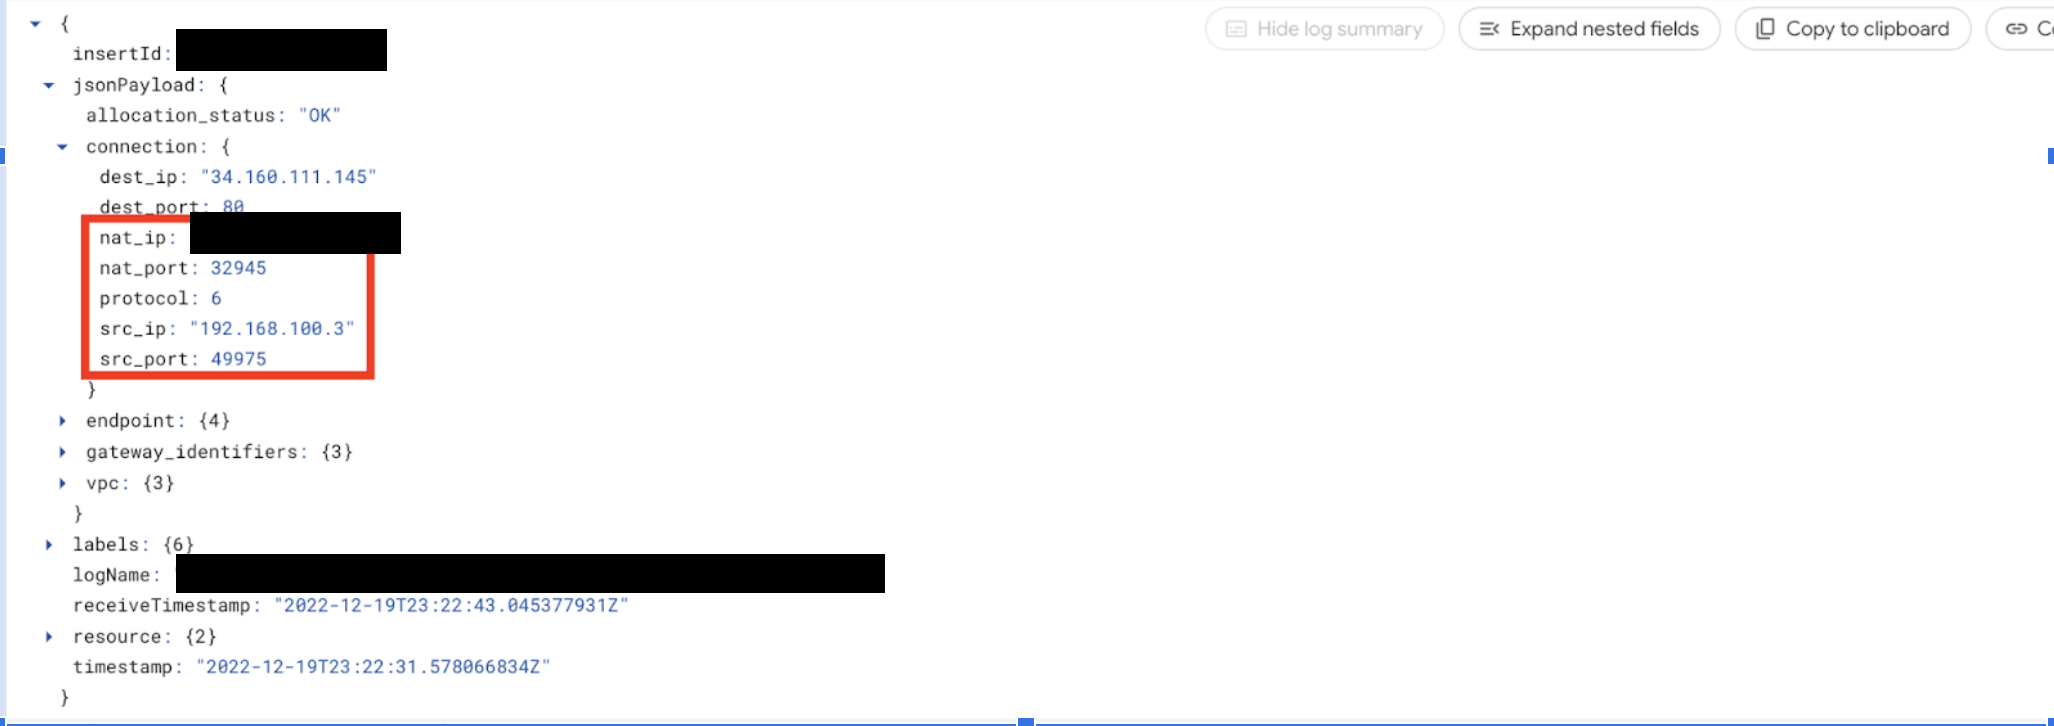
And inside the logs you will see:

Note that the `src_ip` in Cloud NAT's logs (the private IP that make the request to external resources) are the ones from the **Serverless Connector**.
>VMs with an external IP address can have 64,000 TCP, 64,000 UDP, and 64,000 ICMP-query sessions (ping) simultaneously if they have enough compute/memory resources. For Cloud NAT, this limit is reduced to a total of 64,000 connections per VM for all supported protocols combined.
************************************************************
##Deleting the VPC
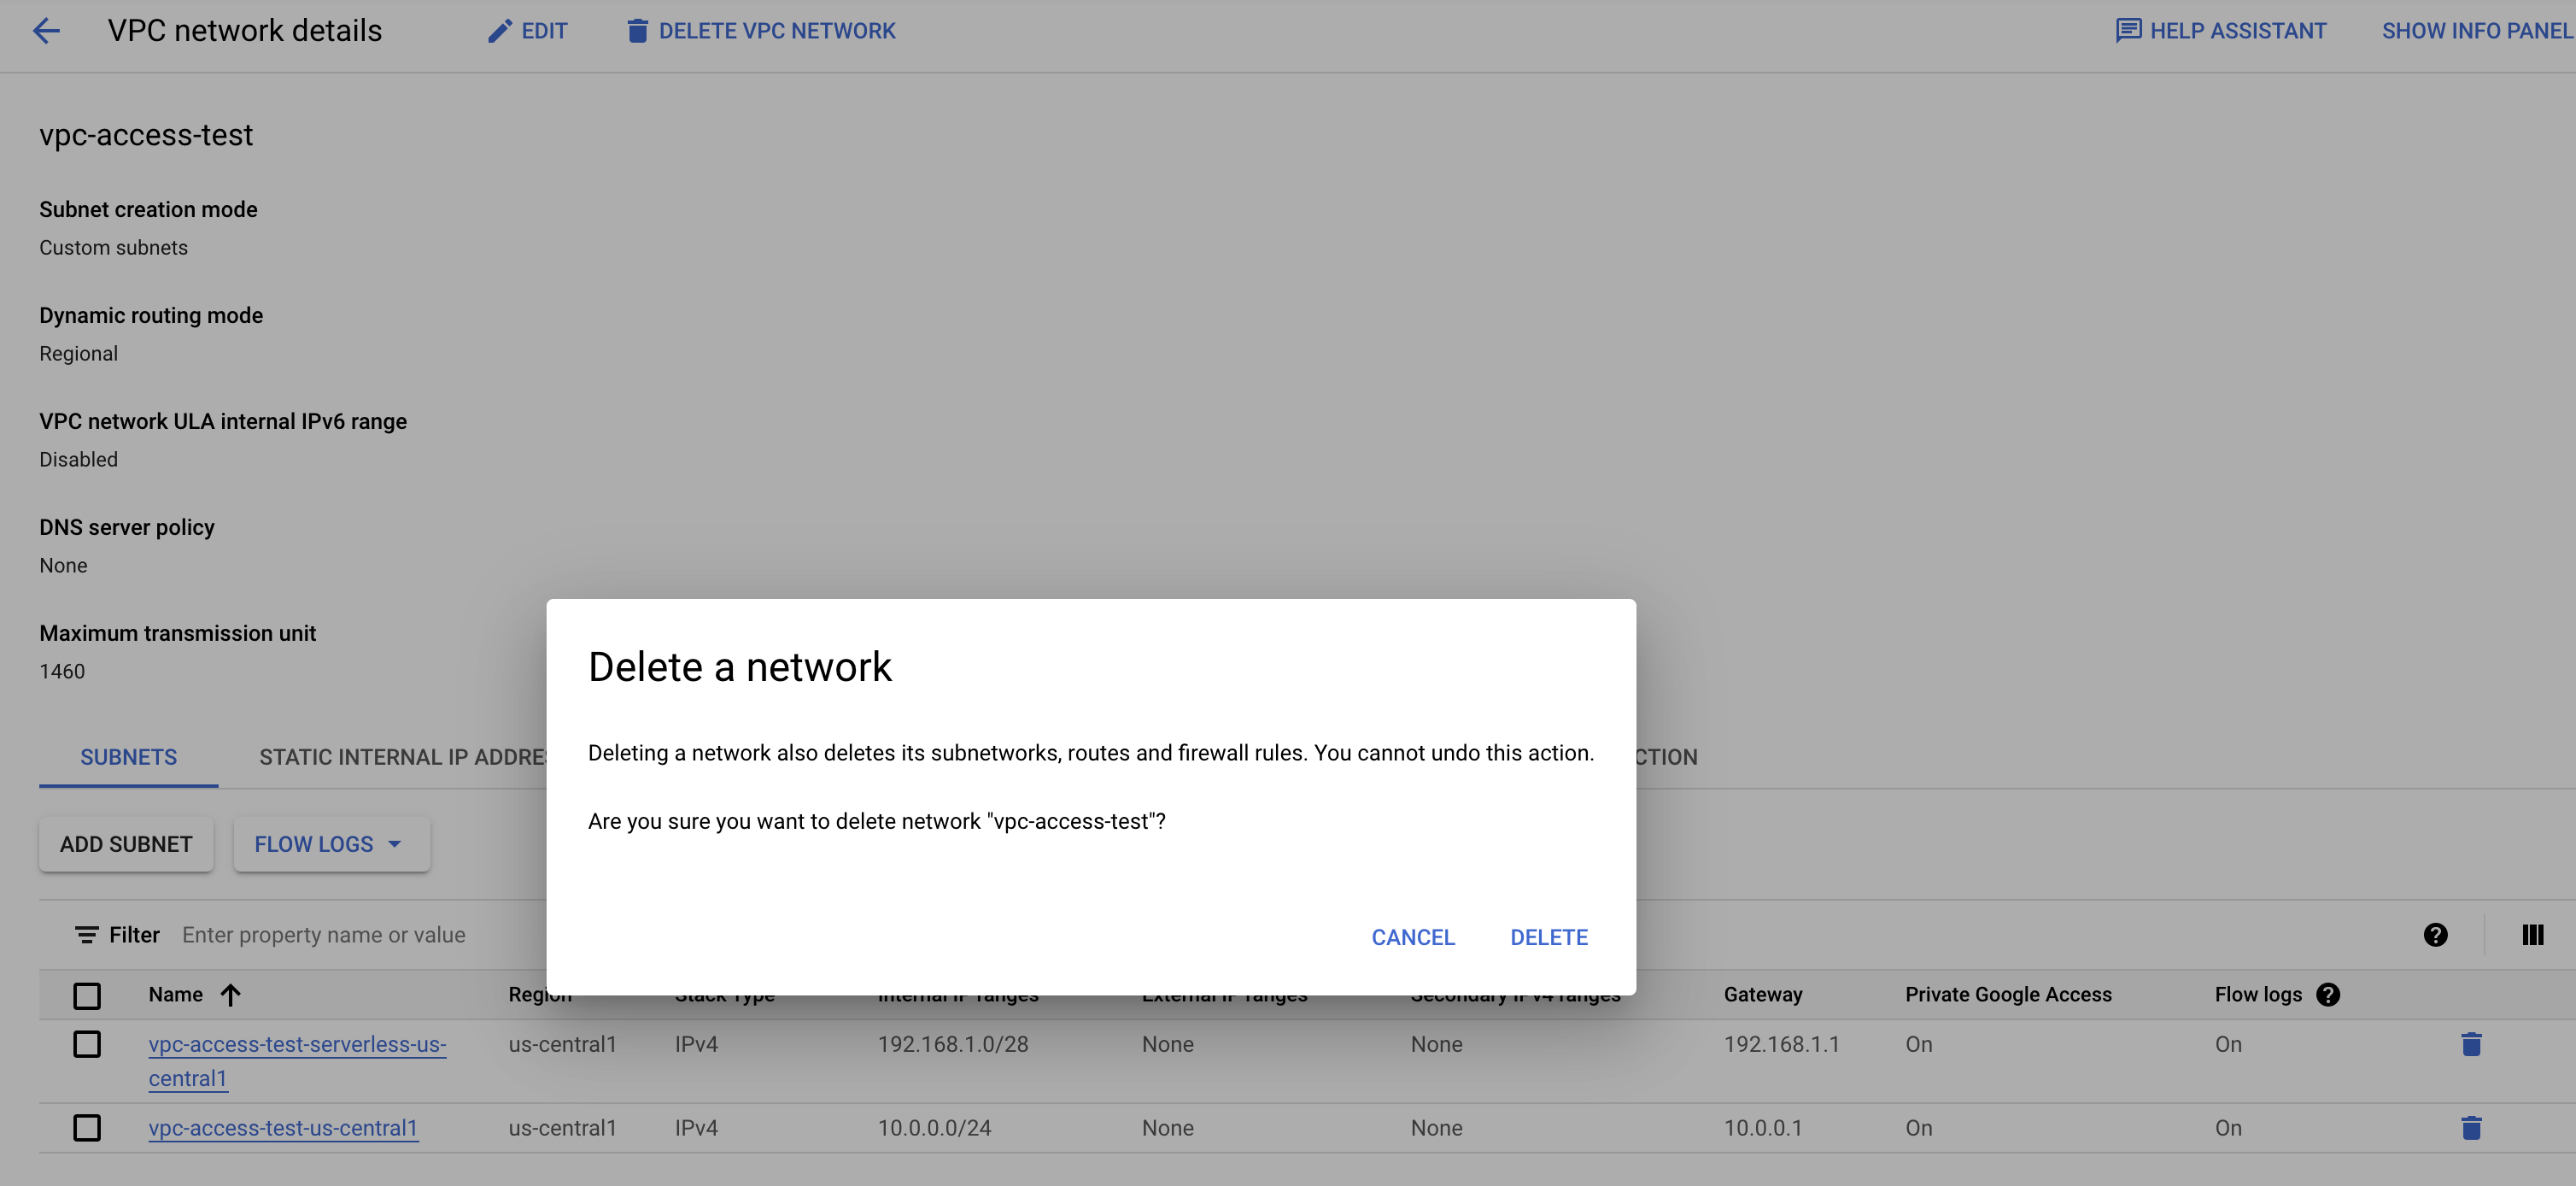
Let's supose that you try to delete the VPC that have a Serverless VPC Connector:

If there is a subnetwork being used by Serverless VPC Connector, you will NOT be able to delete the VPC, receiving the next error message:
>The deletion of the network failed. Error: The subnetwork resource 'projects/vpc-test1/regions/us-central1/subnetworks/vpc-access-test-serverless-us-central1' is already being used by 'projects/vpc-test1/zones/us-central1-b/instances/aet-uscentral1-vpc--access--test--connector-506w'
First you will need to delete the connector:

Success!!

But, What happens with a VPC where i create a Connector using Custom IP insteado of an existing subnet?
Spoilert alert!!!! you will receive the same error:
>The deletion of the network failed. Error: Operation type [delete] failed with message "The network resource 'projects/vpc-test1/global/networks/red-test-vpc' is already being used by 'projects/vpc-test1/global/firewalls/aet-uscentral1-rb--vpc--connector--test245-sssss'"
The recommendation is, make sure you review resources using your VPC prior attempting to delete it.
You can use **[Cloud Asset Inventory](https://cloud.google.com/asset-inventory/docs/overview)** service and filter by `compute.Network` and move to Resource TAB, and you will obtain a list of resources that live inside the VPC.

Posted on December 26, 2022
Join Our Newsletter. No Spam, Only the good stuff.
Sign up to receive the latest update from our blog.


