Bensigo Egwey
Posted on March 23, 2020
We live in a world where we want to try out our ideas so fast and building and setting up a good backend for Front end engineers is really difficult, that why we use BAAS(backend as a service) like Firebase, Hasura. To go further first we have to know what GraphQL and Hasura are.
What Is GraphQL?
GraphQl is a query language created by Facebook to query our data, which helps to solve the issue of over/under fetching and also helps with low bandwidth consumption of data. example of a query
 query {
    post{
      id
      title
      author{
        id
        name
      }
   }
}
To learn more GraphQL
What is Hasura?
Hasura is an engine that connects your Mirco-services and Database and generates a realtime GraphQl API(Application Programming Interface). That is really super 😎 and 🤯, the most amazing thing is Open source.
To learn more Hasura
In this series, we would be focusing on building a Todo list app using Hasura, Postgres, and Gatsby.js but in this part, we would focus on generating our API and later series we would be using Gatsby for the consumption of the GraphQL API.
To get started you go to hasura and click the button deploy to Heroku which deploy the backend in 30 seconds.

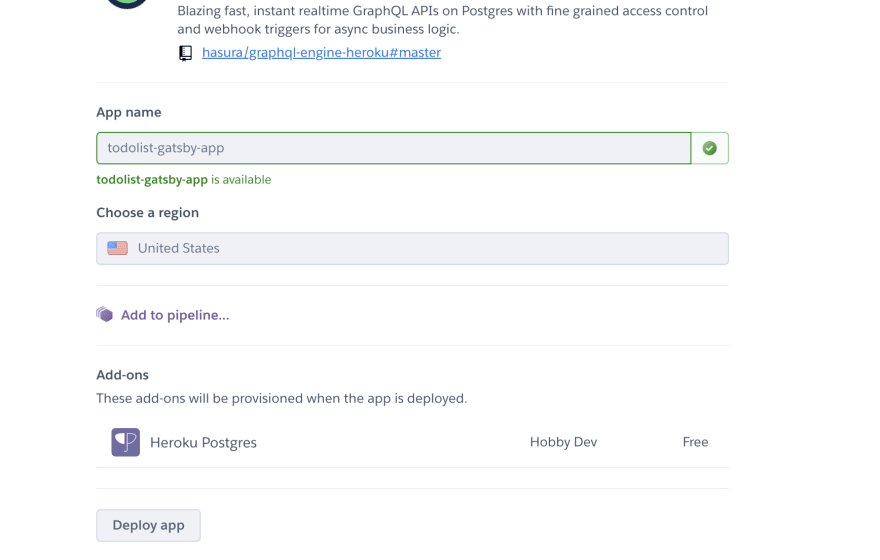
After you sign-in, you would be asked for the app name and region you want the server to be, I would be using todolist-gatsby-app as name and United Stated as my region, choose what best for you then click deploy

After the deploy is done you click on the view button which displays a Dashboard with GraphiQL UI and a Data UI where you can create a table and query your database.

you should have something like the screenshot above. Go to the Data menu and add the following field shown in the photo below and click the Add table button.

That all you need to create a graphQL API, now we go to the GraphiQL menu tab and we can query and mutate our todos table.
Let add data to your todos table by adding this mutation
mutation {
  insert_todos(objects: {name: "Learn more about Hasura", completed: false}){
    affected_rows
  }
}
while to query our table you use this
  query MyQuery {
  todos{
    id
    name
    completed
  }
}
and you get back this
  {
  "data": {
    "todos": [
      {
        "id": "524e3f9a-9033-497a-982c-78543f8b1c46",
        "name": "Learn more about Hasura",
        "completed": false
      }
    ]
  }
}
This is where we would be stoping for today. Thanks for reading and don't forget to follow me to get notified for next part of the series 😎.

Posted on March 23, 2020
Join Our Newsletter. No Spam, Only the good stuff.
Sign up to receive the latest update from our blog.