GitHub Actionsを使って自動でPullRequestを送るものを作った

yutagoto

Yuta Goto

Posted on April 13, 2019

GitHub Actionsを使って自動でPullRequestを送るものを作った

こんにちは、.ごっちです。

タイトルの通り、GitHub Actionsを使って、自動でPullRequestを送れる仕組みを作りました。

試したリポジトリ

YutaGoto / salmon_run

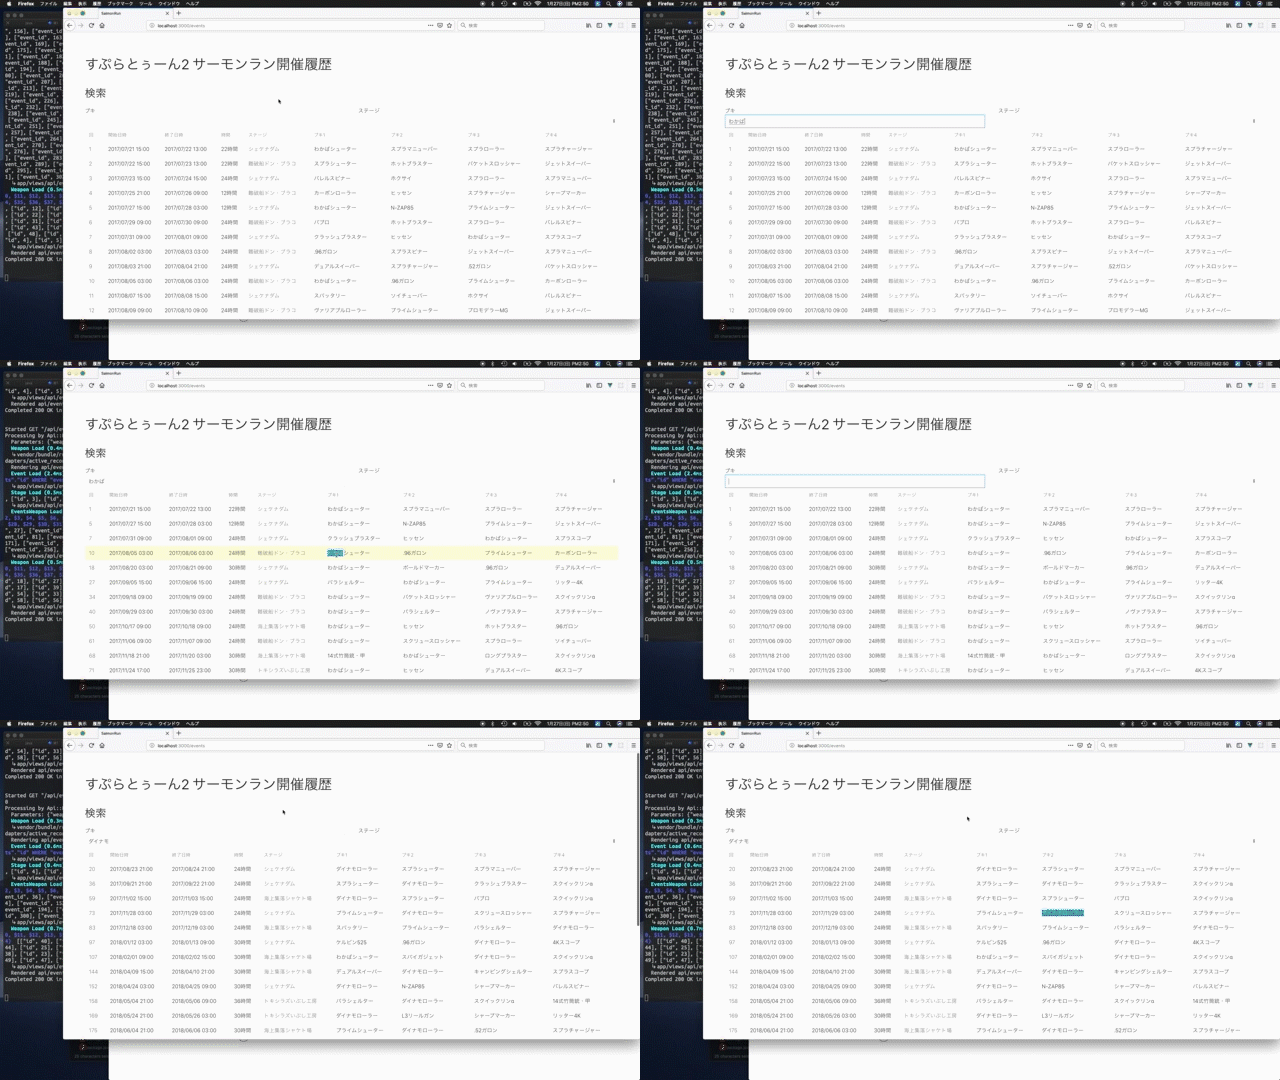
Splatoon2のサーモン・ランブキ変遷

salmon_run

Splatoon2のサーモンラン ブキ変遷

このリポジトリは非公式のもので、完全に個人的な趣味で作っているものです。

CircleCI Build Status Greenkeeper badge Maintainability Test Coverage Codacy Badge

salmon

Spec

  • Ruby version: 2.6.1
  • Rails version: 5.2.3
  • PostgreSQL version: 10.5
  • yarn version: 1.13.0
  • Vue: v2.5.17
  • uikit: 3.0.0-rc.25
  • elasticsearch: 5.6.14
  • graphql: 1.9.3

tools

サーモンラン とは

活動報告

Blog List

番外編

Contributing

  1. Fork it!
  2. Create your feature branch: git checkout -b my-new-feature
  3. Commit your changes: git commit -am 'Add some feature'
  4. Push to the branch: git push origin my-new-feature
  5. Submit a pull request :D

License

MIT

PullRequest

https://github.com/YutaGoto/salmon_run/pull/383

コード

# .github/main.workflow
workflow "create Master <- develop Pull Request" {
  on = "push"
  resolves = ["Create Pull Request"]
}

action "Filter develop branch only" {
  uses = "actions/bin/filter@master"
  args = "branch develop"
}

action "Create Pull Request" {
  uses = "./.github/actions"
  needs = ["Filter develop branch only"]
  secrets = [
    "GITHUB_TOKEN"
  ]
  env = {
    PULL_REQUEST_TITLE = "Actions sync master <- develop"
    PULL_REQUEST_BODY = "From GitHub Actions"
    BASE_BRANCH = "master"
    HEAD_BRANCH = "develop"
  }
}

図解

workflow

ちょっと解説

workflow "create Master <- develop Pull Request" {
  on = "push"
  resolves = ["Create Pull Request"]
}

workflowそのものを定義します。このworkflowはなにかしらリポジトリに push されたタイミングで実行されます。 最初に Create Pull Request を実行します。

action "Create Pull Request" {
  uses = "./.github/actions"
  needs = ["Filter develop branch only"]
  secrets = [
    "GITHUB_TOKEN"
  ]
  env = {
    PULL_REQUEST_TITLE = "Actions sync master <- develop"
    PULL_REQUEST_BODY = "From GitHub Actions"
    BASE_BRANCH = "master"
    HEAD_BRANCH = "develop"
  }
}

actionを定義しています。ここで実際にPullRequestを作成する処理をします。
ただその前に Filter develop branch only を通過させる必要があります。
それが通過したら、 .github/actions のディレクトリ内にある Dockerfile に基づいて実行をします。 Dockerfileentrypoint.sh の中身については別の記事で書きます。

action "Filter develop branch only" {
  uses = "actions/bin/filter@master"
  args = "branch develop"
}

下のリポジトリにあるものを参照します。このactionでpushされたブランチがdevelopかどうかを判定します。developブランチでなければそのあとのactionは実行しません。

actions / bin

A collection of utilities for developing and running GitHub Actions

bin

GitHub collection of useful utilities for interacting with GitHub Actions.

Usage

Usage information for individual commands can be found in their respective directories.

License

MIT. Please see additional information in each subdirectory.


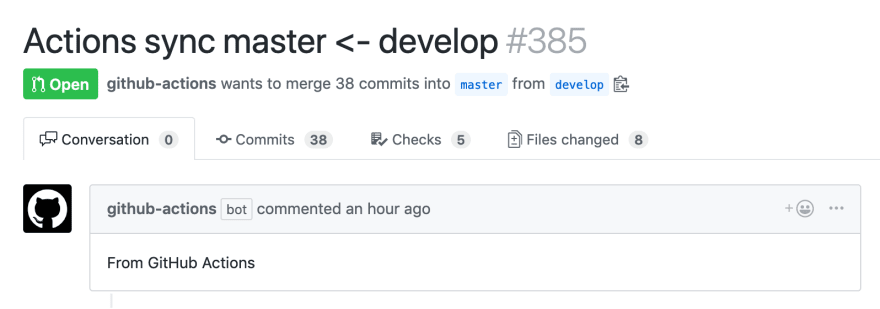
実行結果

pr

所感

いままで、自分の手でdevelopブランチからmasterブランチにPullRequestを送っていたのですが、このあたりも自動化できることを知って試してみました。
これでわりと面倒な作業がひとつ減った感じでよいです。。
仮に業務で使える感じかなーという思いはあります。例えばdevelopブランチから作業ブランチを生やして、マージされたら自動でmasterやstaging用のブランチに対して自動でPullRequestを送る仕組みとかとかです。
masterやstagingブランチにmergeされたら自動でdeployまでいけると完璧です。(まだやれていません。

💖 💪 🙅 🚩
yutagoto
Yuta Goto

Posted on April 13, 2019

Join Our Newsletter. No Spam, Only the good stuff.

Sign up to receive the latest update from our blog.

Related