Adding generated cover images to my blog posts using the Canvas API

Viviana Yanez
Posted on February 7, 2024

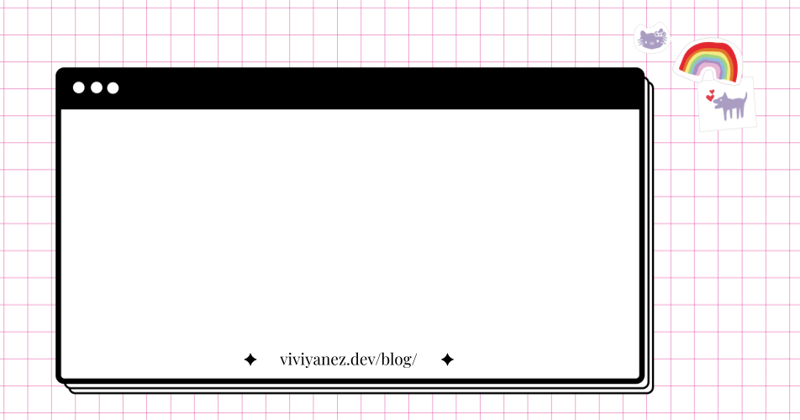
I have created a customized cover template for my blog posts, which includes a background image with the title and date of the post. This adds a personal touch to my website and also maintains a visual consistency.
However, creating and uploading these images for each post can be time-consuming. So, I wanted a solution to generate these images dynamically.
After researching, I found that the Canvas API could help.
I was inspired by a great series of blog posts and decided to adapt the approach to my needs. In this blog post, I will go over the solution I used in my VitePress site but you can also check a more basic example in this CodePen.
Intro to Canvas API
The canvas API provides a way for drawing graphics using Javascript and HTML.
It is focused on 2D graphics and is commonly used for animation, games, dynamic charts data visualization, and generative art, among others. Provides a set of methods for drawing pixels (in the form of lines, shapes, images, and/or text) in the screen inside an HTML <canvas> element.
Base image
To begin with, I created the image to be used as a background. It is where the dynamic data such as the blog post title and date will be added, and can be either a PNG or a SVG file.
This is mine:
Image and font preload
After that, I need to make sure that my assets are loaded before showing anything. So, I created a function to load the image:
    async function loadImage(url) {
        return new Promise((resolve, reject) => {
            const image = new Image();
            image.onload = () => resolve(elem);
            image.onerror = reject;
            image.crossOrigin = ‘Anonymous';
            image.src = url;
        });
    }
And another one for loading the font I wanted to use in my cover images:
    async function loadFont(fontFamily, url) {
        return new Promise((resolve, reject) => {
            const face = new FontFace(fontFamily, url);
            face.onload = () => document.fonts.add(face);
            resolve()
            face.onerror = reject;
        });
    }
Generating the image
Then I created the function that generates the image.
The first step is to create a <canvas> element:
    const generateCover = () => {
        const canvas = document.createElement("canvas");
        canvas.height = 840;
        canvas.width = 1600;
        //...
Then, I get the context of this element, using the getContext method. This is where the drawing will be rendered:
const context = canvas.getContext("2d");
Now the canvas environment is set up, and I can start drawing into it. I used another method to add my background image into the context:
context.drawImage(cover.value, 0, 0);
Next, I want to write the blog post title and date. With the font property, I set the size and font-family I want to use. And with the textBaseline property set the alignment for the text:
        context.font = "96px Modak";
        context.textBaseline = 'top';
The fillText method draws a text string and accepts four parameters: the text to draw, the x-axis coordinate in pixels where begin drawing the text, the y-axis coordinate in pixels where begin drawing the text, the maxWidth is an optional parameter to set a maximum number of pixels for the whole text to take widely once rendered1:
context.fillText(`${blogPostTitle}`, 173, 250, 1400);
The last step in the function is returning the generated image, using the toDataURL method. This method returns a dataURL with the image representation, in the format determined by the param:
        const dataUrl = canvas.toDataURL('image/jpeg');
        return dataUrl;
    }
Finally, I can use the image like this:
<img src="generateCover()" alt="" width="1600" height="840" />
Check out at the top of this blog post the final image and here a CodePen with a similar Vue.js full example, where you can see all these elements working together.
A11y note
As a final comment, maybe you noted that I am leaving the "alt" attribute of the cover image blank in my implementation. This is because I have included the blog post title as a <h1> tag just after the cover image. In this way, screen readers will not read the image as it does not provide any new information. However, if you choose not to include the image text elsewhere or if your image provides additional information, you should add alt text.
Now that I have beautiful cover images for my blog posts, I'm thinking of using the Open Graph protocol to create nicely shareable links for my entries. This might be the subject of my next blog post... For now, that's all. Thanks for reading :)
-
However, take into account that with the CanvasAPI we are writing pixels, so the
maxWidthparam will narrow the text if needed. I used some Javascript calculation to add line breaks to the title when needed before it is drawn, to make sure it only takes the place I want it to take inside the image. ↩

Posted on February 7, 2024
Join Our Newsletter. No Spam, Only the good stuff.
Sign up to receive the latest update from our blog.


