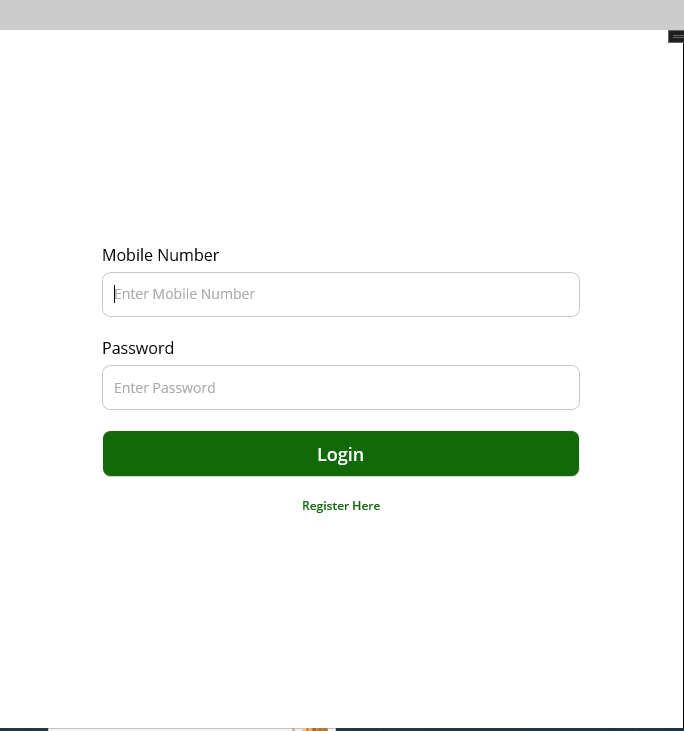
.NET MAUI BorderLessEntry for all platforms

Vamsi Reddy
Posted on March 21, 2024
First Create a Class with BorderlessEntry and add the below code
public class BorderlessEntry: Entry
{
}
Next in the MauiProgram.cs file add the below line of code
public static MauiApp CreateMauiApp()
{
var builder = MauiApp.CreateBuilder();
builder
.UseMauiApp<App>()
.ConfigureFonts(fonts =>
{
fonts.AddFont("OpenSans-Regular.ttf", "OpenSansRegular");
fonts.AddFont("OpenSans-Semibold.ttf", "OpenSansSemibold");
});
Microsoft.Maui.Handlers.EntryHandler.Mapper.AppendToMapping("Borderless",(handler,view) =>
{
if(view is BorderlessEntry)
{
if ANDROID
           handler.PlatformView.Background=null;

           handler.PlatformView.SetBackgroundColor(Android.Graphics.Color.Transparent);
elif IOS || MACCATALYST
                handler.PlatformView.BackgroundColor = UIKit.UIColor.Clear;

                handler.PlatformView.Layer.BorderWidth= 0;

                handler.PlatformView.BorderStyle = UIKit.UITextBorderStyle.None;
elif WINDOWS
handler.PlatformView.BorderThickness= new Microsoft.UI.Xaml.Thickness(0);
endif
}
});
return builder.Build();
}
final in Solution Explore open Platforms/Windows/App. Xaml and add the below line of code
<maui: MauiWinUIApplication.Resources>

     <Thickness x:Key="TextControlBorderThemeThickness">0</Thickness>

     <Thickness x:Key="TextControlBorderThemeThicknessFocused">0</Thickness>

 </maui: MauiWinUIApplication.Resources>
💖 💪 🙅 🚩

Vamsi Reddy
Posted on March 21, 2024
Join Our Newsletter. No Spam, Only the good stuff.
Sign up to receive the latest update from our blog.
