Terraform intro,setup,create s3bucket,ec2 instance in its own network

Olaiya Stephen
Posted on May 18, 2023

Terraform is written in go and more important in building infrastructure compare to chef and ansible which are better with configurations.
Terraform can be use with all cloud services. Unlike cloud formation that covers AWS platform only.
use these three commands to perform terraform deployments..
terraform “init”
terraform "plan"
terraform "apply" (sometime you add** “--auto-approve”** to avoid the Yes/No confirmation response.)
INSTALLING TERRAFORM
- download Terraform from the terraform page or use already made shell file from my GitHub
- that has all the commands to install and get terraform up and running in seconds.
- Use the commands terraform --version to confirm that terraform is installed.
- Use vscode or any editor you like for convenience. We’ll use Vscode.
- In the vscode, install the terraform extension for easy coding and template helps.
Configuring our “AWS secret key and Access key”
STEPS:
• launch your aws console
• search for IAM
• click on user
• click on Add user
• create a username by entering any meaningful name you desire
from the next section click on the "attach policy directly"
• in this section Permissions policies, search and check/choose your prefered permission to perform what you need.
• We’ll use the the Admin full access “AdministratorAccess” then click the “Next Tags”
• click next again
• click on “create user”
• your user is ready, click on it
go to the security credential tab
in the access key section , click on create access key
click the Command Line Interface, accept the terms and click next, in the next section,input a tag name or leave it empty then click create access key
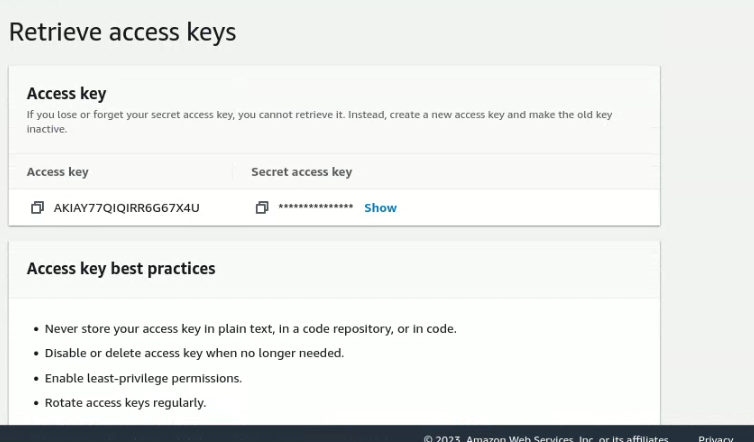
save them both.
We will show you set them up securely for use in your Terraform codes.
CREATING AN EC2 INSTANCE WITH TERRAFORM
for beginners, go to Google and search for “aws instance terraform”
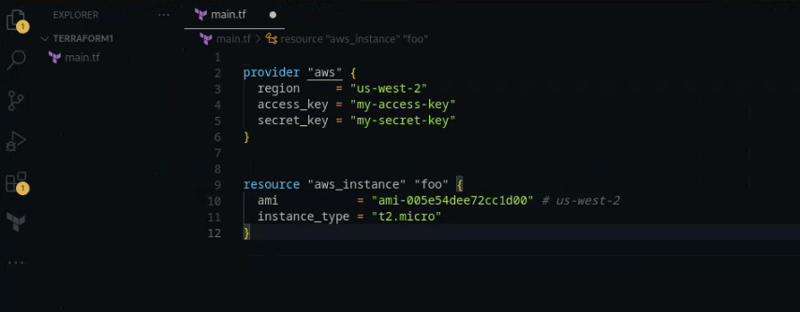
copy the sample basic code for the instance to a file in your workspace named main.tf
note: every file in terraform uses the extension “.tf” except some.
when you have that set in your vscode,
go to the search tab again and search for “terraform aws provider”
this block will authenticate you to use terraform with aws.
then copy the basic provider block of code into your main.tf file.
Now , arrange your code so we have the provider block before the instance block.
we can just leave our credential in the code, but with security in mind, it's a bad practice.
In your vscode, we’ll want to use the terminal to configure the credentials we got from AWS (Access key and Secret key) so as to get it ready for terraform usage.
right click on the main.tf then choose terminal to open the terminal or just use Ctrl + back-tick to access the Terminal from vscode or just use the normal terminal like me.
i'm using an ec2 instance for this since i already have terraform set up on my local.
CONFIGURING TERRAFORM TO USE AWS CREDENTIALS
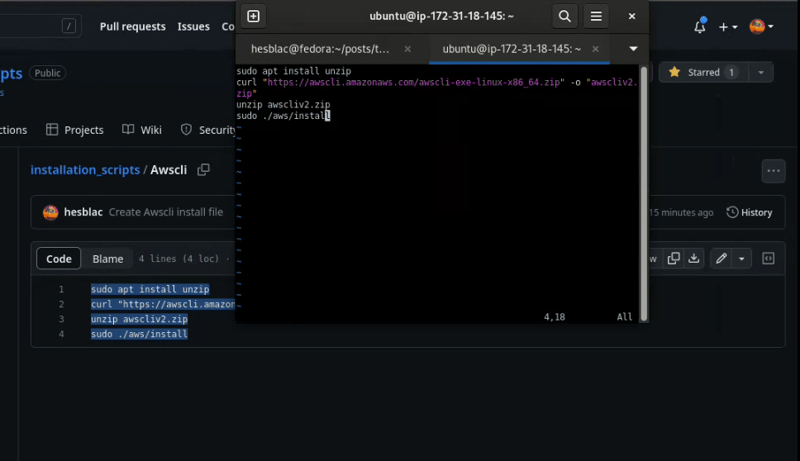
first we'll install AWScli on our server to use aws command line.
we'll go to our github and get the ready shell script. you can use the main aws site also and get the installation commands.
in the terminal, run the command “aws configure”
you will be prompted for both keys,a region, enter the keys as requested and your preferred region.(where you want your deployment). Also, use json for the output prompt.
To confirm that your credentials are saved :
in your home folder, there is a file named “.aws”
this folder should have these files “credentials and config”
you can edit the credential file and change the default to “myaws” or a name you like
The config has the default settings.
You can also confirm that your credentials are set and they are working by completing these terraform setup;
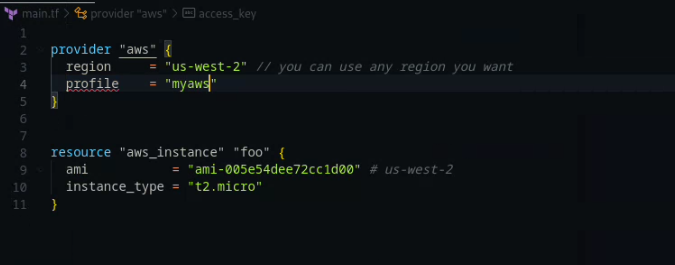
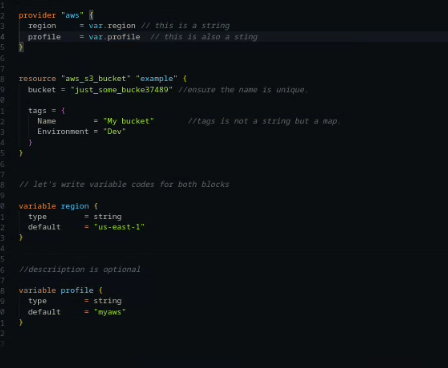
In your terraform code, remove everything in the provider block, you can leave it blank or set your profile as “myaws” or to the name you set in the setup, and set your region to what you want like so:
terraform will automatically use the credentials we saved earlier.
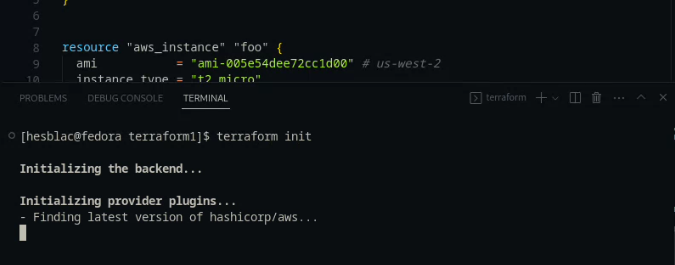
Use “terraform init” >>>> this will initialize the code and install all the plugins needed, if the credential is wrong, we’ll get an error.
If it succeed , we’ll get a ready response.
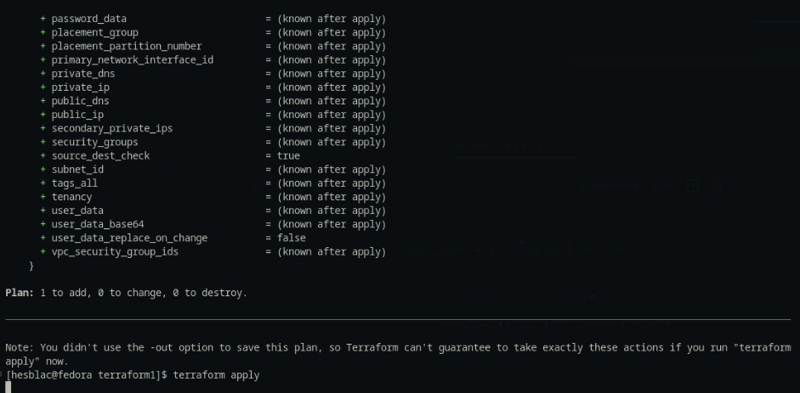
Use “terraform plan” >>> this will show us what we are deploying . And if there’s any problem with our code, this is the place where we’ll know and rectify/debug it
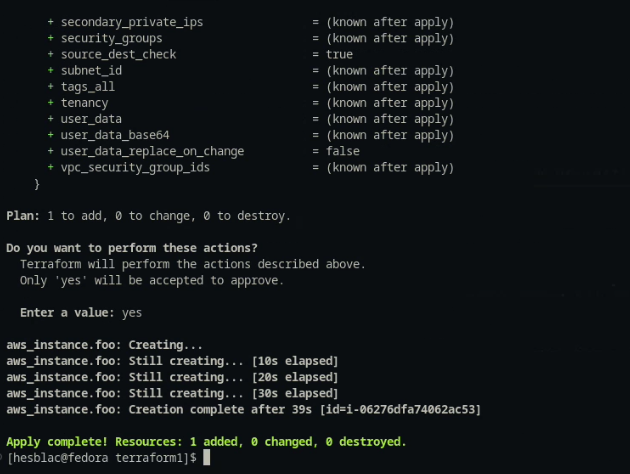
Use “terraform apply” >>>> this will apply our code and deploy our infrastructure as stated in our code and we will also see the detail of our deployment just as we see after the plan command.
After this command, terraform will prompt us to type yes to continue(after this , there’s no going back unless you use Ctr l C). Instead of typing yes in the prompt, we can add “--auto-approve” to the terraform apply command. And we won’t be prompted, terraform will just run the commands and show us success or failure of our deployment.
After deployment, that is , when terraform shows us that the run is complete,
to see the infrastructure we just deploy,
go to the aws console,
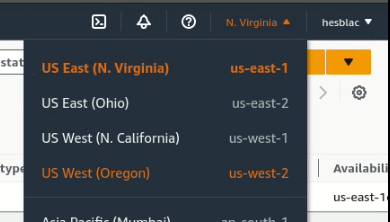
change your region to the one you choose or used in your aws default configuration or in your provider block. In my case, I used us-west-2
When you are in that region, use the search box on the console to search for ec2 instance.
you should Immediately see your instance, either already deployed or its starting up.
If you’ve confirmed your deployment , to destroy or delete your infrastructure, it’s better to destroy from the same place you apply from and not in the console, so as to delete all created components,
in our case , we only have an ec2 instance. So it’s easy to destroy.
In deployments where many components are involved, its not a good practice to go into the console and delete each one after the other.
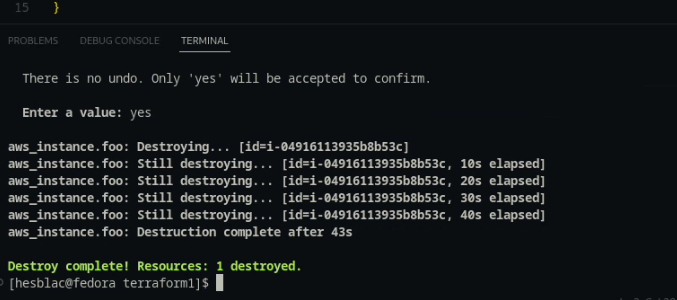
using “terraform destroy” or “terraform destroy --auto-approve” will delete all the infrastructure you just created.
Ensure you’re still in the terminal and also inside the folder where your files are located.
TERRAFORM VARIABLES
type contraints are created from a mixture of type keywords and type contructors.
The supported type keywords are:
string, number, bool
type constructors allow you to specify complex types such as collections:
list, set, map,object, tuple
to perform this lab,
use the google again to search for terraform aws s3bucket, copy the s3bucket basic block code to a main.tf file.
Ensure your provider block is already set and configured as explained earlier.
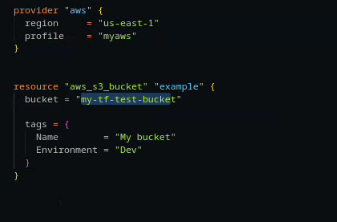
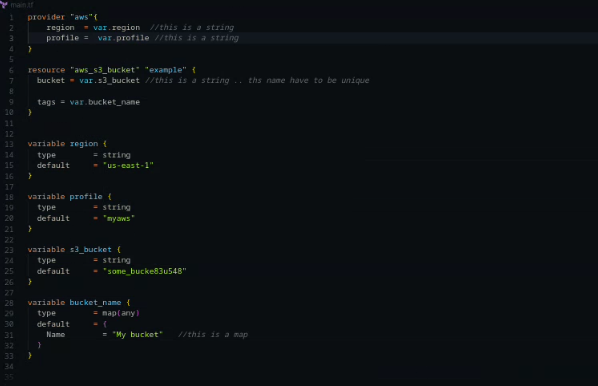
After your components are ready, extract each of the variables from it, with the type, description and default all stated, like so
copy all the variables to a file name “variable.tf”
you should do this for all resources
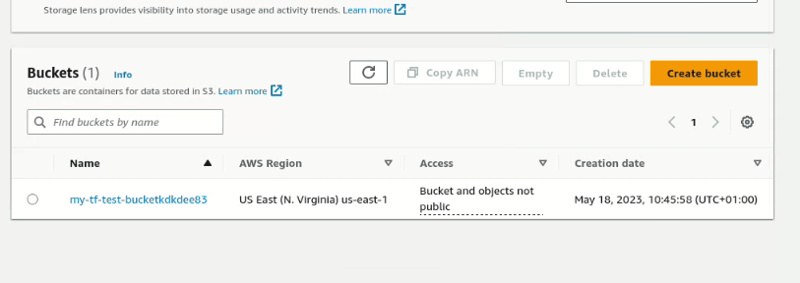
deploy and confirm your s3buckets just the same way we confirmed our ec2 instance earlier (search on the console for s3bucket) you should see your bucket.
destroy the s3bucket when you're done.
TERRAFORM (MULTIPLE BLOCKS IN A SINGLE TERRAFORM CODE)
in this lab, We’ll be launching :
EC2 instance
Vpc
Subnet
Nic ==> network interface card
we’ll be creating all this in a main.tf . No variables.
The work-flow:
VPC===>subnet==>NIC==>EC2
assuming we already have our provider block.
We will start with our vpc,
as usual, search for your vpc code block, and copy the basic vpc block of code to main.tf file.
This comes with a cidr_block.
Do the same for the subnet block and copy that to our code into vscode.
Edit the vpc in the subnet block to use the vpc we added first. Like so.==>
also search for the nic block of code. And copy that to our vscode .
From the nic block, change the subnet to use ours, also change the private_ips to anyone, just pick from the subnet cidr_block
remember to remove the components not needed or the optional ones, since this is just a simple deployment,we shouldn’t complicate things..
Finally,
Search for ec2 instance and copy its basic to your code and
edit your ec2 like so,===>
after these,
use the terraform init,plan and apply commands to initialize and deploy your infrastructure
use the terraform destroy --auto-approve to destroy it.
this is the end of this part. thanks for reading.

Posted on May 18, 2023
Join Our Newsletter. No Spam, Only the good stuff.
Sign up to receive the latest update from our blog.

