Smooth File Uploading with React

Rik Schennink
Posted on January 22, 2019
A tutorial on how to quickly set up the FilePond React Adapter
FilePond is a relatively new JavaScript file upload library. In this tutorial we’ll set up a new React app, integrate with the FilePond React Adapter component and set up a connection to a backend which will receive our uploaded files.
We’ll use the Create React App node module to quickly assemble our base React application. If you’re familiar with this process you can probably skip to the Integrating with FilePond section.
Creating a base React app
Assuming you‘ve already installed Node version 6 or higher run the following command from your terminal (if not, this is the time to install it). It will create a folder “my-app” which will contain our React app.
npx create-react-app my-app
Alrighty, we got our starting point, let’s navigate to the “my-app” directory.
cd my-app
Now start the development server, it will automatically open a browser window.
npm start
You can stop the app from the command line by pressing both the CTRL and C key at the same time.
Integrating with FilePond
With our React app running we can now add the FilePond React adapter.
Let’s stop the app and install the adapter.
npm install filepond react-filepond --save
With the adapter files installed, let’s fire up the app again so we can start making changes.
We’ll add the FilePond component to the app landing page, in reality, you’ll probably move it somewhere else, but for the purpose of this article, this will suffice.
We first need to import the FilePond component and its stylesheet.
Open the “App.js” file and add the following lines to the top of the file.
import { FilePond } from 'react-filepond';
import 'filepond/dist/filepond.min.css';
Next step is to add the component to the HTML. Let’s edit the HTML in the render() function and add the <FilePond> tag.
<div className="App">

  <header className="App-header">
    <img src={logo} className="App-logo" alt="logo" />
    <h1 className="App-title">Welcome to React</h1>
  </header>

  <p className="App-intro">
    To get started, edit <code>src/App.js</code> and save to reload.
  </p>

  <FilePond></FilePond>

</div>
The FilePond drop area should now show up below the introduction text. It’ll look something like this:
Now we can start configuring FilePond to our wishes.
By default FilePond only accepts one file, this is because it enhances the default file input element and copies its standard behavior.
To enable multiple file mode lets add the allowMultiple prop.
<FilePond allowMultiple={true}></FilePond>
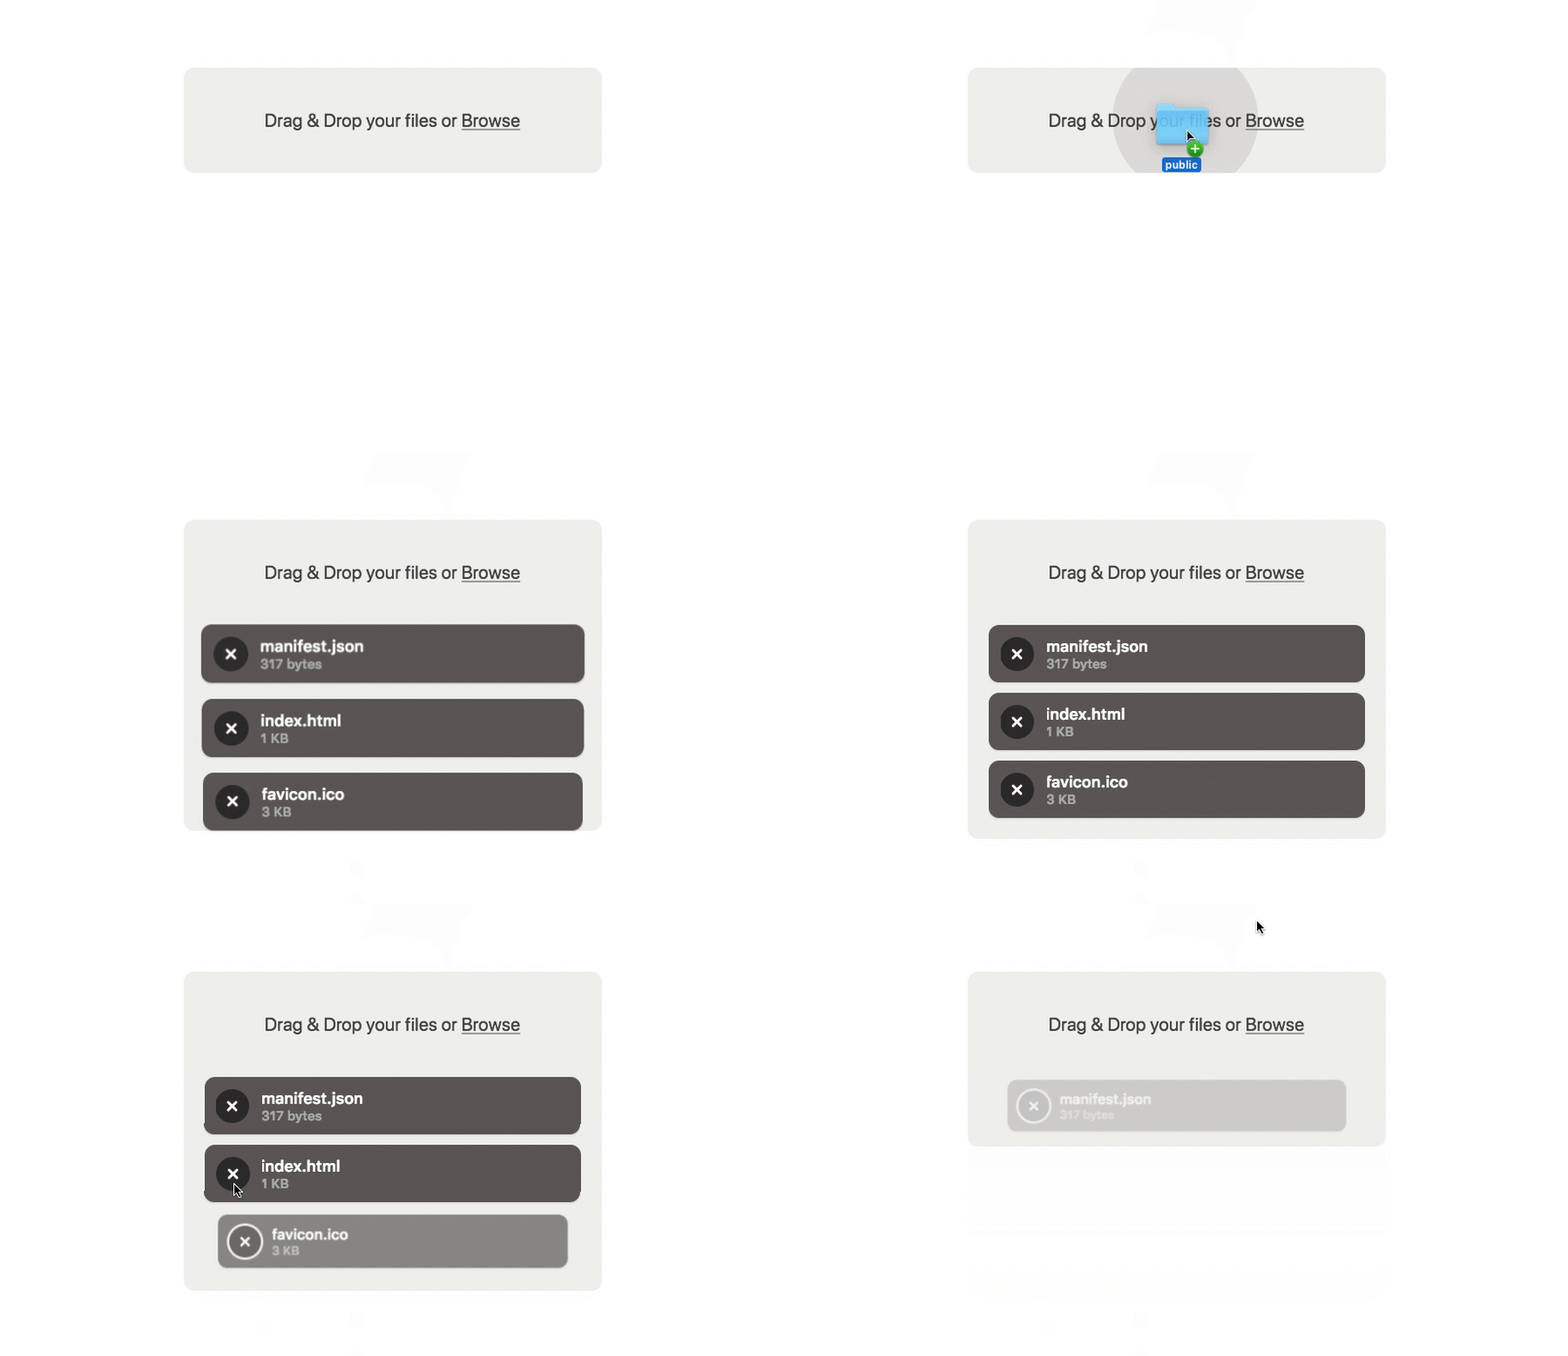
Drop a folder or select multiple files to see it in action.
Just like the classic file input, files are loaded to FilePond but don’t do anything else, they just sit there. We most likely want to send them to our backend. We’ll do this by supplying FilePond with the server prop.
If you’ve got a server endpoint that can handle file objects being posted to it you can probably use that, if not, we can set up the FilePond PHP Boilerplate (download the repository and run vagrant up).
<FilePond allowMultiple={true} server="http://192.168.33.10"></FilePond>
With the server location configured, FilePond will automatically POST dropped files to the supplied URL.
The default FilePond server calls are described in the server configuration docs. Every tiny detail of the server property can be finetuned, this allows FilePond to be integrated with basically any remote or local file storage solution.
To spice things up a bit let’s enable image previews.
We’ll start with installing the image preview plugin.
npm install filepond-plugin-image-preview --save
Now we need to import and register the plugin with the FilePond core. We’ll have to alter the FilePond import to also import the registerPlugin method.
import { FilePond, registerPlugin } from 'react-filepond';
We’re ready to import and register the image preview plugin.
import FilePondPluginImagePreview from 'filepond-plugin-image-preview';
import 'filepond-plugin-image-preview/dist/filepond-plugin-image-preview.min.css';

registerPlugin(FilePondPluginImagePreview);
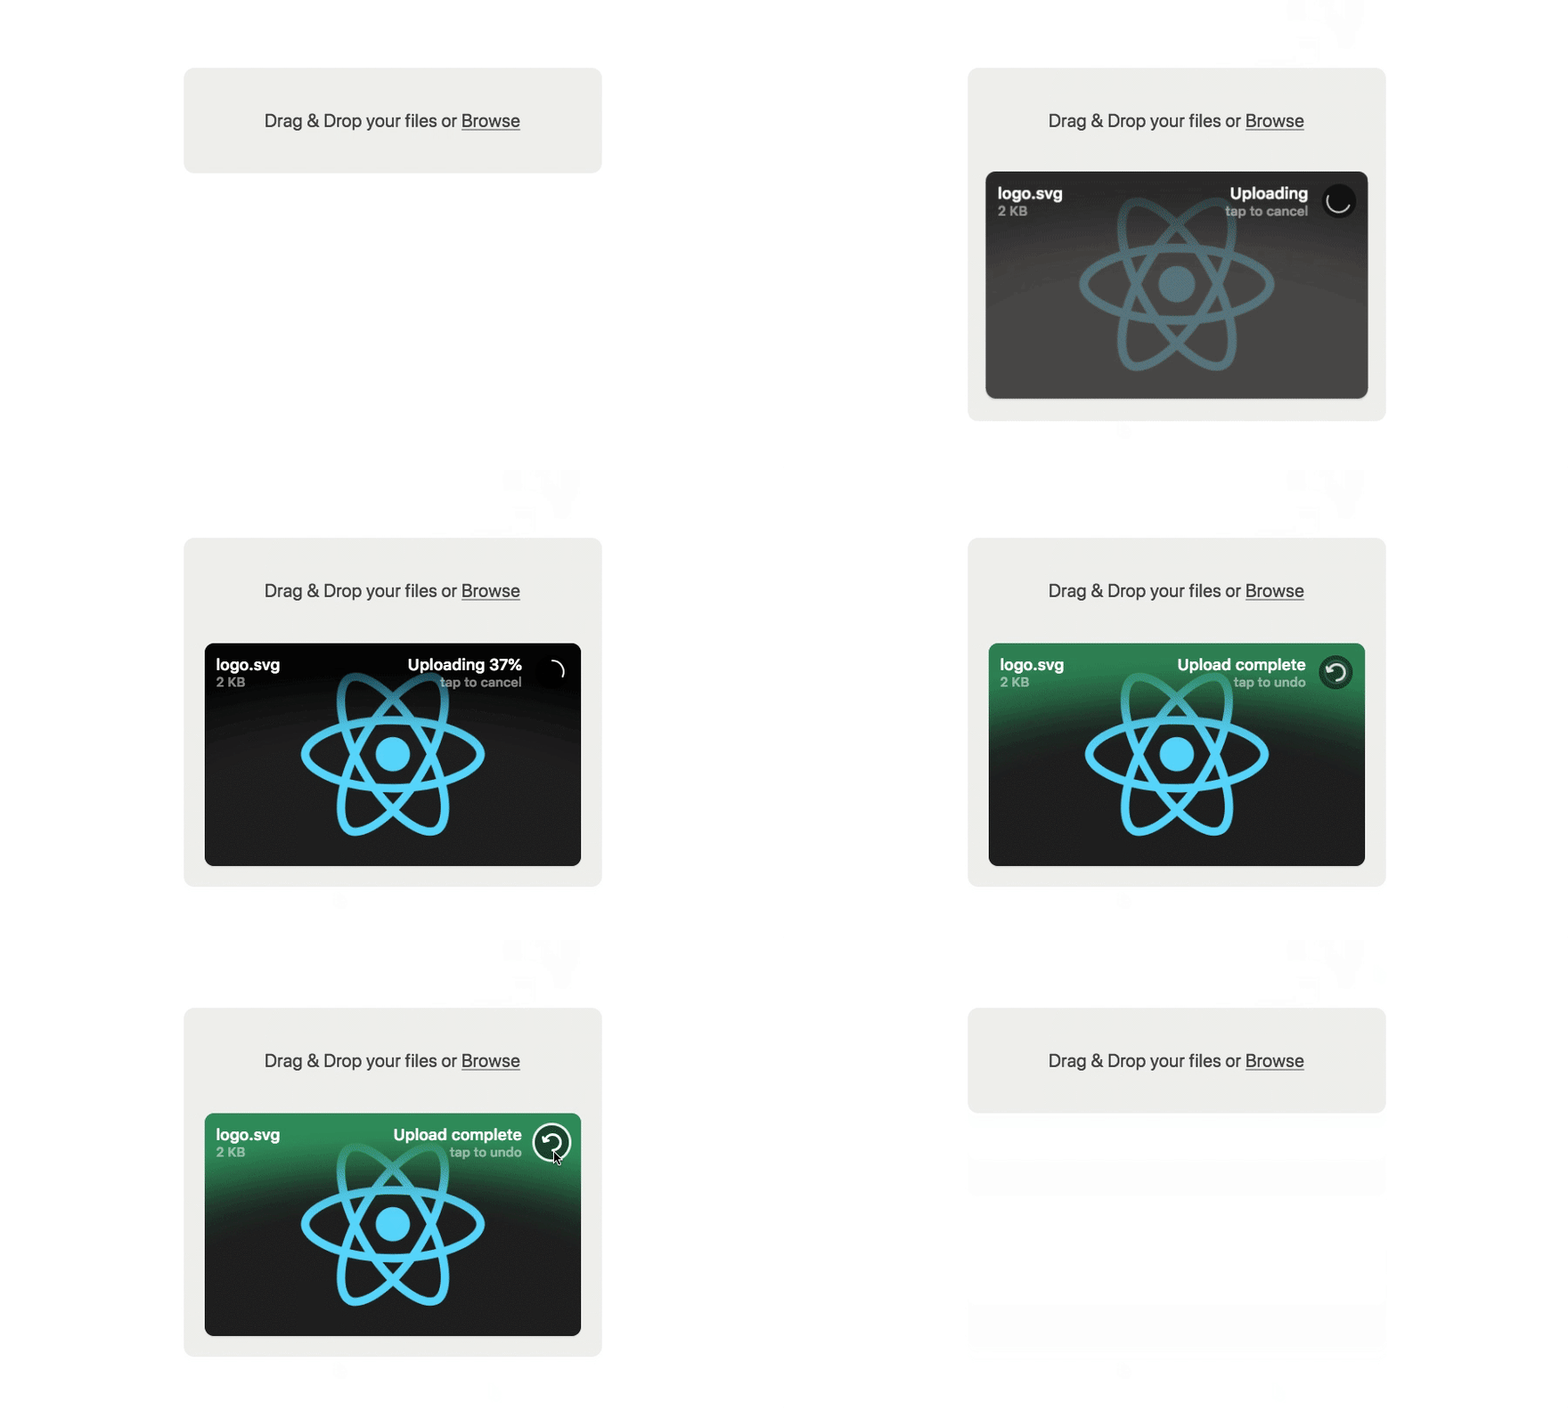
Done! Let’s restart the app and drop an image.
And that’s it, the basics of file uploading with FilePond.
You can further enhance the component with features like automatic EXIF orientation correction, image cropping, resizing, clientside image transforms and various other plugins.
There are a lot of props and events you can configure to make FilePond fit your needs.

Posted on January 22, 2019
Join Our Newsletter. No Spam, Only the good stuff.
Sign up to receive the latest update from our blog.
Related

November 18, 2024


