I used Cloudflare Workers and R2 as HTML generating service. It was so easy!

spice
Posted on April 26, 2024
This month, I added a HTML generate feature in my web app with Cloudflare Workers and R2.
I was very surprised at workflow of them, it's so easy!
I will explain why and how I implemented it.
About my web app
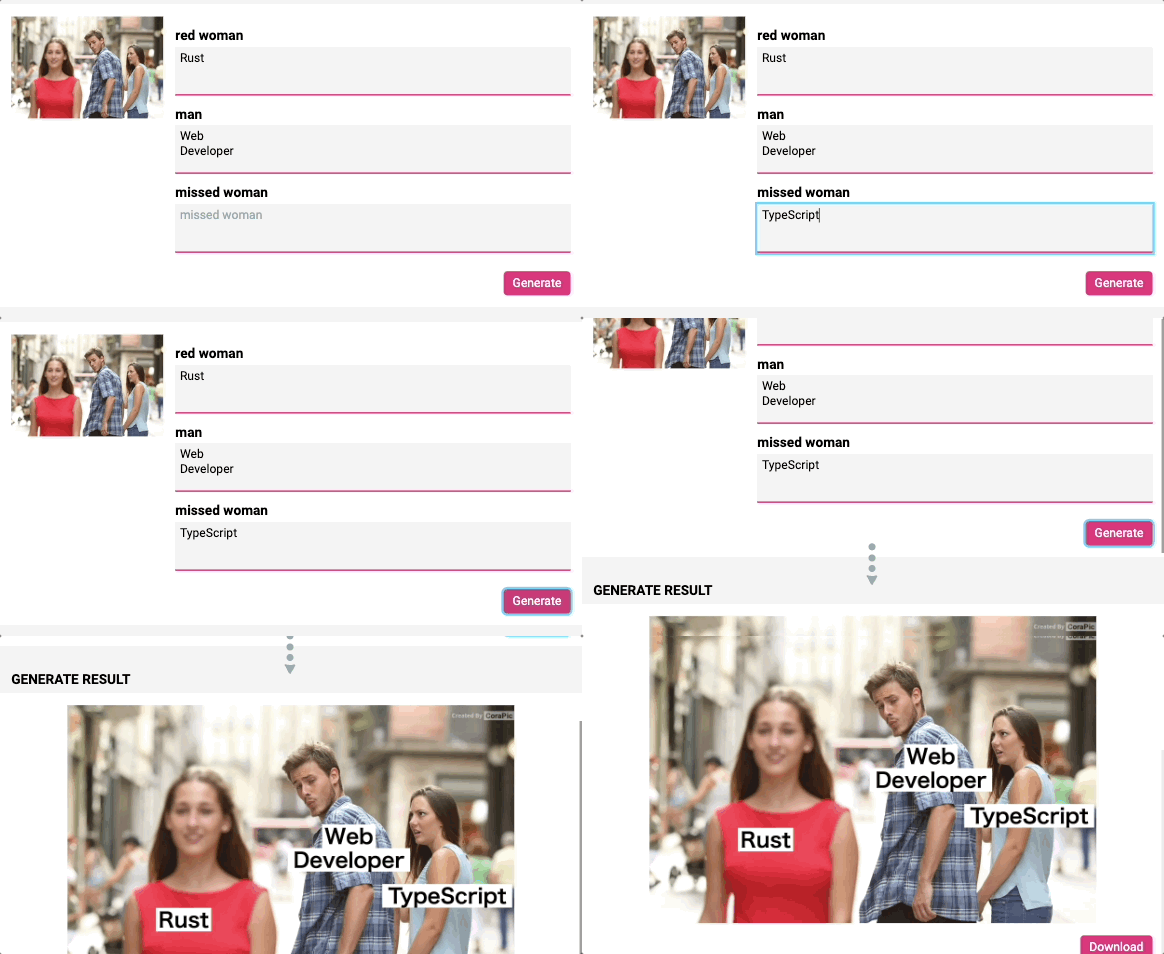
CoraPic is a easy meme generator web app.
You can create a meme just in 10 seconds only on your browser.
(this meme is here)
This web app is just hosted on AWS with Amplify.
It didn't have any API server, because all image processing is done with Canvas API on browser.
But...
I wanted to make it easy to share on any social media without downloading image.
Easy sharing feature will help app to be more popular.
That's why I decided to add a feature to generate a HTML file.
Why Cloudflare? Even though I'm using AWS
I choose Cloudflare because of the price.
Cloudflare Workers have free plan.
It's enough for me.
About Cloudflare R2, they also offers free capacity:
What I love the most about R2 pricing is, "Zero egress fee"!
It means we don't have to pay for data transfer fee.
Even if we used AWS' CDN service CloudFront, we have to pay the cost of data transfer.
But using Cloudflare R2 let us release from this cost!
It's super cool for me.
I already have $4 / month cost for AWS Amplify, mainly because of the data transfer fee, even my app only has 10k PV / month.
I don't want to pay such a stupid fee anymore.
So I decided to use Cloudflare Workers and R2.
(I definitely have to quit AWS Amplify if I want to reduce the cost. I know.)
The architecture of the HTML generator
Here is the architecture:
As I mentioned, my web app creates the meme image on the browser.
So, what I had to do is:
- Save the image on server
- Generate a HTML file with the image URL
- Enable HTML file to be accessed from the browser
By saving HTML file and enabling public access to R2 bucket, we don't have to care how to serve it.
I used Cloudflare Workers to:
- receive the image data from the browser
- save the image on R2
- generate a HTML file with the image URL
- return the HTML access URL to the browser
About Worker's code
I used hono to implement worker.
They have Cloudflare Workers tutrial in their document.
It covers how to write code and deploy it with Wrangler.
My main code is like this:
export async function genHTML({ base64, title, lang }: GenHtmlArgs, bucket: R2Bucket, bucketPreviewUrl: string): Promise<string> {
    const base64Image = base64.split(';base64,').pop();
    if (!base64Image) {
        throw new Error('Invalid base64 image');
    }
    const imageType = detectType(base64Image);
    if (!imageType) {
        throw new Error('Invalid image type');
    }
    // Convert base64 to binary
    const imageBinary = Uint8Array.from(atob(base64Image), (c) => c.charCodeAt(0));
    const uuid = randomUUID();
    const imageKey = `gen/${uuid}.${imageType.suffix}`;
    try {
        // Save image
        await bucket.put(imageKey, imageBinary, { httpMetadata: { contentType: imageType.mimeType } });
    } catch (e) {
        throw new Error('Error saving image');
    }
    const imageSrc = `${bucketPreviewUrl}/${imageKey}`;

 // generate html from template with saved image
    const html = genFromTemplate({ imageSrc, title, lang });
    const key = `gen/${uuid}.html`;
    // Save html
    await bucket.put(key, html, { httpMetadata: { contentType: 'text/html' } });
    return key;
}
You can read all of my source code in GitHub if you are interested in.
Anyway, it was very easy.
About other trivial matters
I had to setup the R2 bucket.
It was very straightforward and Cloudflare offers good getting started document.
Also, I moved my domain (cora-pic.com) from Amazon Route 53 to Cloudflare Registrar to use custom domain for Worker and R2.
Both of them have document about domain transfer.
We can follow these document to move the domain.
That's it !
CoraPic has a good feature now!
I'm so happy if you use this feature!

Posted on April 26, 2024
Join Our Newsletter. No Spam, Only the good stuff.
Sign up to receive the latest update from our blog.


