Time Tracking: Kimai1 on OpenBSD

nabbisen
Posted on May 11, 2019

Introducation
Kimai is open source time-tracking app.
There are two major versions: Kimai1, which is GPLv3 licensed, and Kimai2, which is MIT licensed.
I'll show how to install Kimai1 in this post.
I tried to install both of Kimai1 and Kimai2.
Why also Kimai1?
It's because Kimai2 didn't have Japanese translation!
(Besides, I made pull request about it today. Aha.)
Environment
- OS: OpenBSD 6.5
- Database: MariaDB 10.0
- Web Server: httpd
- CGI: PHP-FPM powered by PHP 7.2
- Time-Tracking App: Kimai 1.3.1
Tutorial
The official installation manual is here.
Requirements
First of all, you have to have:
Additionally, HTTPS is recommended.
DB server
Create database and user:
CREATE DATABASE <database> CHARACTER SET = 'utf8mb4';
GRANT ALL PRIVILEGES ON <database>.* TO <dbuser> IDENTIFIED BY '<dbpass>';
App server
Get the package:
$ ftp https://github.com/kimai/kimai/releases/download/1.3.1/kimai_1.3.1.zip

$ unzip kimai_1.3.1.zip -d kimai1
Then modify the permissions:
$ cd kimai1

# chown -R :www .
# chmod -R g+r .
# chmod -R g+rw {temporary,temporary/logfile.txt,includes}
Web server
Add configuration:
server "<fqdn>" {
        listen on $ext_addr port 80
        block return 301 "https://$SERVER_NAME$REQUEST_URI"
}
server "<fqdn>" {
        listen on $ext_addr tls port 443
        tls {
                certificate     "/etc/letsencrypt/live/<fqdn>/fullchain.pem"
                key             "/etc/letsencrypt/live/<fqdn>/privkey.pem"
        }

        root "/<...>/kimai1"
        directory index index.php

        location "/*.php" {
                fastcgi socket "/run/php-fpm.sock"
        }
        location "/*.php[/?]*" {
                fastcgi socket "/run/php-fpm.sock"
        }
}
Then restart the web server:
# rcctl restart httpd
Now we can run the web installer with browsers.
Let's go to https://<fqdn>.
Web Installer
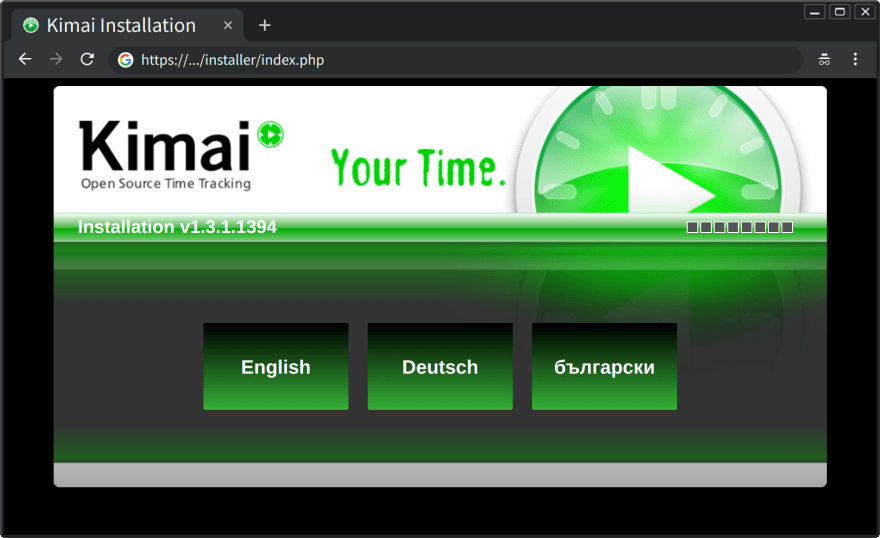
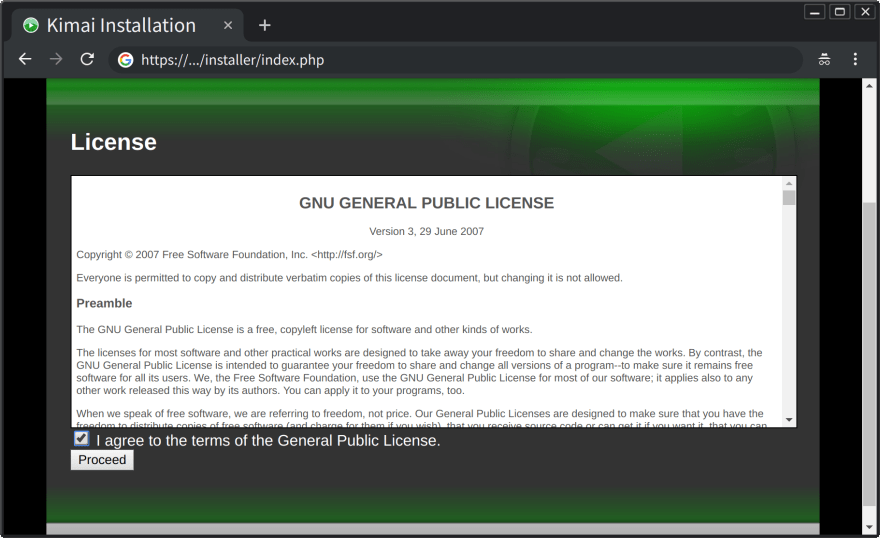
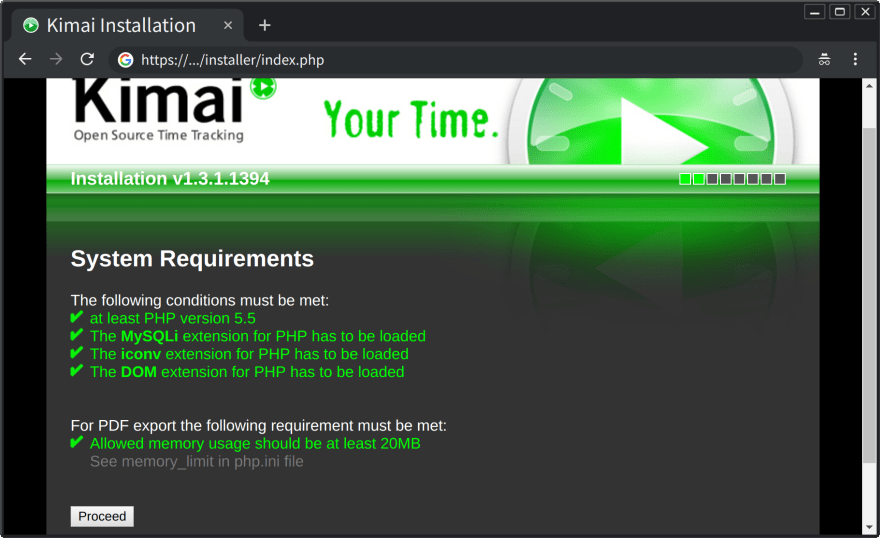
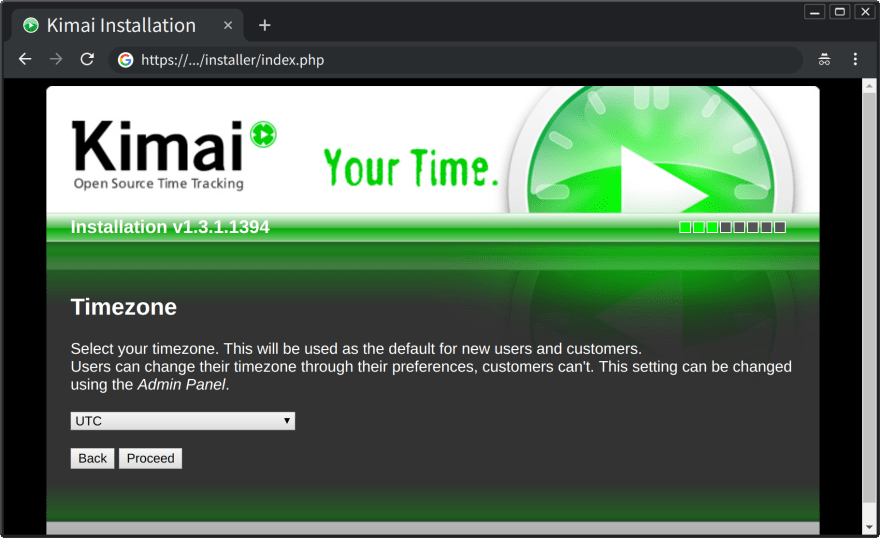
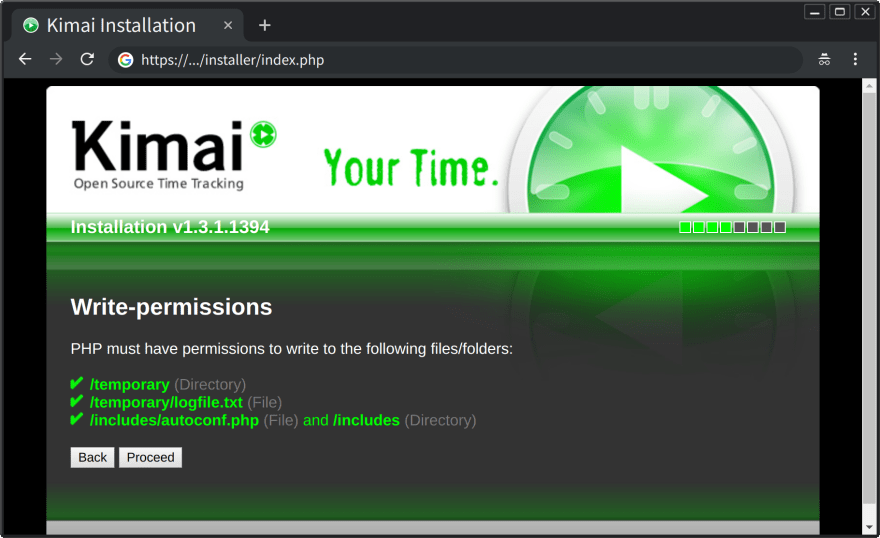
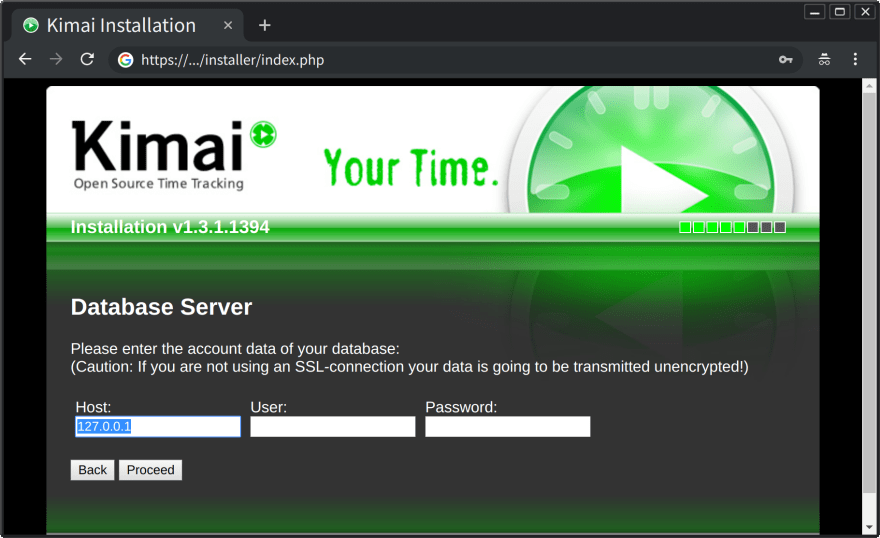
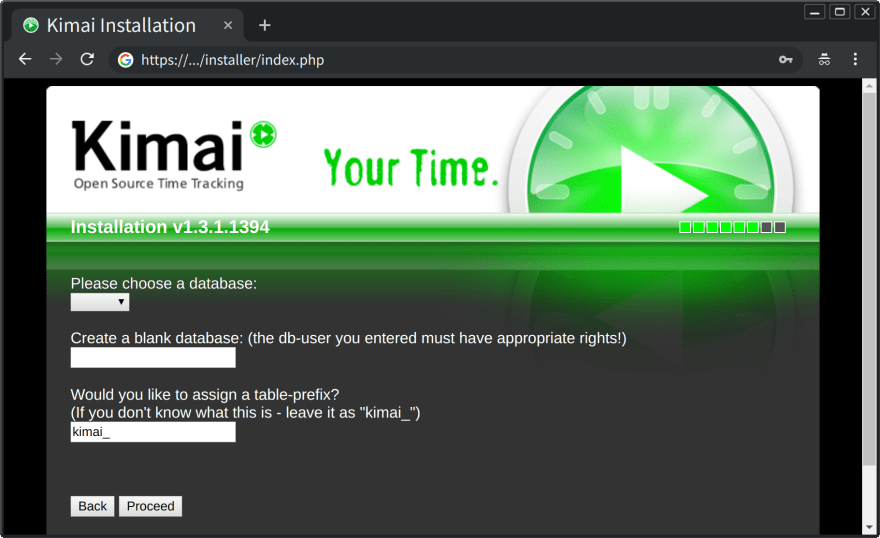
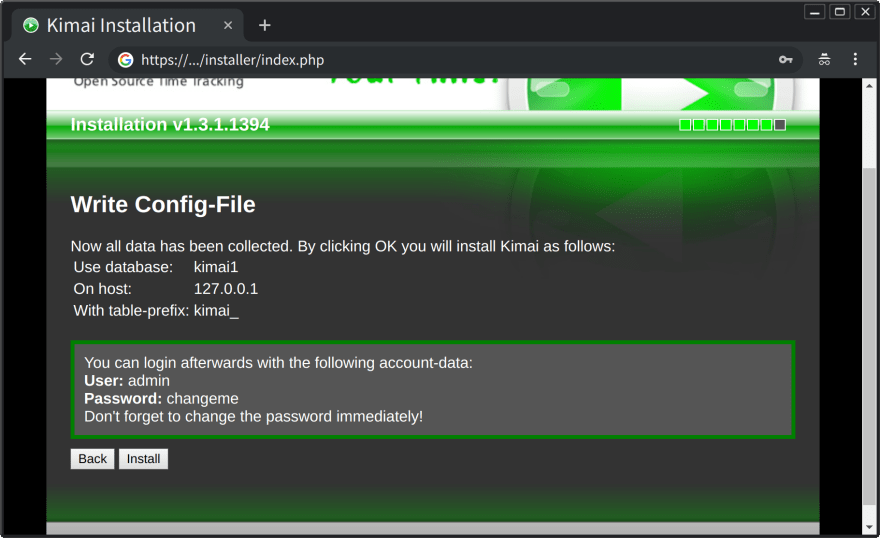
Follow the guidance:
* Caution: Replace localhost with 127.0.0.1 as needed.
Installation is now ready.
It starts by clicking the "Install" button.
We have reached the login form.
The initial settings are:
- Username: admin
- Password: changeme
OK!
Remove the installer:
$ rm -rf installer
Than's all!
Conclusion
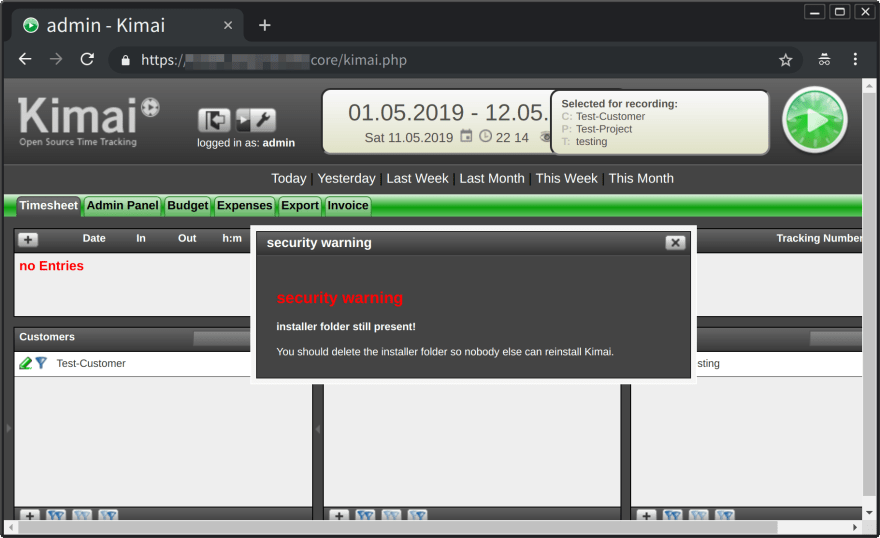
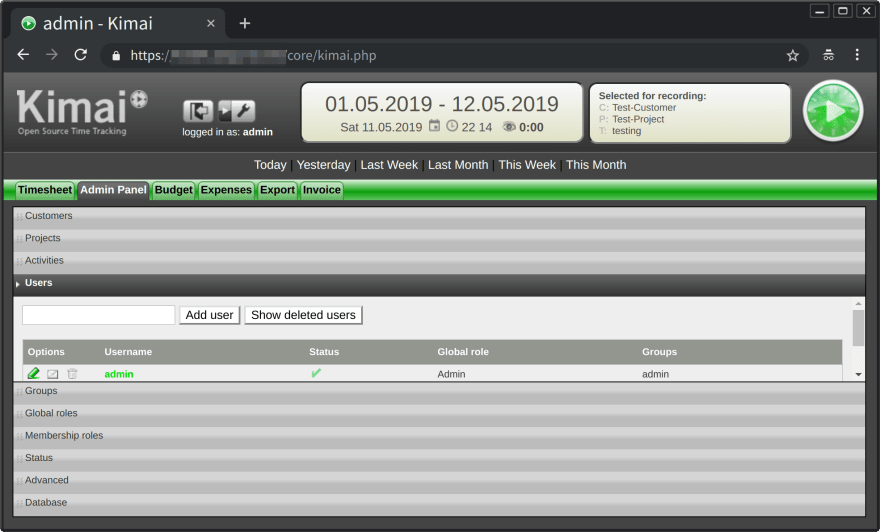
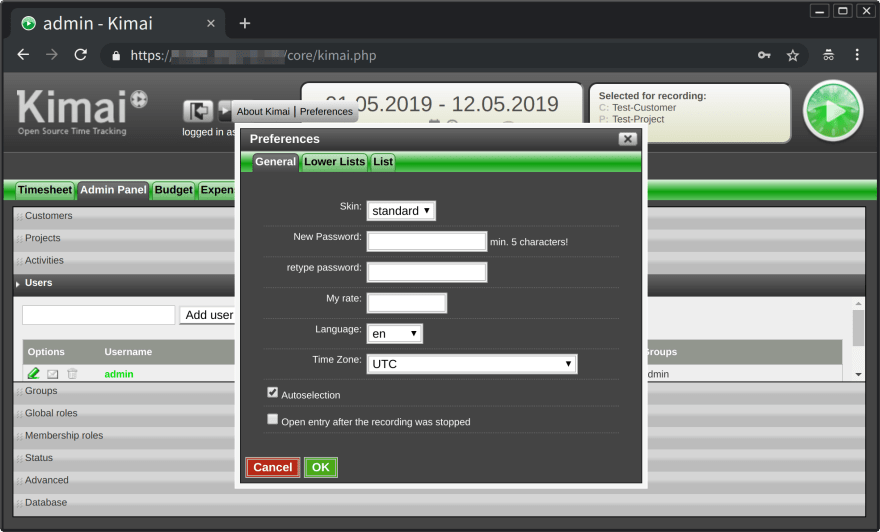
These are usage screenshot examples.
Unique and cool design. I sometimes feel kinda nostalgia somehow... :)
Thank you for your reading.
Happy computing.

Posted on May 11, 2019
Join Our Newsletter. No Spam, Only the good stuff.
Sign up to receive the latest update from our blog.
