HOW TO CONNECT RDP AND HTTP TO A WINDOWS VIRTUAL MACHINE AND INSTALL WEB A SERVER USING POWER SHELL AND ADD A DATA DISK

Tijani Mojeed
Posted on May 11, 2023

In the early days of computing, systems were always physical, meaning that a computer was a discrete collection of hardware that ran an operating system and often used various input and output devices. Imagine a data center where every computer is a separate, physical device. You can also imagine that the requirements for power, cooling, networking, and management would be significant. Virtualization changed that model. Although physical computers are still a major component of many organizations’ IT infrastructure, organizations are increasingly moving toward the use of virtual machines (VMs).
A virtual machine is an emulation of a computer system that provides the functionality of a physical computer.
The first step is to create a windows virtual machine by following the steps below
Log in to your Azure account at https://portal.azure.com/
From the Azure Portal dashboard, click on the "Create a resource" button in the upper left-hand corner of the screen.
Type "Virtual Machine" in the search bar and select "Virtual Machine" from the search results and click on create
On the "Basics" tab, select the subscription you want to use, and then create a new resource group or select an existing one.
Give the virtual machine a name and choose the region where you want to create the virtual machine.
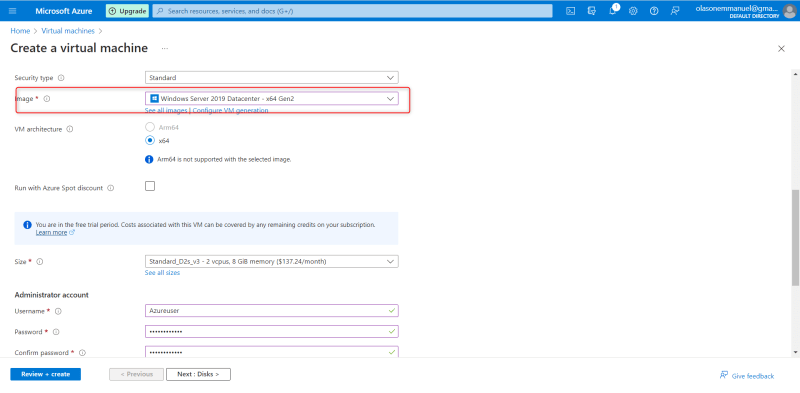
Select the image for the virtual machine. You can choose from a list of pre-configured images provided by Microsoft or use your custom image.
Choose the size of the virtual machine by selecting the desired number of cores and amount of RAM.
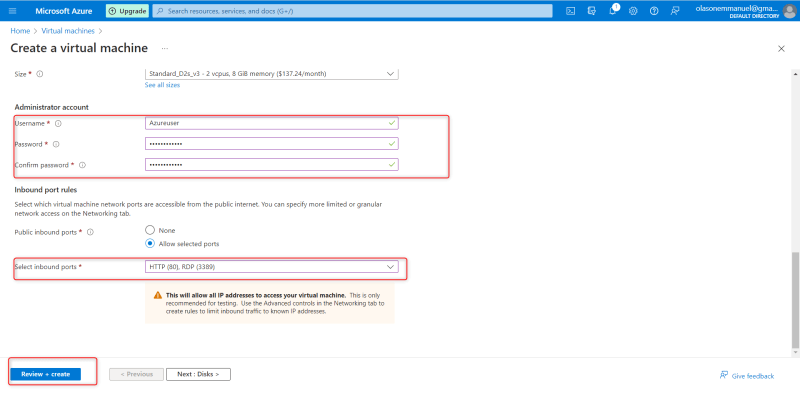
On the "Settings" tab, configure the desired settings for your virtual machine, such as storage options, network settings, and administrative account details.
Select inbound port; here you select RDP AND HTTP because we will test the Virtual machine IP address on a web book browser.
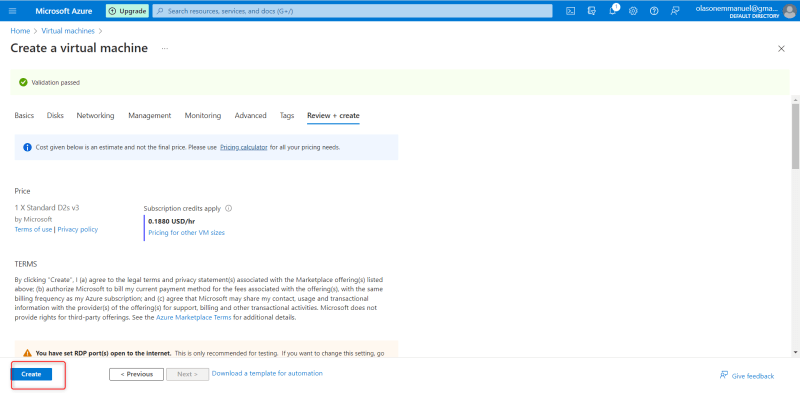
Finally, review all the settings and click on the "Create" button to create the virtual machine.
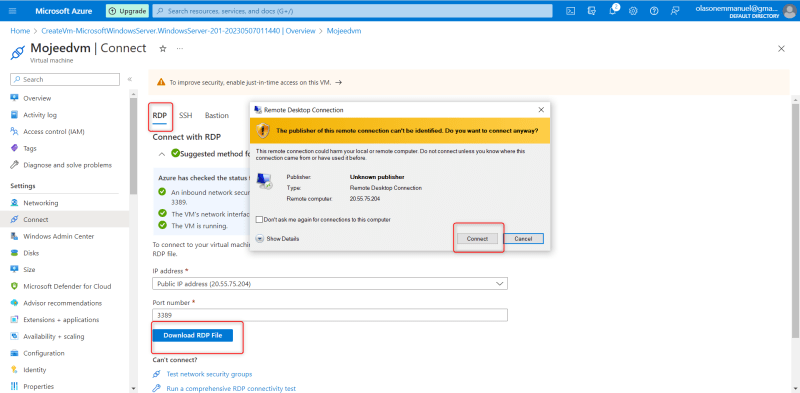
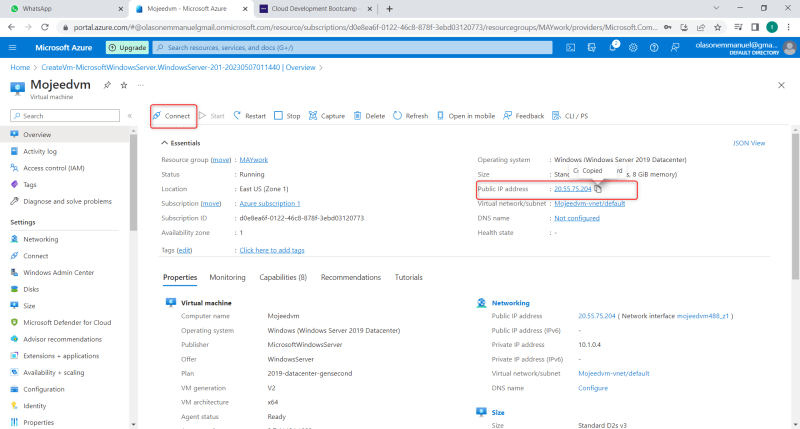
Next is to click on resources
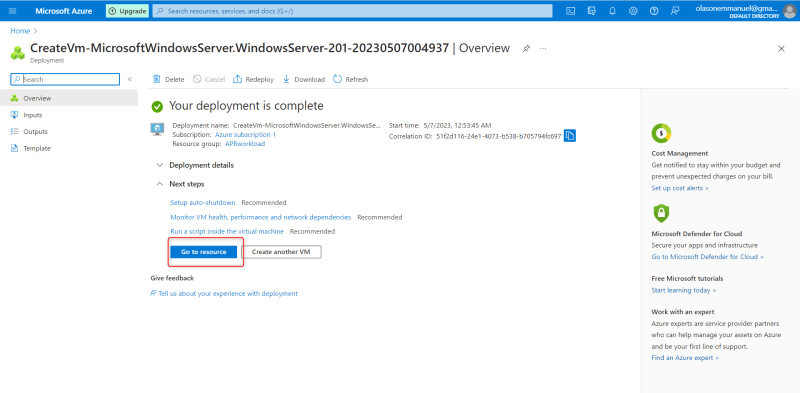
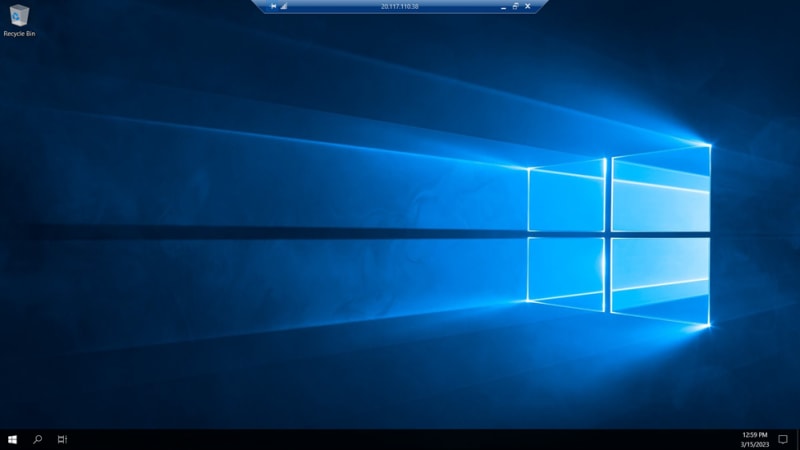
After that, go the RDP and download file RDP file and click on connect and a Enter your user name and password then click on connect virtual machine displayed as shown in the image below
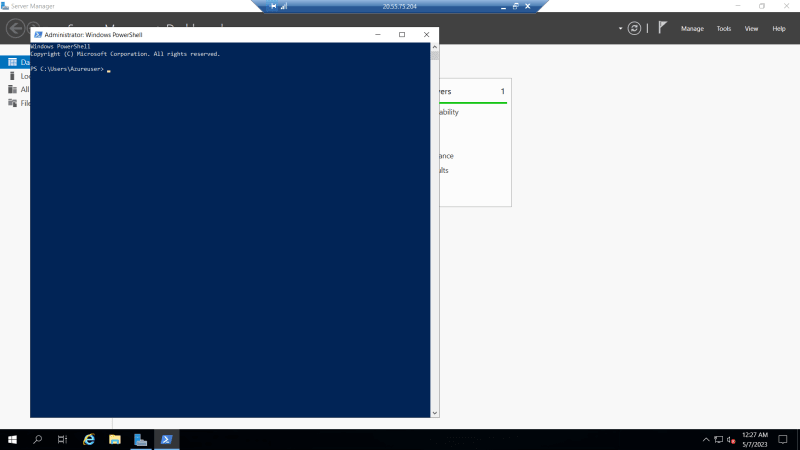
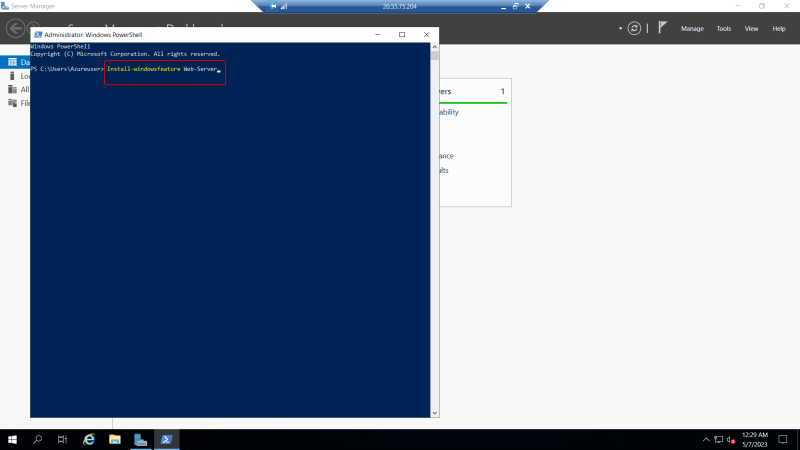
The next step is to type PowerShell on the search bar of the Virtual Machine you created and install web server in it as shown in the image below
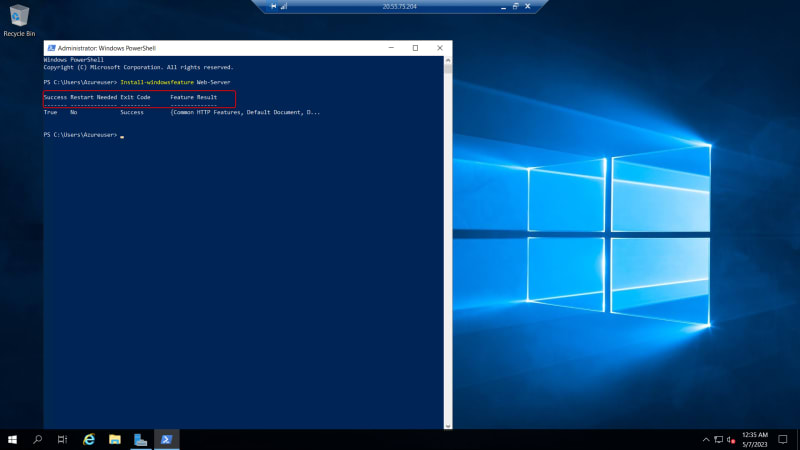
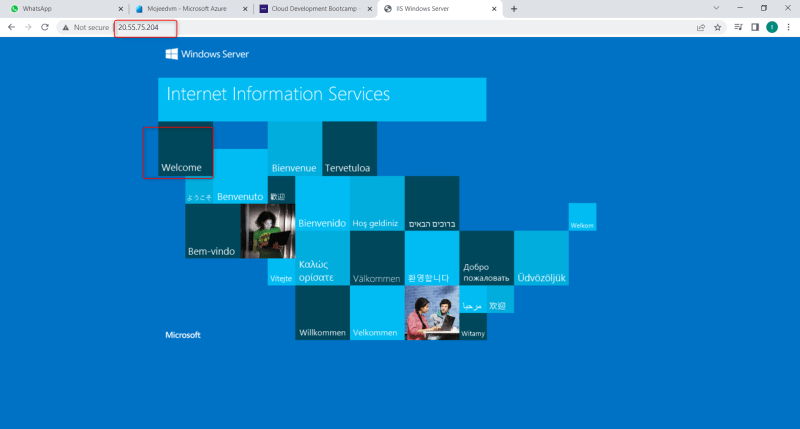
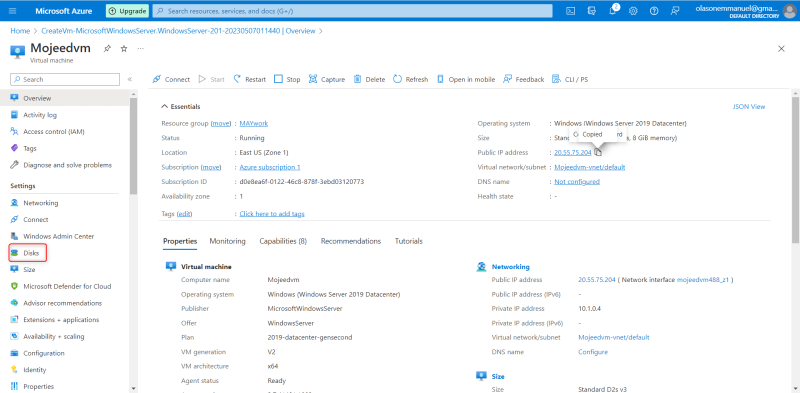
You have successfully Installed Web Server on your Virtual Machine, you can then cope the IP Address and test on a web browser for confirmation.
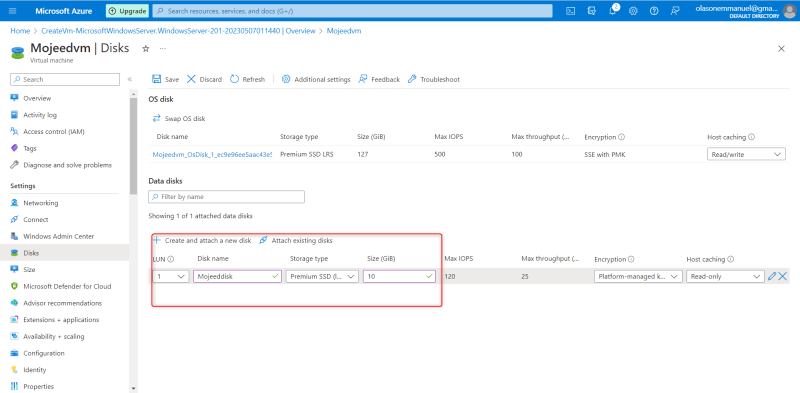
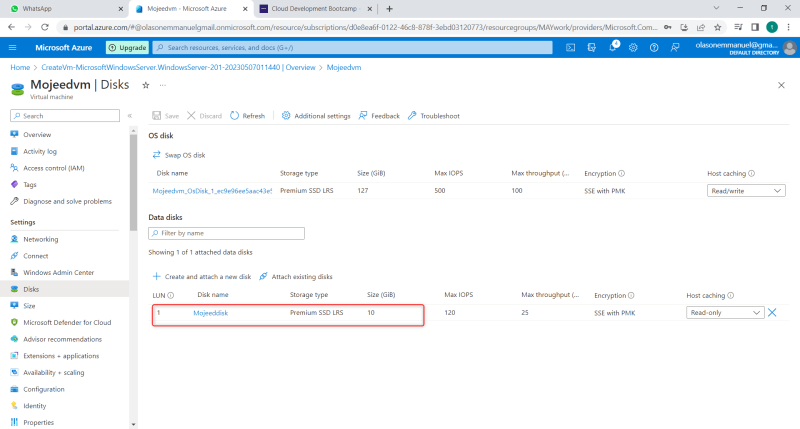
The next step is to add Data Disk to it and initialize the disk to make it useable. Doing this is by going back to the virtual machine resource and click on disk at the left hand-side of the virtual machine and fill the necessary details and click on save as shown in the image below

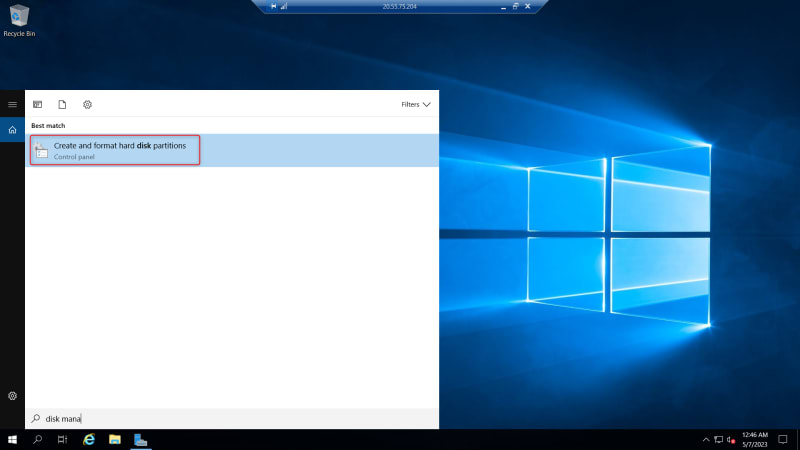
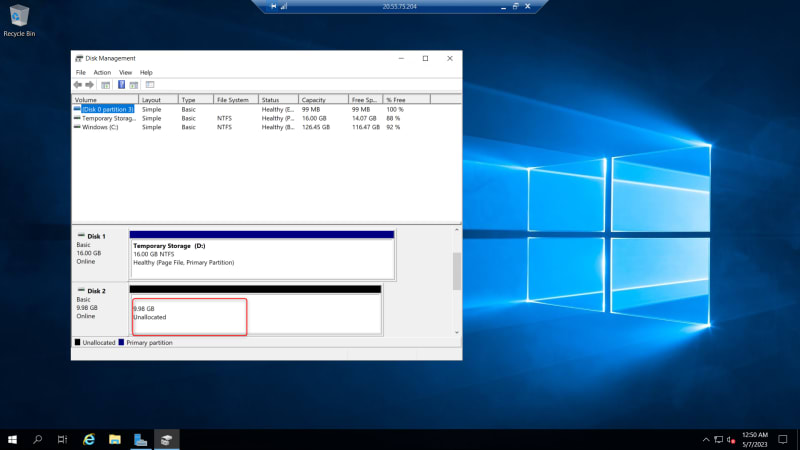
Next is to go to your window virtual machine search bar and search for "Create and format hard disk partitions" and click on it and a page will display then select disk 2 and click ok. see below image
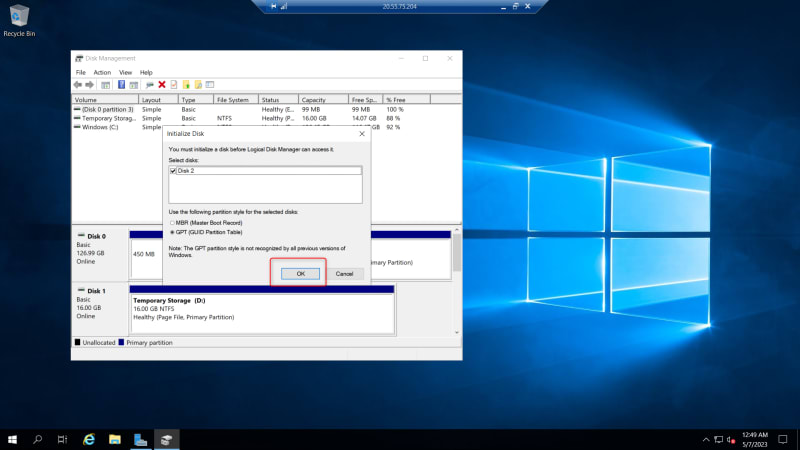
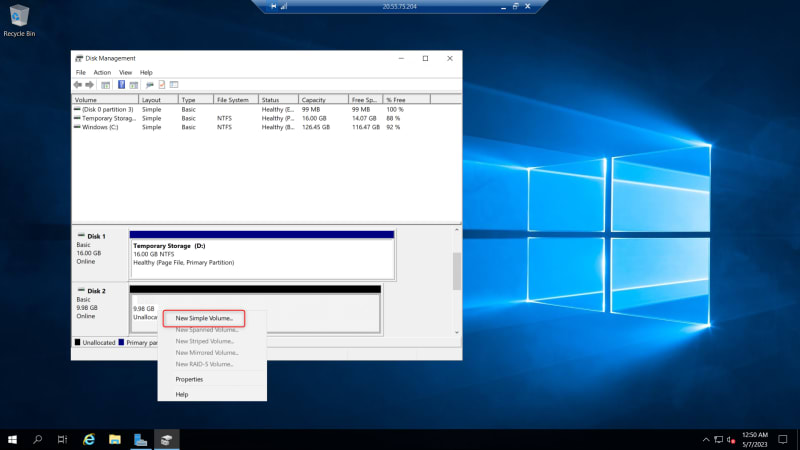
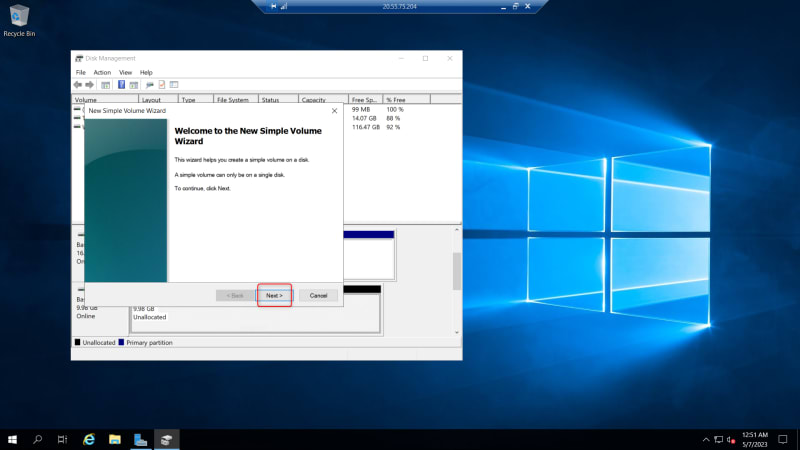
Here, The details of the disk you added on virtual machine will display then right click and select "New Simple Volume" and click on it, then click next as shown in the images below
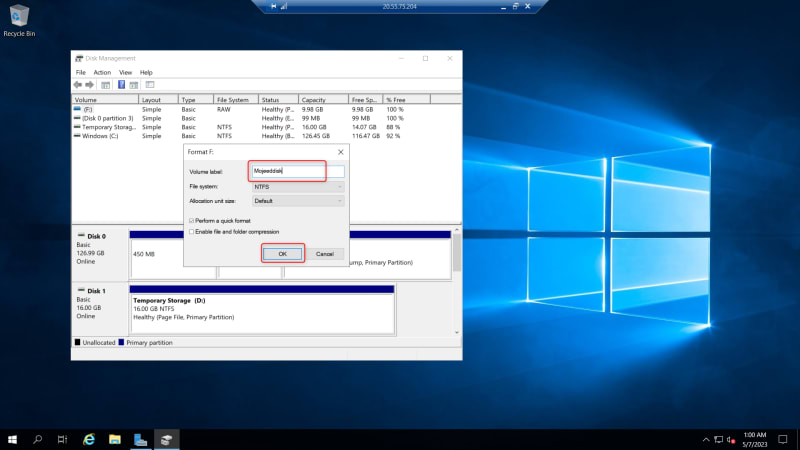
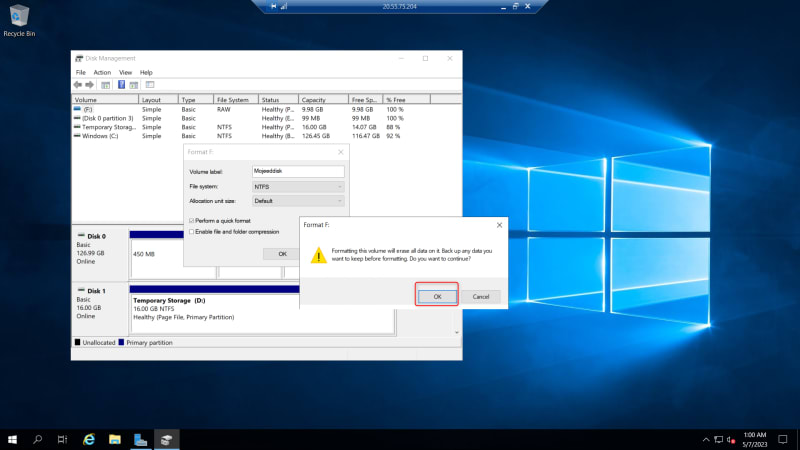
Next is to format it first and that can be done by changing the "new volume" to the name you want and click ok
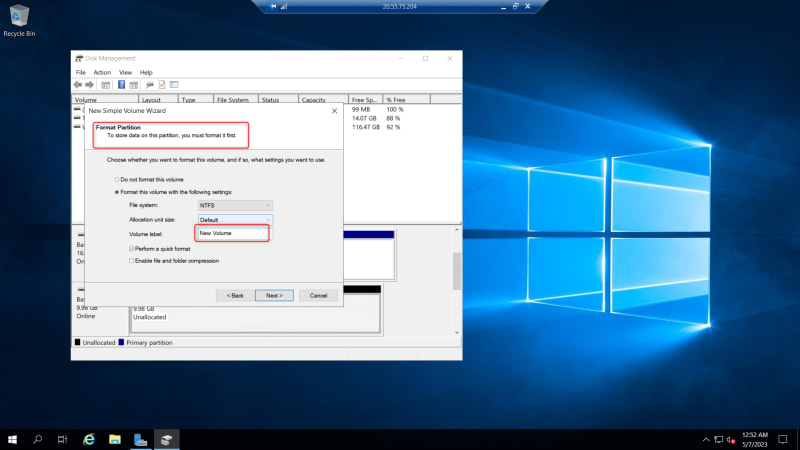
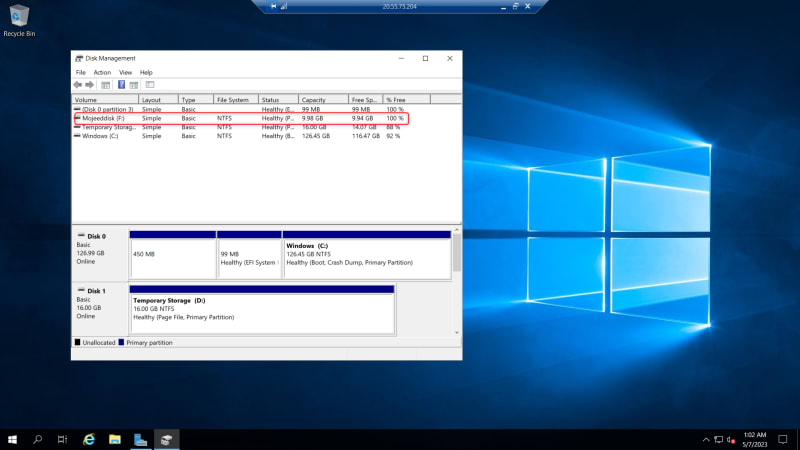
After that, here you have your data disk added and initialized
Thank you for reading and how hope you can install web server and add data disks to your virtual machine.

Posted on May 11, 2023
Join Our Newsletter. No Spam, Only the good stuff.
Sign up to receive the latest update from our blog.
Related

November 30, 2024


