mnmartinelli
Posted on May 2, 2022
Welcome to the world of Web Components!
Open-WC is a powerful tool to develop web-components fast. With some simple JavaScript here, and few installs there, you'll be an experienced developer in no time.
- I highly recommend using Linux or WSL for web development, however this step is optional and all install links will be provided below. If you would look to install WSL with a customized terminal look and feel, follow my guide here.
Dependencies Required:
$ sudo apt-get install -y nodejs
Optional Installs:
- VS-Code
- Recommended VSCode extensions:

Open-WC Installation/Setup:
-
Create a folder and enter into the directory:
$ mkdir open-wc-demo $ cd open-wc-demo -
NPM install Open-WC
$ npm init @open-wc Select "Scaffold a new project" using the enter key.
Select "Web Component" using the enter key.
Select All (Linting, Testing, & Demoing) by pressing "a" and then enter key.
Please select "No" to not use typescript. We will be using Javascript.
Then give your web-component a name, I will be calling mine "open-wc-test".

Select Yes to write the file structure to the disk.
Then, select "Yes, with npm" to install all dependencies.
Lastly, to test if everything works run
npm start
Developing with Open-WC
- Learn more from Lit Documentation,
- Learn more from Open-WC Documentation
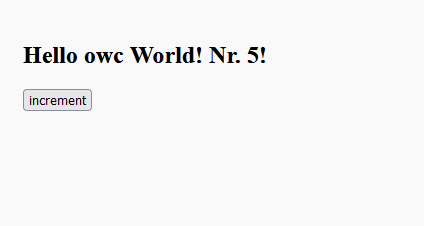
Hello World example provided by Lit Playground

Posted on May 2, 2022
Join Our Newsletter. No Spam, Only the good stuff.
Sign up to receive the latest update from our blog.
