Sitecore Identity Server

Arif
Posted on January 21, 2020
Introduction
Sitecore 9 onward introduces headless capabilities of Sitecore which means we can now access Items via Sitecore Services Client API (Aggregate) which is basically a odata API. Those who want to know details about it, you will find it here
I was actively working as a member of Sitecore Services Client team while we shipped that with Sitecore 9 in 2017. The aim was to support multiple platforms to work with Sitecore. As an example is, people can develop their own app using React/Angular and use Sitecore's Items. Later on Sitecore also introduces JSS (Sitecore Java Script Service) which allows developer to develop angular/react app with Sitecore (connected or disconnected mode). Again, details can be found here
I have couple of articles already written to cover JSS in my LinkedIn, but i am planning to re-write here in my later articles.
Now the question is, why did Sitecore introduce Identity Server? Well, The answer is, Sitecore introduces a heap of other applications which might not ties with Sitecore-platform and ships as a separate bundle and those applications require to authorize from Sitecore which is only possible if there is a SSO in place. To support that, Sitecore introduces Identity Server.
Example
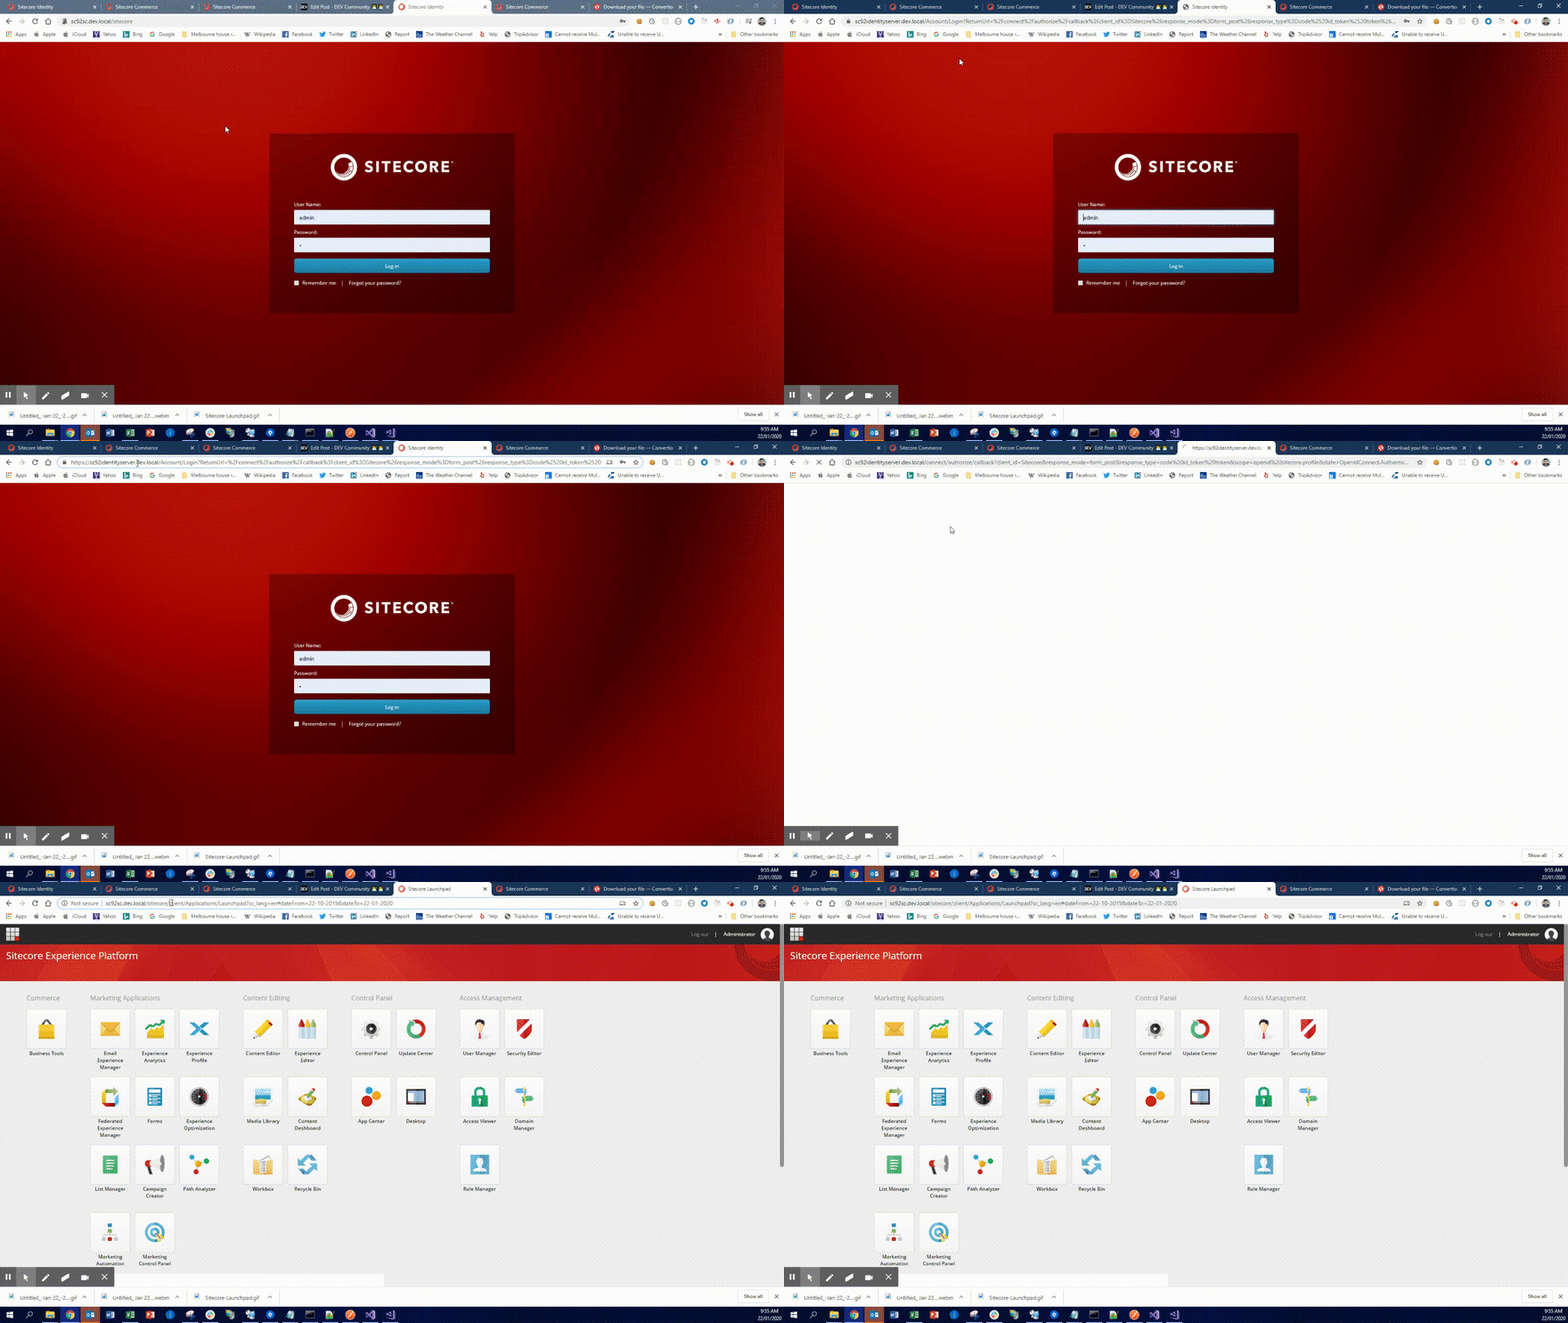
: An example would be Sitecore Business Apps. It has a set of functionalities which are part of completely a new angular based application and uses Sitecore Identity Server to authorize it.You will notice it redirects to a new URL but before, it gets authorization from Sitecore. It basically collects the token from the Sitecore Identity Server and pass it to that app. Until Sitecore 8, it was using Form based authentication but from 9 onward, it's using that.
How to register your app in Sitecore Identity Server
: Registering a new app in Sitecore Identity Server is quite easy. You need to go to identity server physical path and modify "Config/production/Sitecore.IdentityServer.Host.xml" file.You will notice, Clients node has CommerceClient and PostmanClient. The same way, we can create your own client. Just copy/paste the existing client section and name it according to your app.
Collect Token
: Now i will show, how token endpoint works in Sitecore Identity Server. Since postmanclient is already registered in Identity Server, we can use postman to collect a token as below:You will see different headers are provided with the token endpoint. Those are really important. Question would be, where did we define those? Well, inside the configuration obviously.
We can use that token to execute any Sitecore endpoints (Which is under Authorization). Let's test that. We have a endpoint that returns a list of environments. Lets testify that through that token:
The same way, we can create our own Application and use token to authorize with the help of Sitecore Identity Server.
Next Article:
I tried to give an idea about Sitecore Identity Server and how to use it. Next article, i will try to explain how to create a small react application and use Sitecore Identity Server to authorize that.Cheers
Arif
https://www.linkedin.com/in/mdarifuzzaman/
My Channel: https://www.youtube.com/channel/UCNV_WMRXkq6E4EojTX8XJPw

Posted on January 21, 2020
Join Our Newsletter. No Spam, Only the good stuff.
Sign up to receive the latest update from our blog.


