Mat
Posted on August 29, 2020
So I decided to learn to sew my own face masks. It's been a good project to take my mind off the apocalypse.
When I first started I had never used a sewing machine before, but I learned a lot through trying stuff out and starting with something simple. This is a good way to learn things!
5 Patterns of Varying Difficulty
So far I've just been focusing on making masks for myself that fit well, since better fitting masks are a) more comfortable
and b) more effective. I've experimented with various different ways of making masks, and I've now tried 5 different patterns.
Rectangle
How to sew a rectangular face mask
For the very first mask I used a simple rectangle pattern, because that meant I only had to sew straight lines. This worked surprisingly well, but it wasn't that comfortable because the fabric bunches up.
Although I didn't make more of these, it's easy to sew (I was still figuring out how my machine worked when making it) and all the stitches are on the inside of the two layers so it doesn't matter if it's messy. My biggest mistake was mismatching the grain of the 2 fabric layers, and then sewing the nose wire to the wrong side so the visible design ended up upside down. Whoops.
Pleated (I)
How to sew a pleated face mask
The pleated pattern is the same as the rectangle one, but it allows the mask to be shaped to the face instead of laying flat against the mouth. In practice, I found this quite tricky to make and my sewing was very messy. I made some mistakes sewing the pleats. The end result didn't fit very well and I only wore it once. I didn't use a nose wire with this one which also didn't help. Although the mask wasn't very good, it taught me a new technique (adding pleats), and it prompted me to get a seam ripper to fix all my mistakes.
Duckbill
How to sew a duckbill style face mask
I see people wearing masks like this a lot. Each layer is made from 2 pieces of fabric stitched together in the middle. This is harder to sew because of the curves and it's fiddly to sew the layers together. It seems like with these masks it's harder to get a good fit, and I made a few of these while trying to adjust the size for my face. I found that if the straps weren't pulled tight there were a lot of gaps around the mask, and it was a lot more comfortable with a behind the head strap. By making more of these masks I got better at using my machine and I also learned how to adjust patterns.
Boat shape
How to sew a boat shaped face mask
With this pattern there is a piece of the mask that is flat against the mouth, and then there are bits above and below it that go over the nose and chin. I found this fit me a lot better than the duckbill style pattern, and it's my favourite pattern overall, although it's not so great for talking because it doesn't leave room around the mouth or stretch vertically.
This pattern doesn't need to use curved lines but I still found it very tricky because you need to fold parts of the mask a certain way, which broke my brain a bit.
Pleated (II)
How to make a pleated face mask (hybrid pattern)
This one is similar to the first pleated pattern I tried, but part of the mask folds backwards to fit over the nose. I found this one reasonably comfortable but it left some gaps at the top of the mask. I'll probably make some more of these.
Materials
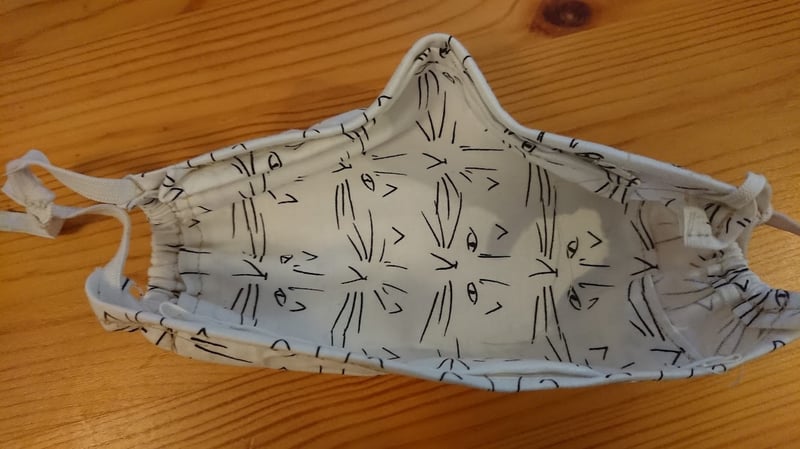
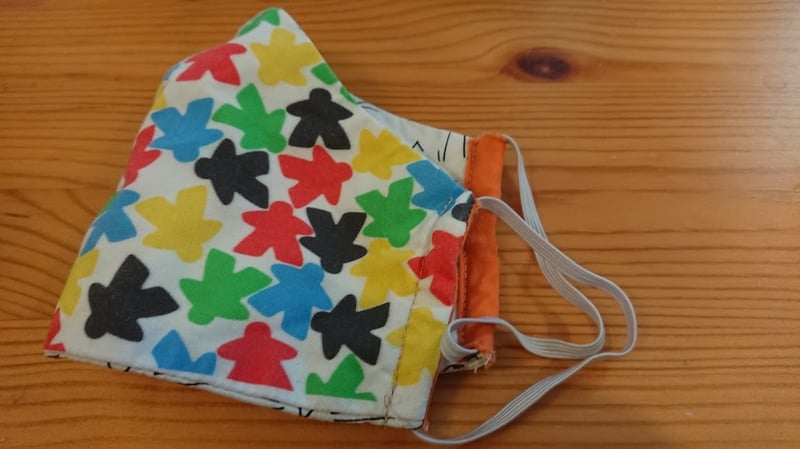
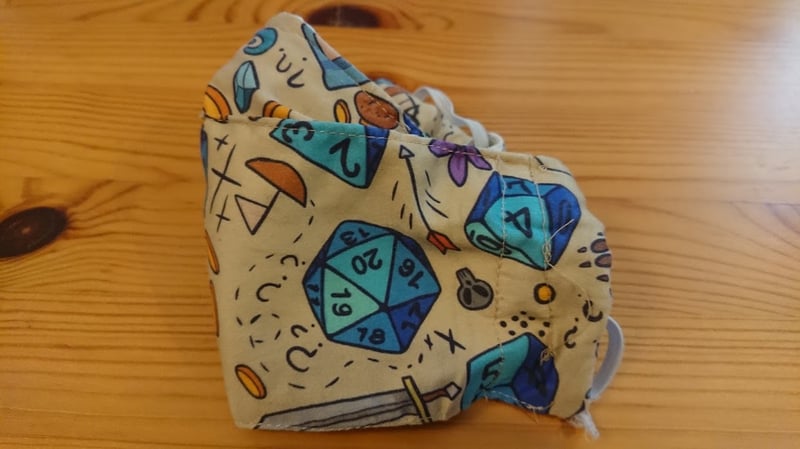
For all the masks I've made so far I've used 2 layers of cotton. I've mostly got this from Spoonflower.com which lets you select from lots of custom designs people have contributed. This has motivated me to learn Adobe illustrator so I can try creating my own design as well.
Some of the patterns have an optional pocket to put a filter in, but I skipped this, since I didn't have anything to put in it at the time. I've since found you can buy filters for masks on amazon though.
The instructions for the duckbill style mask mention that you could add some interfacing material to the fabric to make it hold it's shape better. This is material you iron on, and it makes the fabric thicker, like a shirt collar. I tried this a couple of times because some of the early masks I made deformed quite a lot when I breathed in and out. However, the thicker fabric makes it a bit harder to breathe through and I had better results changing the sewing pattern instead of the material.
There is a study by Abhiteja Konda et al which compares how effective different materials are at filtering droplets and suggests that some lighter fabrics can be as effective as quilter's cotton. Apparently you can create really comfortable masks out of a material called "stretch chiffon", which is made of silk and lycra, but I haven't tried this yet.
Nose wire
I found that the nose wire is essential for getting a good fit, but the wire should be quite flexible so it fits around the nose rather than digging into it.
Originally I was using some bits of electrical wire I had lying around. I also bought some wire strips that you can stick to the outside of masks, but I found them to be too stiff, and they look pretty ugly.
The wire I'm using now is 20 gauge floristry wire. The higher the gauge the thinner/more flexible it is.
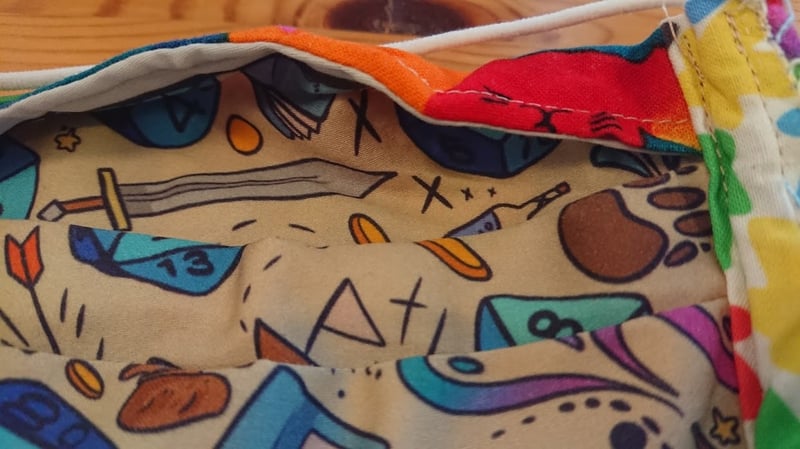
Most of the patterns that feature a nose wire have you stitch the wire in place, but this means you can never replace it. The pleated pattern is nice because it leaves a little channel for you to insert the nose wire into at the end.
Straps
Some patterns have you sew a piece of extra fabric around either side to thread the straps through, but when I've used bias tape it's turned out much neater. I think the masks I've made this way are less likely to fall apart.
For all the masks I've made the straps are replaceable. I originally made ear straps, but I this makes the masks really uncomfortable to wear for extended periods of time, and you have to make sure that both straps are more or less the same length.
The alternative is to create straps that go behind the head, which is simpler and more comfortable. To make this I thread 50cm piece of elastic through both sides, instead of a shorter piece on either side.
So far I've just been tying knots to create a loop in the straps, but ideally I'd like to make them adjustable as well. I bought some toggles (like you get on drawstrings) that can be used to make an adjustable head strap, but they are a bit bulky. I think there is probably a way to make some kind of adjustable knot without using a fastener like this but I don't know how to do that yet (I'll update this post if I figure it out).

Posted on August 29, 2020
Join Our Newsletter. No Spam, Only the good stuff.
Sign up to receive the latest update from our blog.
![Michael: Everything okay? Janet: [giving a thumbs up] nope!](https://media.dev.to/cdn-cgi/image/width=800%2Cheight=%2Cfit=scale-down%2Cgravity=auto%2Cformat=auto/https%3A%2F%2Fdev-to-uploads.s3.amazonaws.com%2Fi%2Fmkm6b7zxf8cgv28wdrx6.gif)


