Mahendran
Posted on May 12, 2021

This is the fourth installment in [Android app with Hasura backend - #4] series. In the previous articles we saw how to setup a GraphQL server and download the schema and composing queries. Few of the gradle setup from previous article needed here, so refer it beforehand.
This one cover code generation using Apollo client.
🌐 Common API call - data exchange
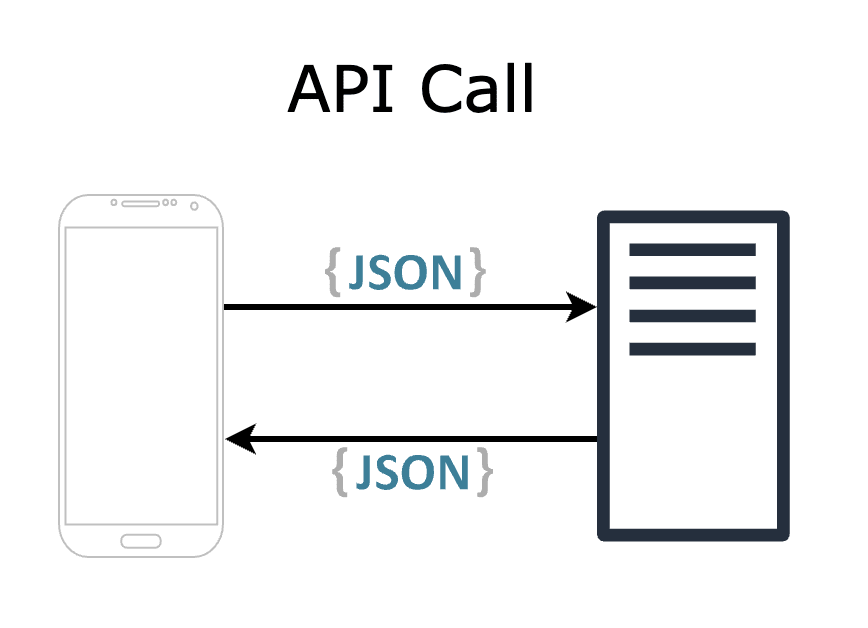
A common API call is transmitting data between client and server using a data exchange format (xml/json) both agree on. While the client and server coded independently (mostly in different language), when it comes to transmission, they use a generic format like JSON.
To understand JSON at the client end we parse the data to our model. However, a code like var title = json.getString("title") is not something anyone want to write. To avoid the boilerplate of writing a parser, we go with Serializer/Deserializers. Moshi, GSON, Kotlin-Serializer are few serializers used in Android ecosystem.
The above approach poses few issues
- Any change in server, if not communicated properly, will end up in runtime error. For example, removing the title property from the json object will throw runtime exception.
- User has to create model classes manually (and must annotate) for the parser to work properly. If not careful, there a window for human error
- This is applicable to GSON/Moshi (reflection) — if the serialization library uses reflection to fill in the model, there is performance overhead and a non-nullable field is not guaranteed to be not null.
To address all these issues, GraphQL produced a solid contract-based API call model. Here, the schema file defines the input/output and available operations. Under the hood, the transmission happens in JSON (though it is not mandated by graphQL specs).
Onwards...
💻 What's the code change?
In the app/build.gradle add these lines to enable code generation.
apollo {
    generateKotlinModels.set(true)
}

dependencies {
  ...
And create a queries.graphql file under /app/src/main/graphql/com/ex2/hasura/gql/ (If you've missed the last article). Write some query as below.
queries.graphql
query GetAllExpenses { // Custom query name
    expenses {         // query name from schema
        id             // required fields
        amount
        remarks
        is_income
    }
}


mutation AddExpense($block: expenses_insert_input!) { // Input defined in schema

    insert_expenses_one(object: $block) { // Operation defined in schema
        id
        amount
    }
}
That's it!! Apollo graphQL will take care of code generation. Rest of the article, I explained the mechanics and peek through the classes generated for mutation. It will give better understanding on how the query converted to a working data class. Let's go over.
🧚 Code generation
Apollo plugin reads the schema.json + *.graphql files and generate classes on-demand for input and output. That means, even though we have hundred different response types defined in schema, Apollo generates only the ones needed in *.graphql files.
In the above diagram, the queries.graphql file contains one query and a mutation, named GetAllExpenses & AddExpense respectively. For the AddExpense mutation, the input type is already defined in schema, which is ExpenseInput. Reading through the schema and query file, gradle plugin will generate the necessary classes and parser for both use-cases.
For the above mutation, plugin will generate classes like this. These classes are generated at compile time, so there is no reflection involved here.
data class Expenses_insert_input(
  val amount: Input<Int> = Input.absent(),
  val created_at: Input<Any> = Input.absent(),
  val id: Input<Int> = Input.absent(),
  val is_income: Input<Boolean> = Input.absent(),
  val remarks: Input<String> = Input.absent(),
  val spent_on: Input<Any> = Input.absent(),
  val updated_at: Input<Any> = Input.absent()
) : InputType

data class AddExpenseMutation(
    val block: Expenses_insert_input
    ) : Mutation<AddExpenseMutation.Data, AddExpenseMutation.Data, Operation.Variables> {

    data class Insert_expenses_one(
        val __typename: String = "expenses",
        val id: Int,
        val amount: Int
        )

    data class Data(

         val insert_expenses_one: Insert_expenses_one?

    ) : Operation.Data
}
But the timestamp is referred as Any?!
Yes... but it is marked as custom type. With bit of setup, we can have the correct type updated in model classes.
It is not simple to define the data type in schema file and expect it to point java LocalDateTime class — other clients will break, or server send date time in a specific format. So, it requires us to provide our own date/time parser to work with it.
To keep the article short, I'm not covering it here. I'll update it after the next article where we make API call.
Endnote:
Now we have operations defined & models generated for us. Only thing pending is to make an API call. I'll cover it in the next article. Remember, there is lot in GraphQL that I'm not covering here. Try different queries and see how the code-gen scales with it. Learn fragments — a reusable query approach. Let's meet in next article.

Posted on May 12, 2021
Join Our Newsletter. No Spam, Only the good stuff.
Sign up to receive the latest update from our blog.

