Lorna Jane Mitchell
Posted on August 14, 2020
Good customer service interactions are made even better when the customer is confident in the communication as it happens. One way to achieve this is to use a communications platform that is familiar to them, and given the popularity of WhatsApp, it’s an excellent choice for customer support!
Today’s post shows you the demo app we built to do just that – using our favorite emojis to identify the threads between multiple chats  .
.
TL;DR for the impatient, the code is on GitHub
Prerequisites
Vonage API Account
To complete this tutorial, you will need a Vonage API account. If you don’t have one already, you can sign up today and start building with free credit. Once you have an account, you can find your API Key and API Secret at the top of the Vonage API Dashboard.
Other Accounts & Tools:
- Either a WhatsApp Business Account, or (as we do in this tutorial) set up the Messages API Sandbox to whitelist the numbers you will use for the demo.
- NodeJS and Redis – or a Heroku account.
You will also need to know the URL that your application will be running on, which we will call APP_URL. For Heroku, this is the URL of your running application. If you are running the application locally you will still need a public URL to your code so that Vonage can send webhooks to it; we recommend Ngrok.
Set Up Your Application
Start by cloning the repository to your local machine (or you can click “Deploy to Heroku” on the README): https://github.com/nexmo-community/text-based-whatsapp-callcenter.
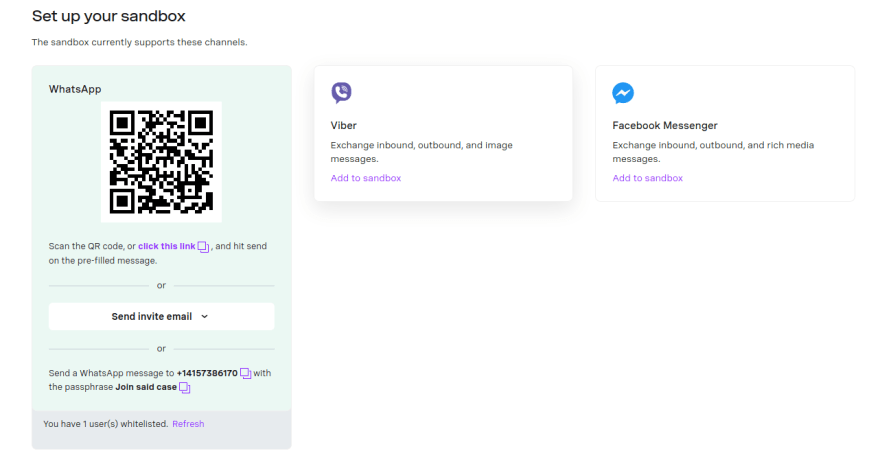
You will also need to configure the Messages API Sandbox by whitelisting all the phone numbers that will use this application.
On the same screen, configure the webhooks to be APP_URL/webhooks/inbound for the Inbound webhook and APP_URL/webhooks/status for the Status webhook. Great thought went into those naming conventions as you can tell! By configuring these endpoints, we tell Vonage where to send incoming WhatsApp messages and status updates about sent messages.
With the code locally and the sandbox configured, this is an excellent time to grab the dependencies (pushing to Heroku does this automatically). Run this command in the top-level directory of the code:
npm install
The last configuration step is adding your credentials, depending on your platform:
– for Heroku, set environment variables
– to run locally, copy the .env.example file to .env and add your own details for each field.
Start the application locally (Heroku starts itself) with the commmand:
npm start
If you are running locally, we recommend setting up ngrok. You may need to update the webhook URLs used in the Sandbox if the ngrok URL changes.
Start Chatting!
Begin by sending a message saying “sign in” to the Sandbox number to register as an agent. You should get a response that you are now an agent and some instructions on how to handle customer messages.
Your “customers” (who also need to have their numbers whitelisted on the sandbox) can now send their support inquiries to the Sandbox number. Each one will arrive prefixed with an emoji – this is so that the agent can tell multiple customers apart. To reply to each customer, the agent must start their message with the matching emoji!
Perhaps it’s a gimmick but it’s a fun one, and a simple identified to type on mobile if you’re using WhatsApp in that context. We certainly had fun testing this demo and we hope you do too. Please let us know how you get on?
The post Build a Simple Customer Support Channel with WhatsApp appeared first on Vonage Developer Blog.

Posted on August 14, 2020
Join Our Newsletter. No Spam, Only the good stuff.
Sign up to receive the latest update from our blog.


