The Ultimate Guide to Enhancing Your Sales with Stable Diffusion API and Printfy API

Lokesh Velayudham - lowkeyy.eth
Posted on August 1, 2023
Using a stable diffusion api and printfy api: Breaking Down the Process
Github. : https://github.com/lokeshvelayudham/stability-printfyapiAi
For more connect with me @ Linkedin
If you're in the world of AI, you've probably heard of Stable
diffusion . It's a powerful tool that transforms text into high-resolution, high-quality images. With an easy-to-use platform and a dynamic user community, it's become a standout tool in the digital landscape.
Use Stable diffusion ai to generate image and use printfy api to publish it in the printfy - shopify store
The Stable diffusion offers an API to generate an text to Image generative AI, Where the images are stored in locally/ MongoDB and those images are uploaded to the store using printfy api
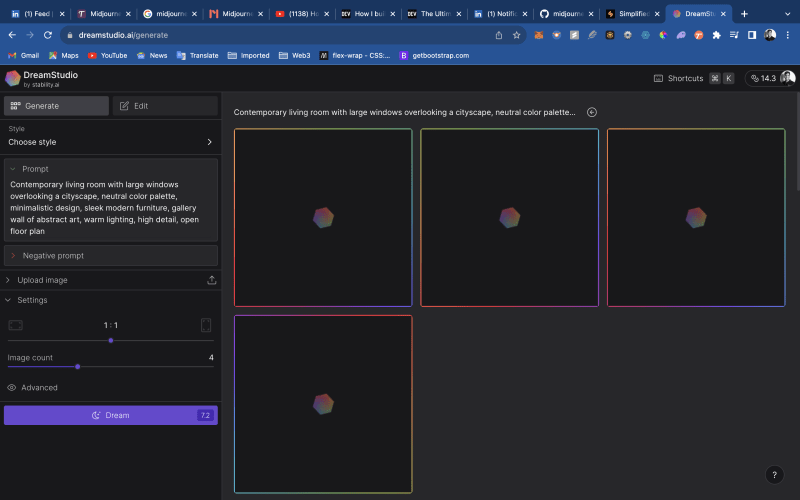
To Generate an Image, We are using Stability diffusion -
We will be requiring open API key and Stability diffusion AI key
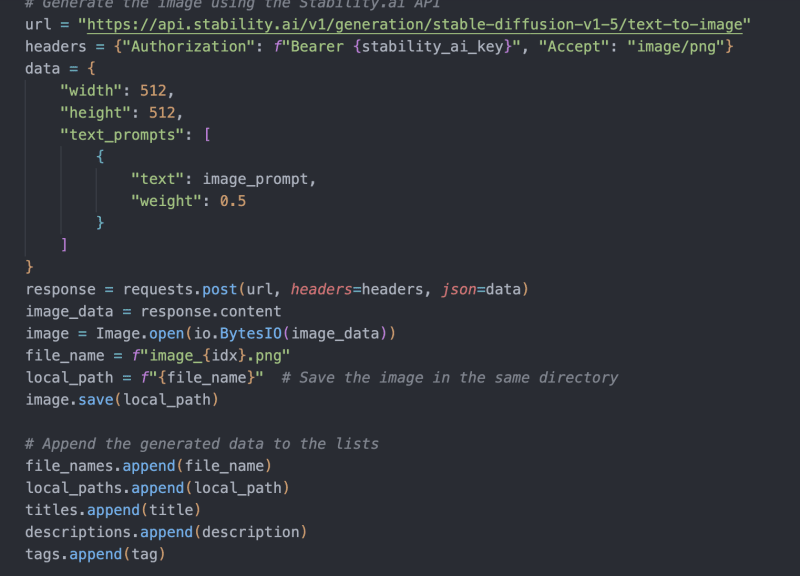
function to generate an Images and stored

`for idx, row in tqdm(df.iterrows(), total=df.shape[0]):
detail = row['details']
# Generate the title, description, prompt, and tags using the OpenAI API
title = generate_clickable_title(detail)
description = generate_description(detail)
image_prompt = generate_image_prompt(detail)
tag = generate_tags(detail)


# Generate the image using the Stability.ai API
url = "https://api.stability.ai/v1/generation/stable-diffusion-v1-5/text-to-image"
headers = {"Authorization": f"Bearer {stability_ai_key}", "Accept": "image/png"}
data = {
    "width": 512,
    "height": 512,
    "text_prompts": [
        {
            "text": image_prompt,
            "weight": 0.5
        }
    ]
}
response = requests.post(url, headers=headers, json=data)
image_data = response.content
image = Image.open(io.BytesIO(image_data))
file_name = f"image_{idx}.png"
local_path = f"{file_name}"  # Save the image in the same directory
image.save(local_path)

# Append the generated data to the lists
file_names.append(file_name)
local_paths.append(local_path)
titles.append(title)
descriptions.append(description)
tags.append(tag)`
TO Upload product to the shopify-printify website
# To change the print object, use this to find the variant id curl -X GET "https://api.printify.com/v1/catalog/blueprints/1098/print_providers/228/variants.json" "Authorization: Bearer {access token}"
Find your shop ID by running this: curl -X GET https://api.printify.com/v1/shops.json --header "Authorization: Bearer {access token}"
`For idx, row in image_df.iterrows():
# Convert the image to Base64
with open(row['local_path'], "rb") as img_file:
img_b64 = base64.b64encode(img_file.read()).decode('utf-8')
# Upload the image to the Printify media library
data = {
    "file_name": row['file_name'],
    "contents": img_b64
}
response = requests.post(upload_url, headers=headers, json=data)
image_id = response.json()["id"]
# Current settings are for wall art
# Create the product with the uploaded image
data = {
    "title": row['title'],
    "description": row['description'],
    "tags": row['tags'].split(', '),  # Assuming tags are comma-separated in the CSV
    "blueprint_id": 6,  # Replace with the actual blueprint ID
    "print_provider_id": 270,
    "variants": [
        {
            "id": 12126,  # Replace with the actual variant ID
            "price": 3999,
            "is_enabled": True
        }
    ],
    "print_areas": [
        {
            "variant_ids": [82064],  # Replace with the actual variant ID
            "placeholders": [
                {
                    "position": "front",
                    "height": 3761,
                    "width": 3319,
                    "images": [
                        {
                            "id": image_id,
                            "x": 0.5,
                            "y": 0.5,
                            "scale": 1.5,
                            "angle": 0
                        }
                    ]
                }
            ]
        }
    ]
}
response = requests.post(product_url, headers=headers, json=data)
if response.status_code >= 200 and response.status_code < 300:
    print(f"Product {idx+1} created successfully!")
else:
    print(f"Failed to create product {idx+1}. Server responded with: {response.text}")
`

Posted on August 1, 2023
Join Our Newsletter. No Spam, Only the good stuff.
Sign up to receive the latest update from our blog.
Related
August 1, 2023

