MacGyvering the OS X Menu Bar

Laura Vuorenoja
Posted on December 6, 2020

What I love about today's desktop tools such as Slack, Telegram, etc. is that they enable me to execute tasks in the context I am already in without opening yet another program. Besides, I can run my apps through them and there is no need to build a separate graphical or command-line user interface. However, when I am the only one in need of the tool, building a slackbot or similar app that can be accessed from the web is quite an overkill.
Fortunately, a while back a colleague of mine from work reminded me that there exists a handy framework for adding custom functionality to the OS X menu bar, BitBar. BitBar works by running scripts or programs and presenting their output in the menu bar. So actually one can add a self-written program to the menu bar without the need to write any Objective-C code or knowledge for OS X programming.
I thought that this kind of custom menu bar button would be quite handy to execute some of my chores, like refreshing the content of my Christmas radio I coded recently. Wouldn't it be just cool to trigger my Christmas radio update flow from the menu?
So I decided to try out BitBar. Here are the steps in case you would like to try something similar.
-
BitBar installation via brew cask
Homebrew is an OS X package manager and its cask extension is intended specifically for GUI application management.
Open new Terminal window and run:
brew install --cask bitbarOutput should look like something similar to this:
Updating Homebrew...
...
==> Downloading https://github.com/matryer/bitbar/releases/download/v1.9.2/BitBar-v1.9.2.zip
==> Downloading from https://github-production-release-asset-2e65be.s3.amazonaws.com/14376285/807c40
######################################################################## 100.0%
==> Installing Cask bitbar
==> Moving App 'BitBar.app' to '/Applications/BitBar.app'.
Create a folder for your BitBar plugins. I decided to create the folder in my Christmas radio repository
kaneli/bitbar.-
Open Finder and launch application from Applications folder
-
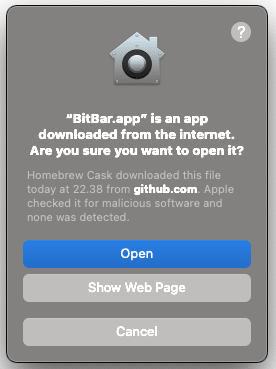
Answer "Open" to the confirmation dialog
-
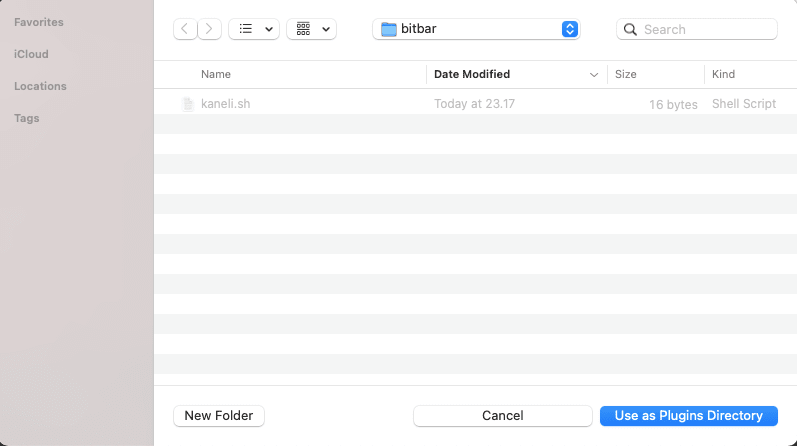
Browse to the plugin folder created in step 2 and tap "Use as Plugins Directory"
-
Create the script for the menu bar
Create a new script file in the plugins folder. The script file name format should be defined as the following:
{name}.{time}.{ext}The{time}part in the file name defines the menu item refresh interval.Why we need a refresh interval? For example, if you would display in the item a clock with second precision, you would want to define the time interval as
1s. Bitbar would call your script once per second, and the clock in the menu bar would update correctly.In my case, however, the menu content will be unchanged so I defined a long refresh interval and named my script as
kaneli.9999d.shaccording to the app name.After creating the script it needs to be given execution rights:
chmod a+x kaneli.9999d.sh -
Write the menu bar script
The menu bar script should echo the UI controls definitions to the standard output. Bitbar parses the output and constructs the menu based on that.
If I would like to implement the clock example from the previous step, the script would be really simple:
  #!/bin/bash
  date
It would just output the current time.
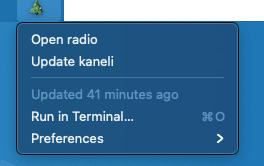
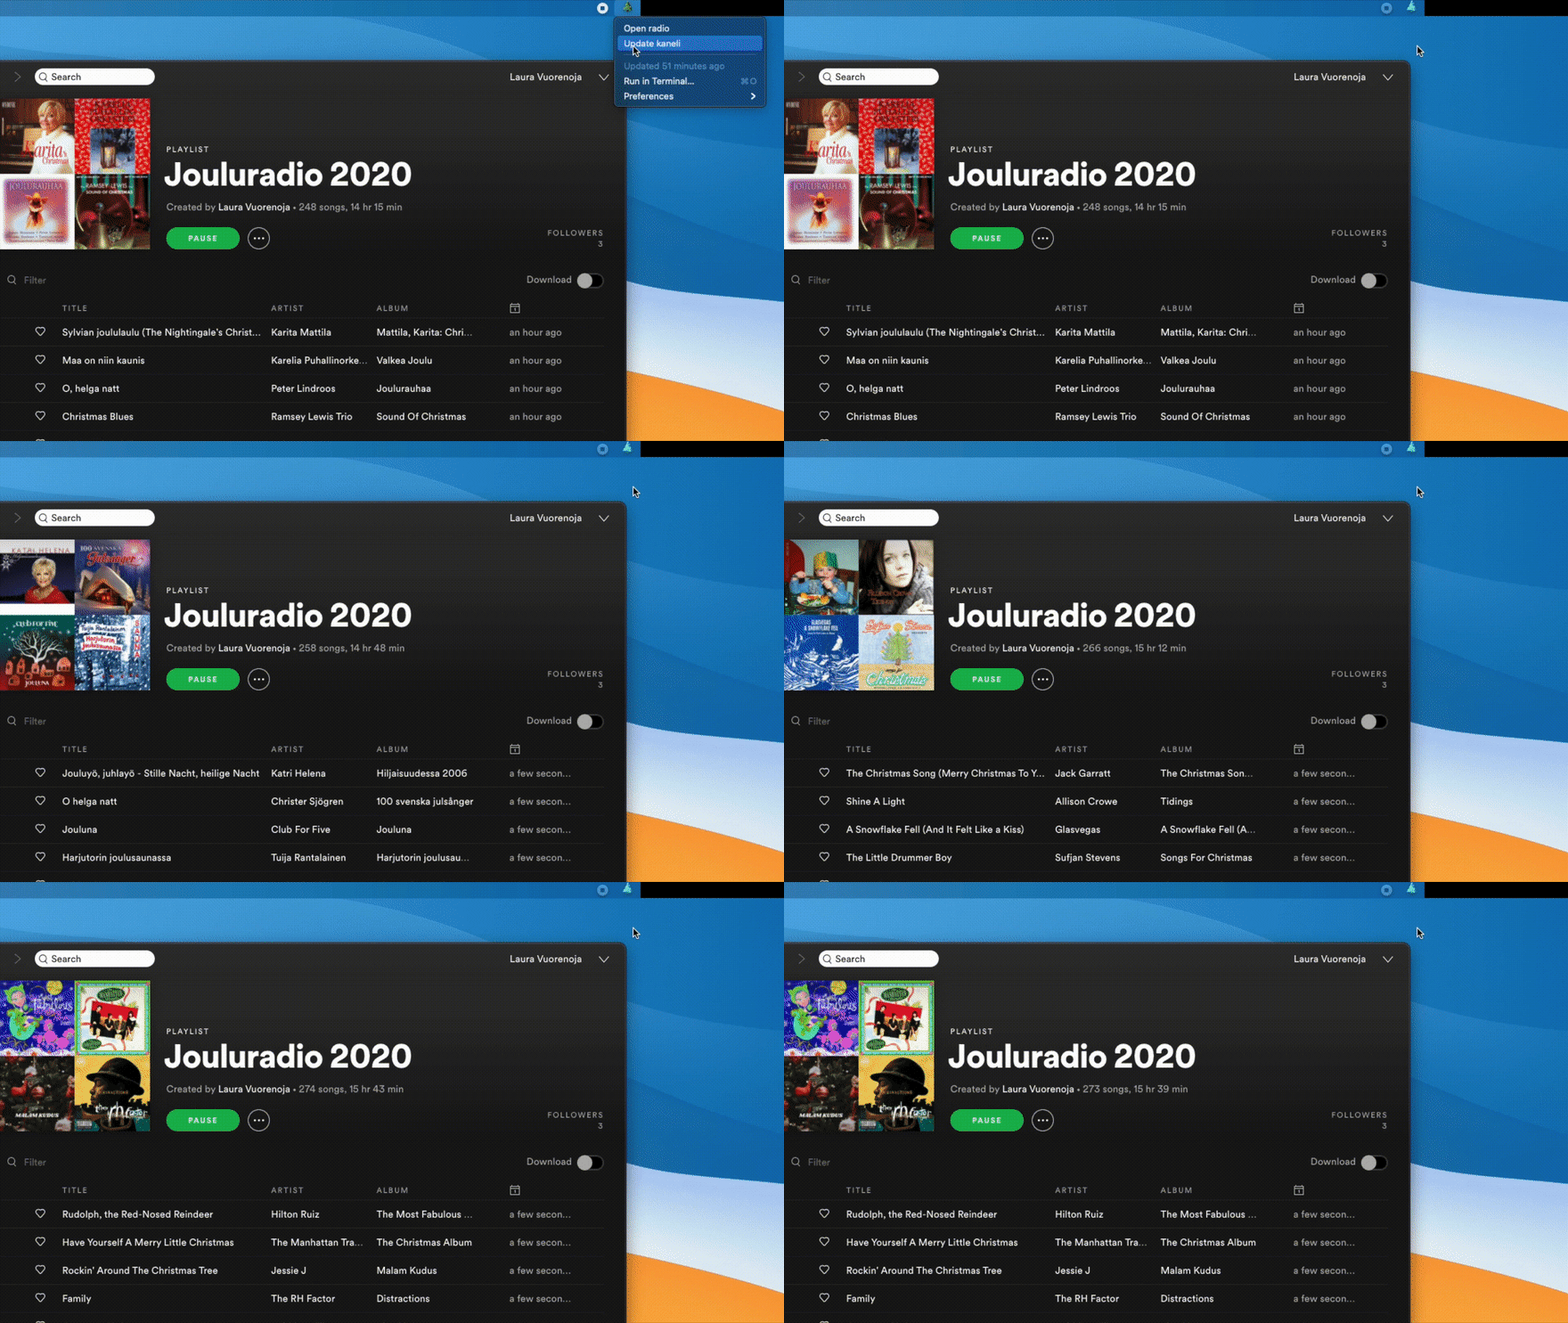
However, my goal was to have a button in the menu bar that would show a menu with two items when clicking it. The first menu item would open my Christmas radio playlist in Spotify and the second one would fetch and update new songs to it by using the kaneli app.
#!/bin/bash

echo :christmas_tree:
echo "---"
echo "Open radio | href=https://open.spotify.com/playlist/5x5mdsVit4ngNyvglqkO8f"
echo "Update kaneli | bash=~/work/github.com/lauravuo/kaneli/run.sh terminal=false"
The first row defines the item that is shown in the menu bar. In this case, I use a Christmas tree emoji. The second row defines a separator line between the bar button and the menu items.
Options for the menu items are defined after the pipe
|character. The first menu item has the textOpen radioand ahrefoption with which you can define a hyperlink that is opened when clicking the item.The second item has the playlist update functionality. It will call another script in my file system that will call kaneli with the needed parameters. The option
terminalcan be used to define if a Terminal window is opened when the command is run. -
Try it!
In the BitBar menu, there is
Preferences/Refresh allfunctionality that will reload your menu script if you make any changes.That's it. Try it out!
Check BitBar documentation for more instructions. There is also a bunch of plugins written by the community that you can just download and use.
Cover photo by Hunter Haley on Unsplash

Posted on December 6, 2020
Join Our Newsletter. No Spam, Only the good stuff.
Sign up to receive the latest update from our blog.


