Drag and drop to upload a photo #JavaScript

İnanç Akduvan
Posted on April 22, 2022
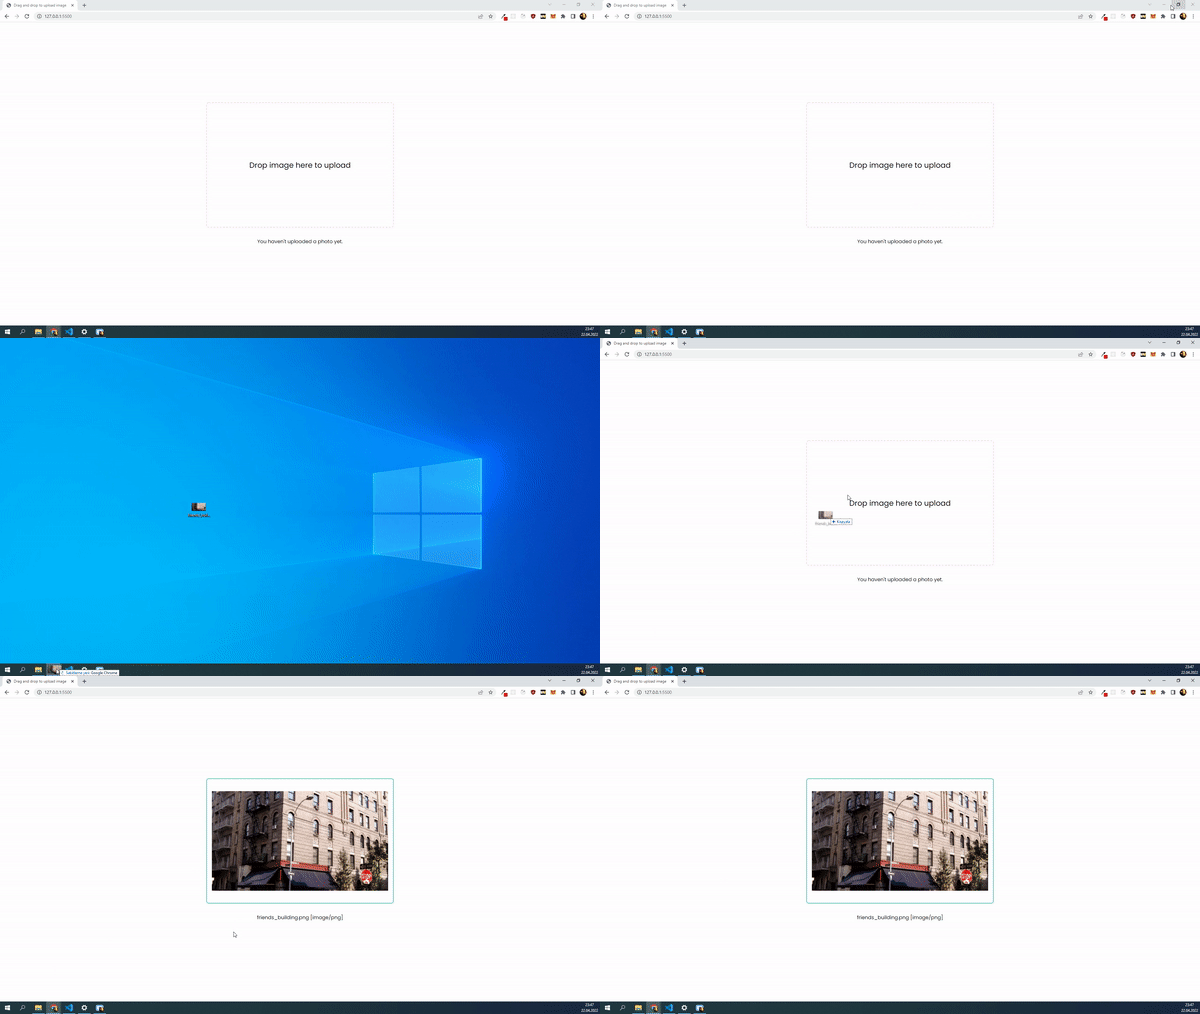
We will create a very basic drag and drop application to upload a image.
1.a) Create an area to drop image
<div class="drop-container">
      <span>Drop image here to upload</span>
</div>

<div id="file_name">You haven't uploaded a photo yet.</div>
1.b) And add a little bit style
.drop-container {
    display: flex;
    align-items: center;
    justify-content: center;
    padding: 16px;
    min-height: 400px;
    width: 100%;
    max-width: 600px;
    font-size: 1.5rem;
    border: 2px dashed rgb(255, 203, 232);
    border-radius: 8px;
}

.drop-container.uploaded {
    border-color: #51cbb0;
    border-style: solid;
}

.drop-container img {
    max-width: 100%;
}

#file_name {
    margin-top: 32px;
}
2) Prevent default behaviour of 'dragover' event
Otherwise, image which is dropped will be opened in a blank tab.
const dropContainer = document.querySelector(".drop-container");

dropContainer.addEventListener("dragover", (event) => {
  event.preventDefault();
});
3) Get file on drop
We also need to prevent default behaviour here.
const dropContainer = document.querySelector(".drop-container");
const fileName = document.getElementById("file_name");

dropContainer.addEventListener("dragover", (event) => {
  event.preventDefault();
});

dropContainer.addEventListener("drop", (event) => {
  event.preventDefault();

  // Get file uploaded
  const file = event.dataTransfer.files[0];

  console.log(file)
});
4) Preview image which we uploaded
We will create a link for the file and preview it as a image.
const dropContainer = document.querySelector(".drop-container");
const fileName = document.getElementById("file_name");

dropContainer.addEventListener("dragover", (event) => {
  event.preventDefault();
});

dropContainer.addEventListener("drop", (event) => {
  event.preventDefault();

  // Get file
  const file = event.dataTransfer.files[0];

  // Create link
  const url = window.URL.createObjectURL(file);

  // Create image element
  const image = document.createElement("img");
  image.src = url;

  // Append image as a child to drop area
  dropContainer.innerHTML = "";
  dropContainer.appendChild(image);

  // Add class to drop container when image uploaded
  // for updating styles
  dropContainer.classList.add("uploaded");

  // Preview file name and type
  fileName.innerHTML = `${file.name} [${file.type}]`;
});
Here it is. 🎉
5) EXTRA PART
Check if the file type is image or not
const dropContainer = document.querySelector(".drop-container");
const fileName = document.getElementById("file_name");

dropContainer.addEventListener("dragover", (event) => {
  event.preventDefault();
});

dropContainer.addEventListener("drop", (event) => {
  event.preventDefault();

  let file;

  if (event.dataTransfer.items) {
    const item = event.dataTransfer.items[0];

    const isFile = item.kind === "file";
    const isImage = item.type.split("/")[0] === "image";

    if (isFile && isImage) {
      file = item.getAsFile();
    } else {
      alert("This is not an image!");

      return;
    }
  } else {
    file = event.dataTransfer.files[0];
  }

  const url = window.URL.createObjectURL(file);

  const image = document.createElement("img");
  image.src = url;

  dropContainer.innerHTML = "";
  dropContainer.appendChild(image);

  dropContainer.classList.add("uploaded");

  fileName.innerHTML = `${file.name} [${file.type}]`;
});
That is it. Find source code on github:
https://github.com/inancakduvan/drag-and-drop-image
Follow me on:
Github: https://github.com/inancakduvan/
Twitter: https://twitter.com/InancAkduvan
Thank you for reading 🙂

Posted on April 22, 2022
Join Our Newsletter. No Spam, Only the good stuff.
Sign up to receive the latest update from our blog.
Related

November 30, 2024


