Florian
Posted on July 22, 2020

If you don't know it yet, Atlas is the Cloud solution to host your Mongo database.
It's dead simple to set up, and the team behind MongoDB makes it. So it's a pretty reliable solution when you're looking to host your database.
And the best part is that you can start for free and pay as you grow!
Robo 3T is a powerful MongoDB GUI that allows you to visualize, create, update/patch & delete documents. Connected to Atlas, you can easily maintain and manage your collections & documents.
If you already have a Cluster ready, feel free to go to the second part of this article.
First - Let's create and set up our first Atlas Cluster.
A Cluster is like a server. It's your personal space where your whole MongoDB ecosystem lives.
To create a free Cluster, we'll need :
1 - To create an Atlas account and to choose the right Cluster
2 - To create an admin user, a super-user that can access all your Collections
3 - To add your IP address in the Allowed list
4 - and finally, create some "dummy" collections, for demo purpose
1 - Create an Atlas account https://www.mongodb.com/cloud/atlas
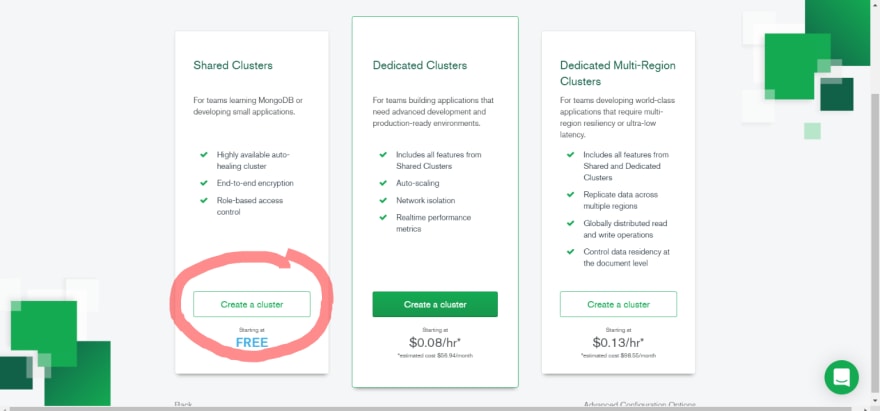
(Atlas Server Setup)[https://i.imgur.com/jYOug1g.png]
2 - You made it! Your Cluster is now ready to be set up
Create an admin user
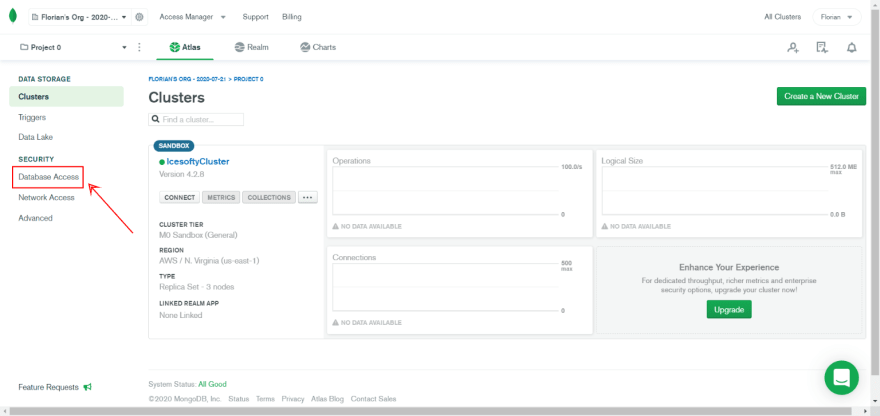
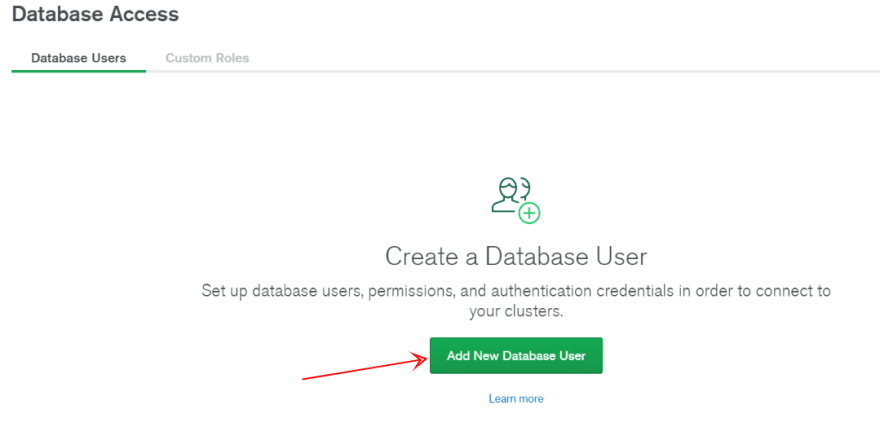
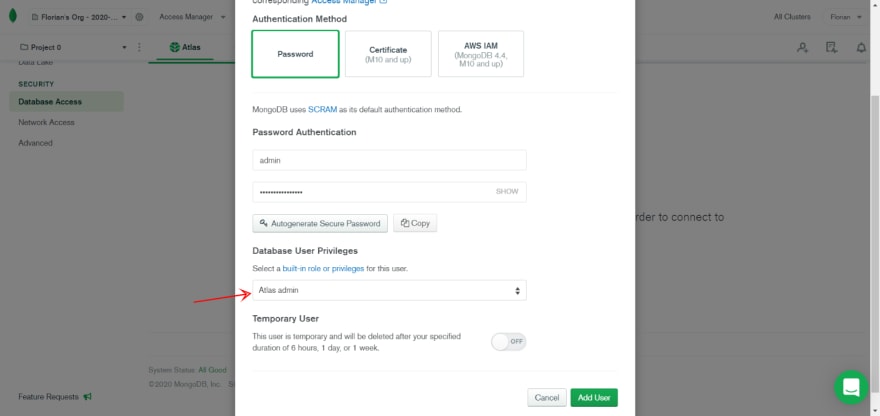
3 - You now have an Admin user that can access all your Cluster's collections. Time to add your IP address to the Allowed list
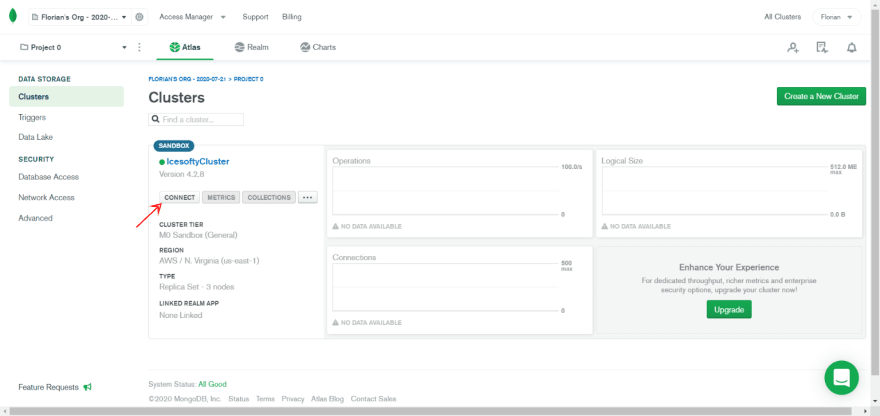
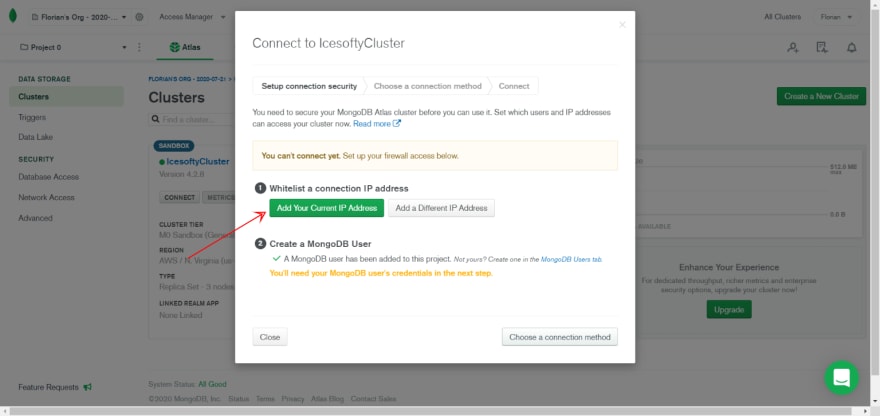
4 - Your Cluster is ready to get Collections! Let's load some sample Collections data.
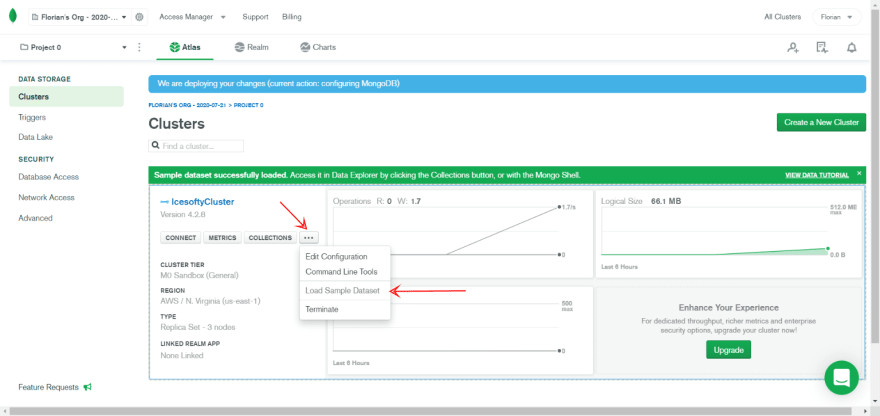
Second - Now that everything is ready, we can connect Robo3T to our Cluster.
To do that, we'll need:
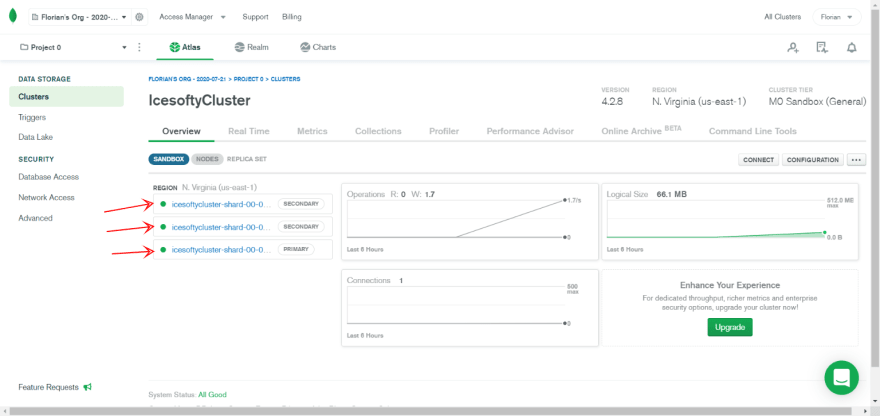
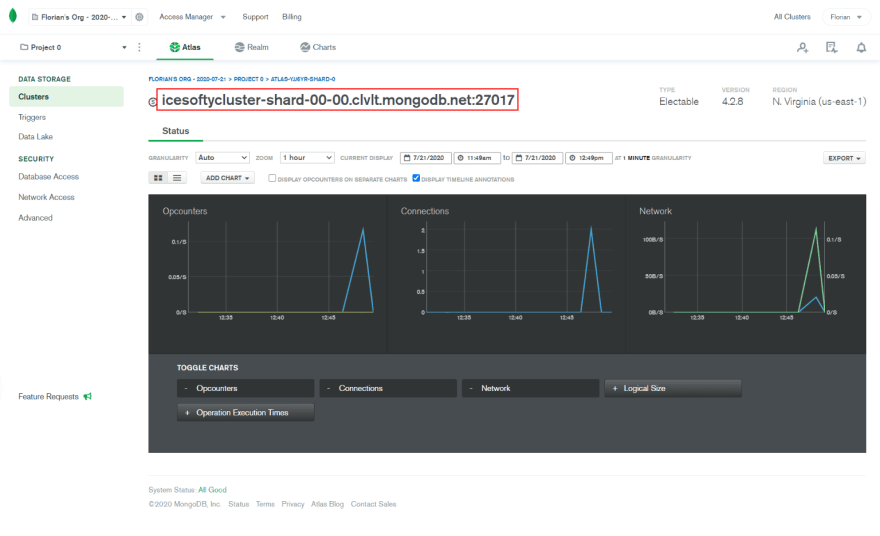
1 - to copy the Replica set
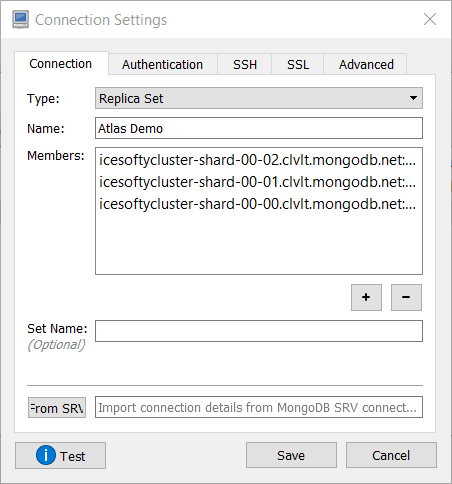
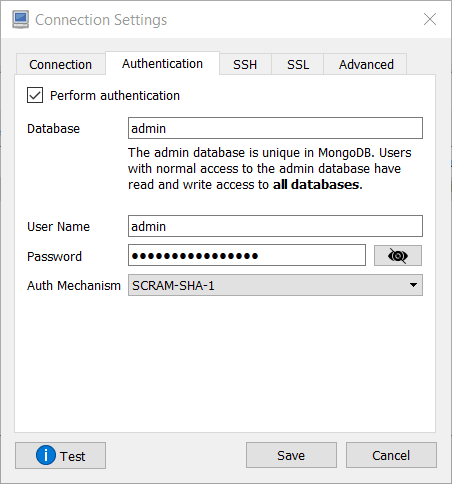
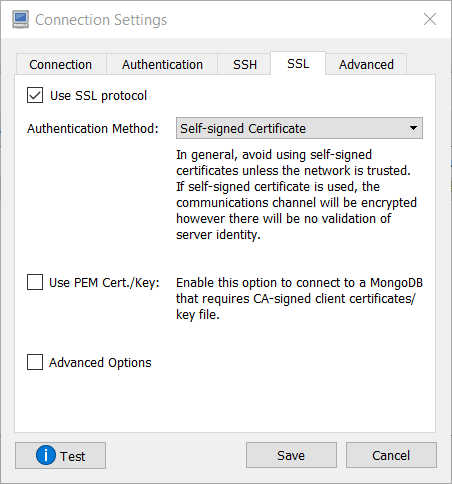
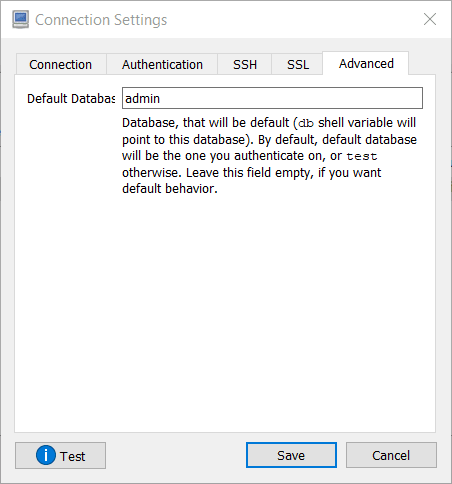
2 - to create a new connection into Robo3T
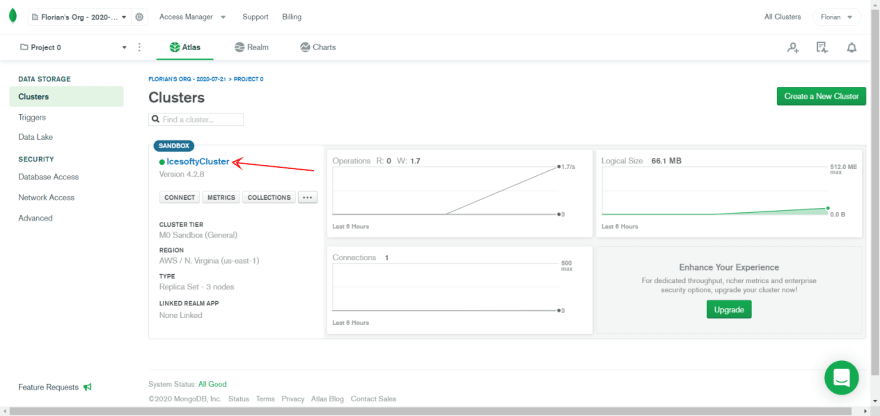
1 - let's copy our replica set
Click on your Clusters name
2 - Download https://robomongo.org/ and open it.
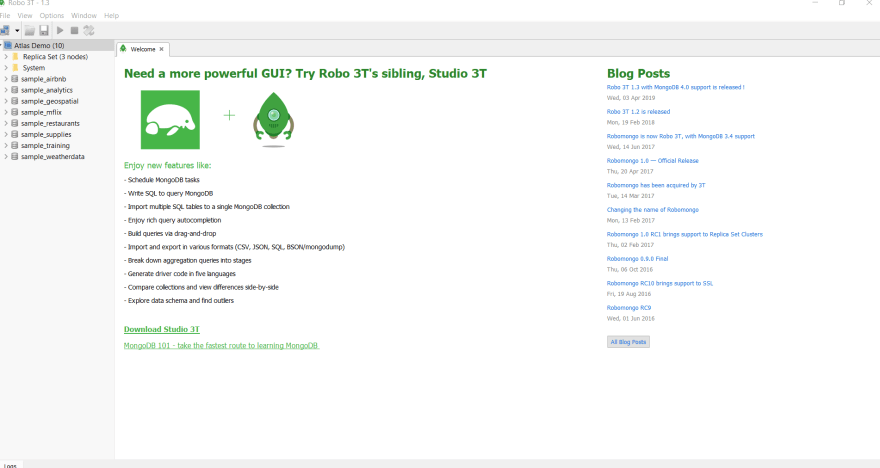
Once set up, double click on your connection. You're now connected to your Cluster!

Posted on July 22, 2020
Join Our Newsletter. No Spam, Only the good stuff.
Sign up to receive the latest update from our blog.
