Large GeoTiff (raster) files on GeoServer using COG

Ibrahim Awad
Posted on September 4, 2021

Publish large geotiff (raster) files on GeoServer and be able to access them in no time with COG (Cloud Optimized Geotiff)
The challenge here is that you might have a really large geotiff file (or a normal one). Publishing that file on geoserver would require any client to download the whole file before rendering it (not a good thing if you have a 500MB geotiff!).
The solution is fairly simple with COG (Cloud Optimized Geotiff). You can check all about COG on the official website, or you can simply read their explanation of COG as:
A Cloud Optimized GeoTIFF (COG) is a regular GeoTIFF file, aimed at being hosted on a HTTP file server, with an internal organization that enables more efficient workflows on the cloud. It does this by leveraging the ability of clients issuing HTTP GET range requests to ask for just the parts of a file they need.
Let's do it through these steps together:
- Download and use COG validation script.
Thanks to rouault for creating this awesome script. Save it to your local machine, we will use it in a second.
- Get your large (or normal) geotiff file in the same directory as the validation script.
For the sake of this demo, I will use this geotiff, download it, rename it to envisat.tif and save it next to the validation script.
- Validate the file that it is a geotiff, but not yet a COG.
run the following command:
python validate_cloud_optimized_geotiff.py envisat.tif
you should see an output telling you that it is NOT a valid cloud optimized geotiff like this screenshot.

- Convert the geotiff file into a cloud optimized geotiff file (COG).
In order to do that, we will use GDAL, make sure you have it installed on your machine. for GDAL 3.2 and later, it's a simple one line command, for older versions than 3.2, it's two separate commands. We will cover both cases.
- GDAL >= 3.2 run this command on the geotiff file ```
gdal_translate envisat.tif envisat_cog.tif -of COG -co COMPRESS=LZW
The larger the file, the more time it will take to convert it, at the end you should see an output like this.

Now let's try and validate the file again, run the validation command again, but this time on the **output** file:
python validate_cloud_optimized_geotiff.py envisat_cog.tif
you should see and output message telling you that `envisat_cog.tif is a valid cloud optimized GeoTIFF` like this one.

* GDAL < 3.2
We have to make this manually by creating the internal overviews, then create the tiles in the files.
Run the following command to create the internal overviews:
gdaladdo -r average envisat.tif 2 4 8 16
It can take some time depending on the file size, but when it completes, we are ready for the next step which is creating the tiles. Run the following command on the file:
gdal_translate envisat.tif envisat_cog.tif -co COMPRESS=LZW -co TILED=YES -co INTERLEAVE=BAND
This command also can take some time depending on the file size, but when it completes, you should have a valid COG file. We can easily validate that, by running the validation script on the **output** file:
python validate_cloud_optimized_geotiff.py envisat_cog.tif
It should tell you that `envisat_cog.tif is a valid cloud optimized GeoTIFF`
## Halfway done!
You can now have a break and bring in a cup of coffee ☕ (or tea) since we made some good progress here. We have our COG file ready to be served by GeoServer.
Let's continue.
GeoServer doesn't support COG files out of the box, luckily there is a community module that adds support to that.
- Go ahead and open GeoServer's [nightly build](https://build.geoserver.org/geoserver/) directory.
- Choose your version of GeoServer `2.16.x` `2.17.x` `2.18.x` `2.19.x`
- Open `community-latest`
- Search for the word `cog`, you should have only **1** search hit, which is a module named `geoserver-2.x-SNAPSHOT-cog-plugin.zip` where `x` is GeoServer minor version.
- Download the module's zip file and extract the content to GeoServer's `WEB-INF/lib` directory then **restart** GeoServer.
### Congratulations! GeoServer now supports COG
- Open up GeoServer's homepage (usually at localhost:8080/geoserver) and login with your credentials (usually admin:geoserver)
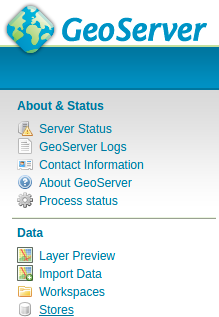
- From the left side menu, under `Data`, select `Workspaces`, then click on `Add new workspace`

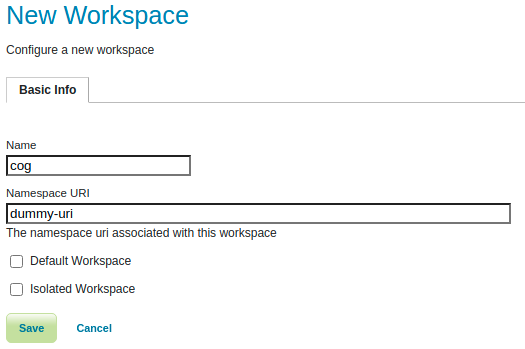
- Create a new workspace called `cog`
- Navigate to GeoServer's data directory, create a folder called `cogs` then copy and paste or cog file `envisat_cog.tif` into that directory.
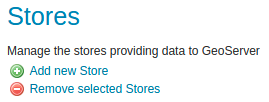
- Back to GeoServer's console, from the left side menu, under `Data`, select `Stores`. Every geotiff (COG) file you publish is a complete store. click on `Add new store`.

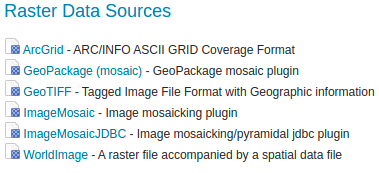
- From the long menu of GeoServer's data sources, under `Raster Data Sources`, click on `GeoTIFF`.
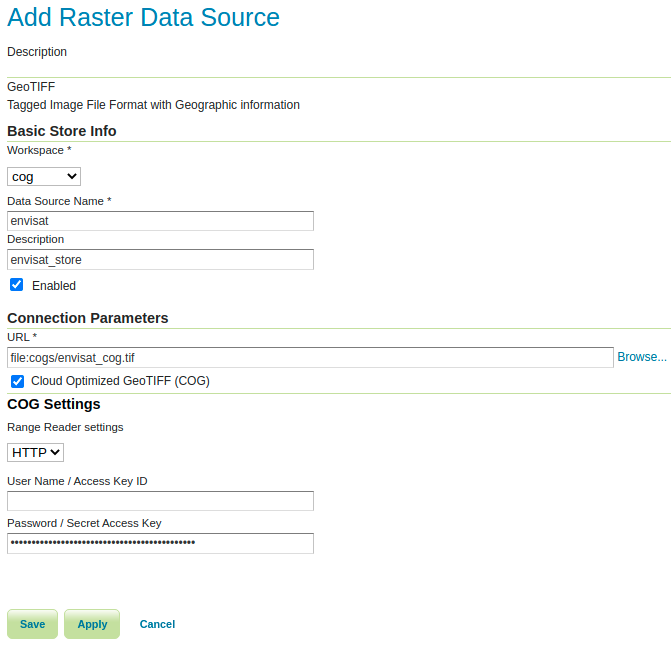
- A wizard will appear, for `Workspace` select our newly created workspace called `cog`.
- For the `Data source name`, I will type `envisat`.
- For the `Description`, I will type `envisat_store`.
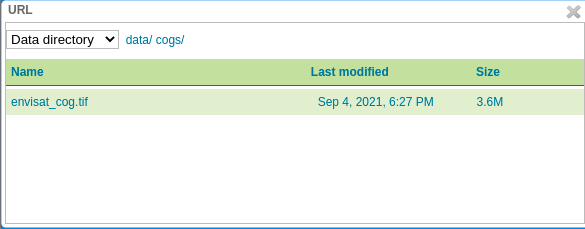
- Next to the `URL` field, click on the `Browse` button and select the `envisat_cog.tif` file.
- Mark the checkbox `Cloud Optimized GeoTIFF (COG)`
Leave all the other settings as is, you should have something like this.
- Click `Save`
- You'll find yourself in the wizard that creates a new layer (that is a good thing!), and your new layer is ready to be published.

- Click on `Publish`
- The wizard for `Edit Layer` is opened automatically, I will change the layer name to `envisat` and the title to `Envisat`, then I will click `Save`.
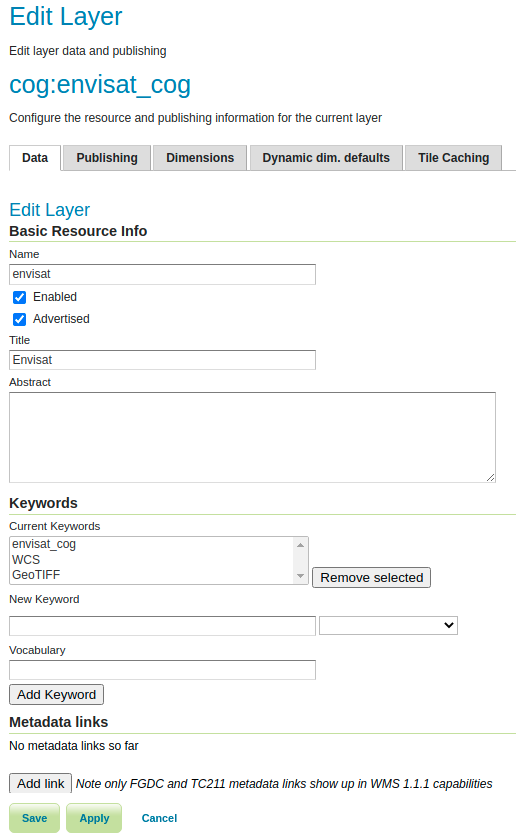
- The layer is created and added to the layers list.

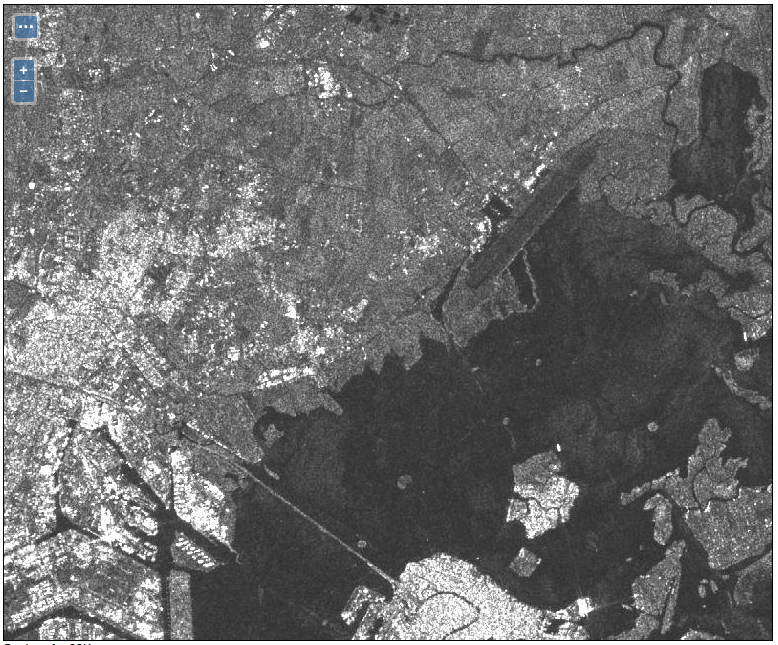
- Preview the layer from the `Layer Preview` menu item under `Data` from the left menu.

- Click on `OpenLayers`
It Does not matter how large your layer is, it will load up in seconds (or less), and when you zoom in/out it will load up almost instantly thanks to **COG**.

Posted on September 4, 2021
Join Our Newsletter. No Spam, Only the good stuff.
Sign up to receive the latest update from our blog.