Connecting NextJS Mini Project with Google Spreadsheets as Database

Frastyawan Nym
Posted on February 11, 2021

Did you know that we can use Google Sheets as our database?
Yes! We can do that 👍.
Today, I will share step by step to do it.
I will use one of the Javascript Frontend Library to do this, it's NextJS.
So, let's get started! 🚀
Create Your Google Project
- Go to your google console page
- Create your project, or you can visit through this Link 🔗
- 🔙 Back to APIs & Services page, click on ENABLE APIS AND SERVICES
- Search for Google Sheets API then enable it 🖱️
- 🔙 Back again to APIs & Services page, click Credentials, CREATE CREDENTIALS, Service Account. Or through this Link 🔗
- Input required field and you can ignore optional field (of course 😅)
- 🔙 Back to your Credentials page, under Service Accounts you will see your email. Copy that!
- Open your Service Account. Click on ADD KEY, choose JSON as type. Then your credentials will be automatically downloaded. This will be used when connecting you NextJS to the sheets.
- Now you can create new spreadsheets or use your existing one, Open it
- Share it to your Service Account Email you just copied a second ago
- This step is done 🎊
Create NextJS App
Reference: NextJS Docs
- Create an app```
npx create-next-app [APP_NAME]
or
yarn create next-app [APP_NAME]
2. 🏃♂️ Run your app with `npm run dev`, wait until server started
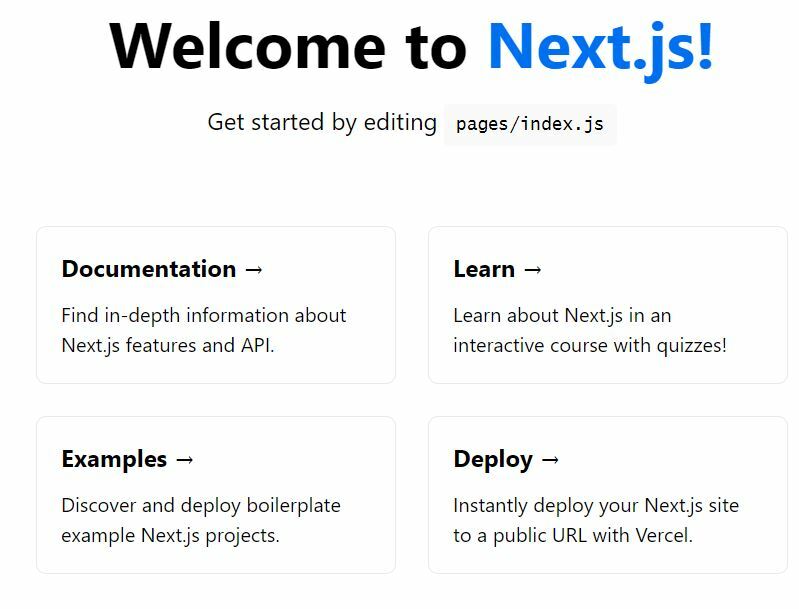
3. Without making any changes, you can access you page on **localhost:3000**. You will see awesome Next starter page 😎

4. Continue 🚀, Setup Environment Variables
5. Create **env.local** file. You will need set this key-value pair. The value you can get on downloaded .JSON file before from google console```
GOOGLE_SHEETS_PRIVATE_KEY=[YOUR KEY]
GOOGLE_SHEETS_CLIENT_EMAIL=[YOUR ACCOUNT EMAIL]
SPREADSHEET_ID=[YOU CAN GET THIS ON URL OF YOUR SHEETS]
- We will need googleapis package to help us doing this, so install it```
npm i googleapis
7. Next, create a file for connecting to our sheet. For me is under **libs/sheets.js**
import { google } from 'googleapis';
export async function getEmojiList() {
try {
const target = ['https://www.googleapis.com/auth/spreadsheets.readonly'];
const jwt = new google.auth.JWT(
process.env.GOOGLE_SHEETS_CLIENT_EMAIL,
null,
(process.env.GOOGLE_SHEETS_PRIVATE_KEY || '').replace(/\n/g, '\n'),
target
);
const sheets = google.sheets({ version: 'v4', auth: jwt });
const response = await sheets.spreadsheets.values.get({
  spreadsheetId: process.env.SPREADSHEET_ID,
  range: 'emoji', // sheet name
});

const rows = response.data.values;
if (rows.length) {
  return rows.map((row) => ({
    title: row[2],
    subtitle: row[3],
    code: row[4],
    browser: row[5],
    short_name: row[17],
    emojipedia_slug: row[18],
    descriptions: row[19],
  }));
}
} catch (err) {
console.log(err);
}
return [];
}
### Description:
- We will specify our target connection
const target = ["https://www.googleapis.com/auth/spreadsheets.readonly"];
- Declare our jwt for authentication
const jwt = new google.auth.JWT(
process.env.GOOGLE_SHEETS_CLIENT_EMAIL,
null,
(process.env.GOOGLE_SHEETS_PRIVATE_KEY || '').replace(/\n/g, '\n'),
target
);
- Get the sheet data, don't forget to change **sheet name**
const sheets = google.sheets({ version: 'v4', auth: jwt });
const response = await sheets.spreadsheets.values.get({
spreadsheetId: process.env.SPREADSHEET_ID,
range: 'emoji', // sheet name
});
- Declare the row as your sheet data
const rows = response.data.values;
if (rows.length) {
return rows.map((row) => ({
title: row[2],
subtitle: row[3],
code: row[4],
browser: row[5],
short_name: row[17],
emojipedia_slug: row[18],
descriptions: row[19],
}));
}
That was a lot of text, now let's get the easy part 😬
# Populate Your Data
This is my `index.js` file
import Head from 'next/head';
import { getEmojiList } from '../libs/sheets';
export default function IndexPage({ emojis }) {
return (
<>
Title - FrasNym
{emojis[0].title}
</>
);
}
export async function getStaticProps(context) {
const emojis = await getEmojiList();
return {
props: {
emojis: emojis.slice(1, emojis.length), // remove sheet header
},
revalidate: 1, // In seconds
};
}
You can already see our data from `emojis` variable that passed through `props`.

As you expect, We load the data from **Google Sheets** via our `getEmojiList` function. Then we call that function from `getStaticProps` function and pass it as props to our component.

On `getStaticProps`, we pass `revalidate: 1` so we hope that NextJS page will render when our sheets updated (At most once every second).

# Summary
This tools will help us to do a small project with database easily.
💡 FYI, You can insert to sheet via API too. You can connect this sheet with Your NodeJS with [google-spreadsheet](https://www.npmjs.com/package/google-spreadsheet) package, for example.

# Closing
That's all I can share with you for now 😊
If you have any question, you can post it here.
Or maybe you can reach me on my [Twitter](https://twitter.com/frasnym) 😁

Until then... 🚀

Posted on February 11, 2021
Join Our Newsletter. No Spam, Only the good stuff.
Sign up to receive the latest update from our blog.

