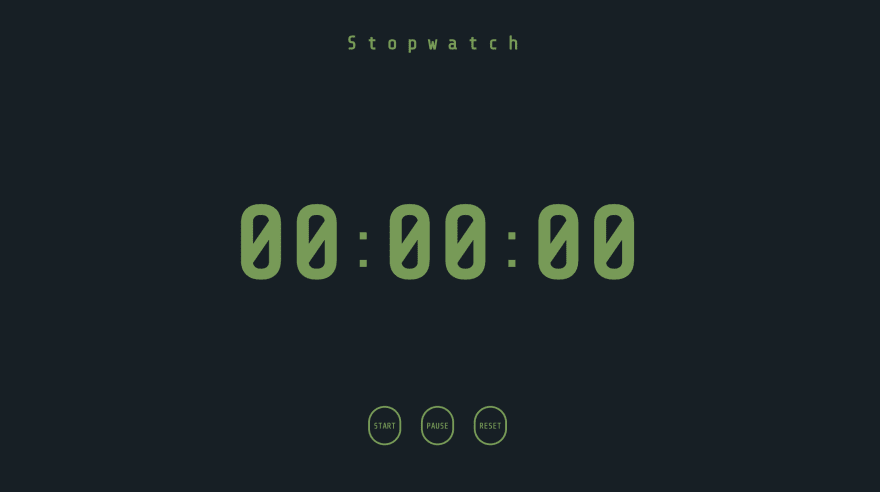
Beginners attempt at creating a Javascript stopwatch.

Ephrathah Oyedoh
Posted on September 15, 2020
Disclaimer:
I am still very new to tech so If I get anything wrong please kindly correct me and share resources that may help me improve.
I decided to work on a side project that helped me revise one of the workshops from the past week of my Bootcamp, that focused on DOM rendering using components and modularisation.
Tech Stack
- Javascript
- CSS
- HTML
- Github
- Netlify
Design and concept creation
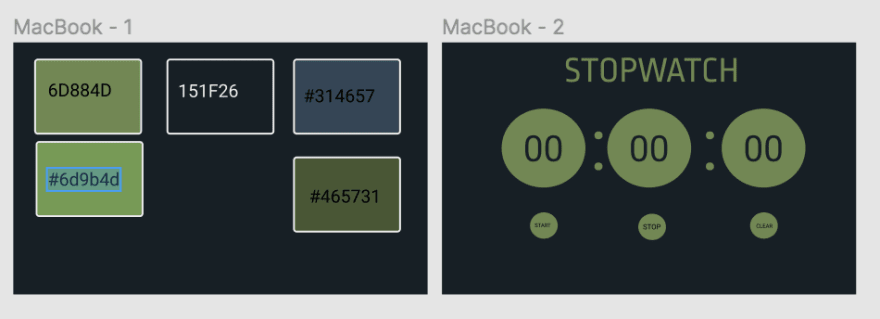
I started off designing what I wanted my Stopwatch to look like on Figma, I created the following wireframe/design.
Boilerplate
After creating what I aimed to achieve I started by creating my basic boilerplate:
- index.html
- date.js (that I renamed to stopwatch.js)
- stopwatch.css
- createElement.js
I created a main-container , header and timer-container sections.
I refer to the stopwatch as timer occasionally.
<!DOCTYPE html>
<html lang="en">
  <head>
    <meta charset="UTF-8" />
    <meta name="viewport" content="width=device-width, initial-scale=1.0" />
    <link
      href="https://fonts.googleapis.com/css2?family=Share+Tech+Mono&display=swap"
      rel="stylesheet"
    />
    <title>Stop Timer</title>
    <link rel="stylesheet" href="stopwatch.css" />
    <script defer type="module" src="stopwatch.js"></script>
  </head>
  <body>
    <section class="main-container">
      <header id="heading"></header>
      <div id="timer-container"></div>
    </section>
  </body>
</html>
Abstracting .createElement()
I then created the create element function and called it h for HTML.
You can see how this is done in the following workshop :
https://github.com/oliverjam/learn-dom-rendering
After creating the h() function I then proceeded to render the elements in stopwatch.js onto the DOM by using the h() function and appending it to the timer-container div.
I used export default to export the h() function to stopwatch.js. Remember to give the script tag a type that equals to module (type=module) so that Javascript knows that you are creating and using modules to connect your code.
I understand that it may look like I'm taking the longer route to create things but please take into account that I am trying to implement the work taught in the workshop linked above.
Creating elements and rendering UI
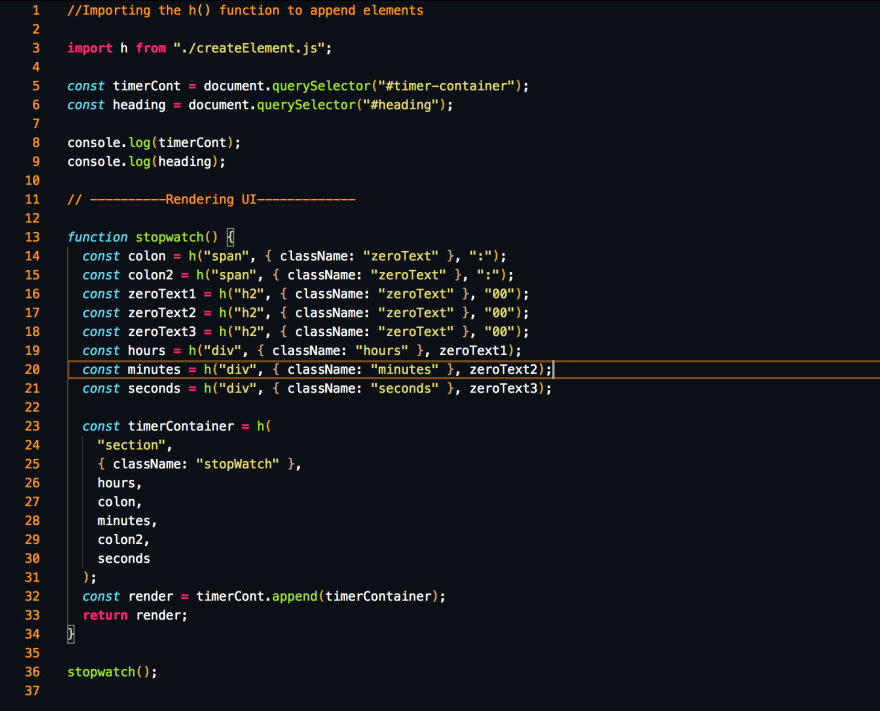
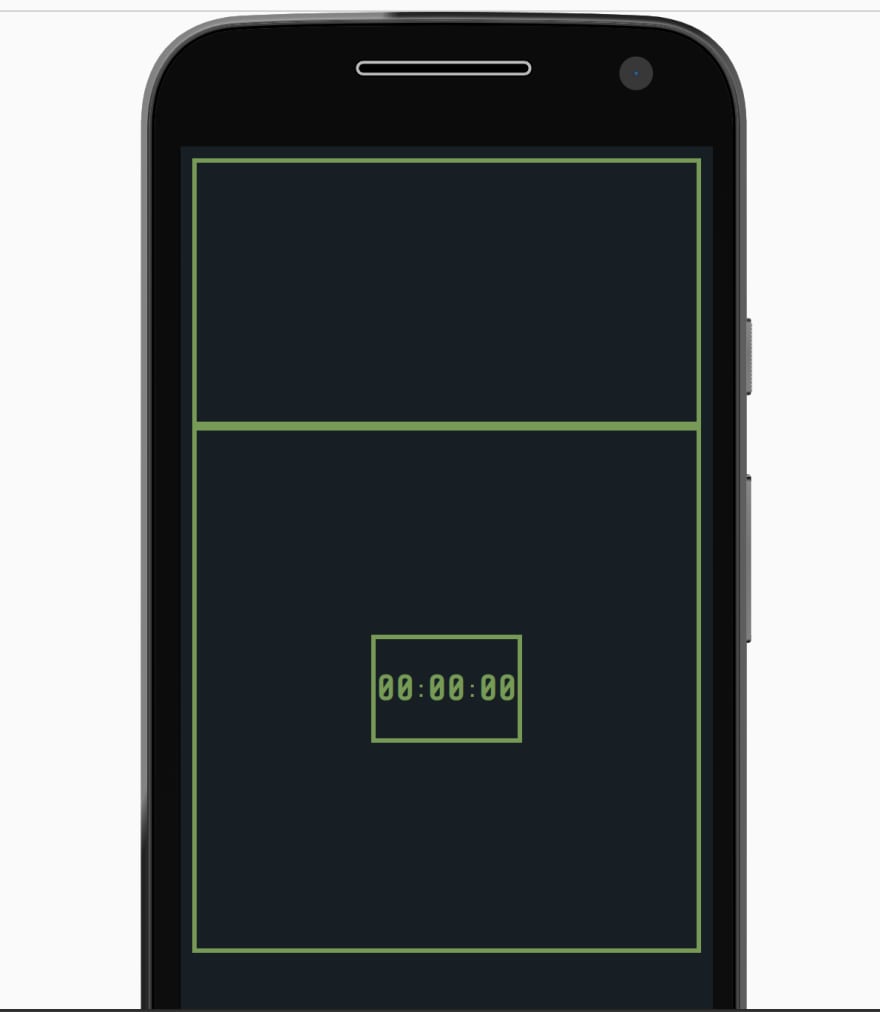
I then created a stopwatch() function in stopwatch.js I imported the h() function from createElement.js on line 3. I then created variables holding the individual elements and then made those elements children of a timerContainer (line 23) variable and rendered it by appending it to the timer-container that I required using querySelector on line 6.
After rendering these elements my stopwatch looked like this:
Accessibility and spacing
I use borders to understand my spacing so that I can visually determine where and how far a container spans.
I also changed the colour of green slightly from #6d884d ⇒ #6d9b4d to make the site more accessible because lighthouse flagged the contrast. You can access lighthouse in chrome dev tools and it gives you a report on how "accessible" your site is. You can also alter the contrast in dev tools in the styles section until the colours have enough contrast.
Inspect ⇒ Elements ⇒ Styles ⇒ * click the element you want to inspect and change the colour until it says contrast ratio is correct *
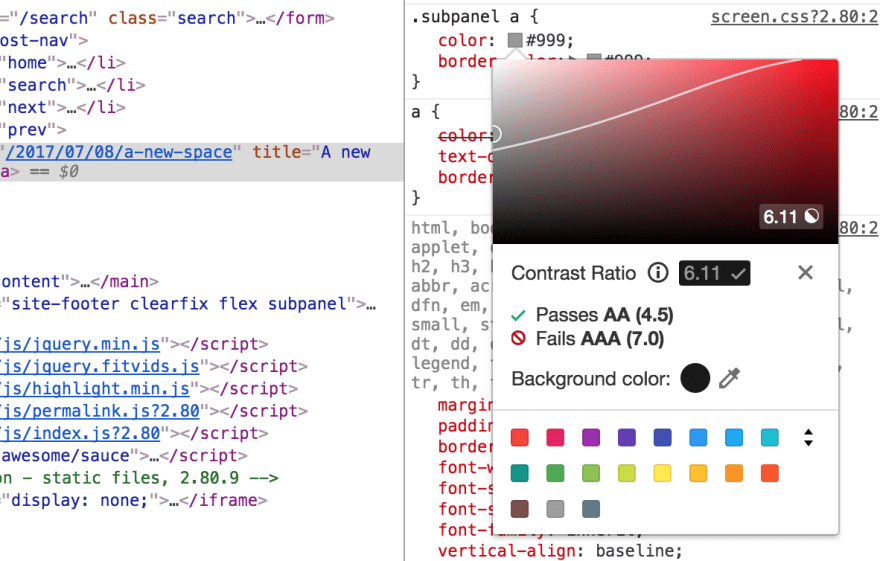
Image Source
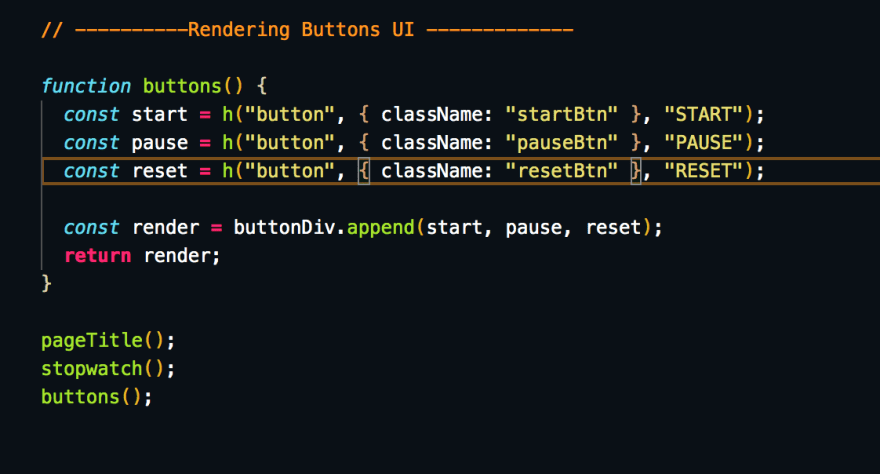
I then completely forgot about buttons so went back to create and render both the buttons and a heading for the page.
After creating buttons and a heading my stopwatch looked like this:
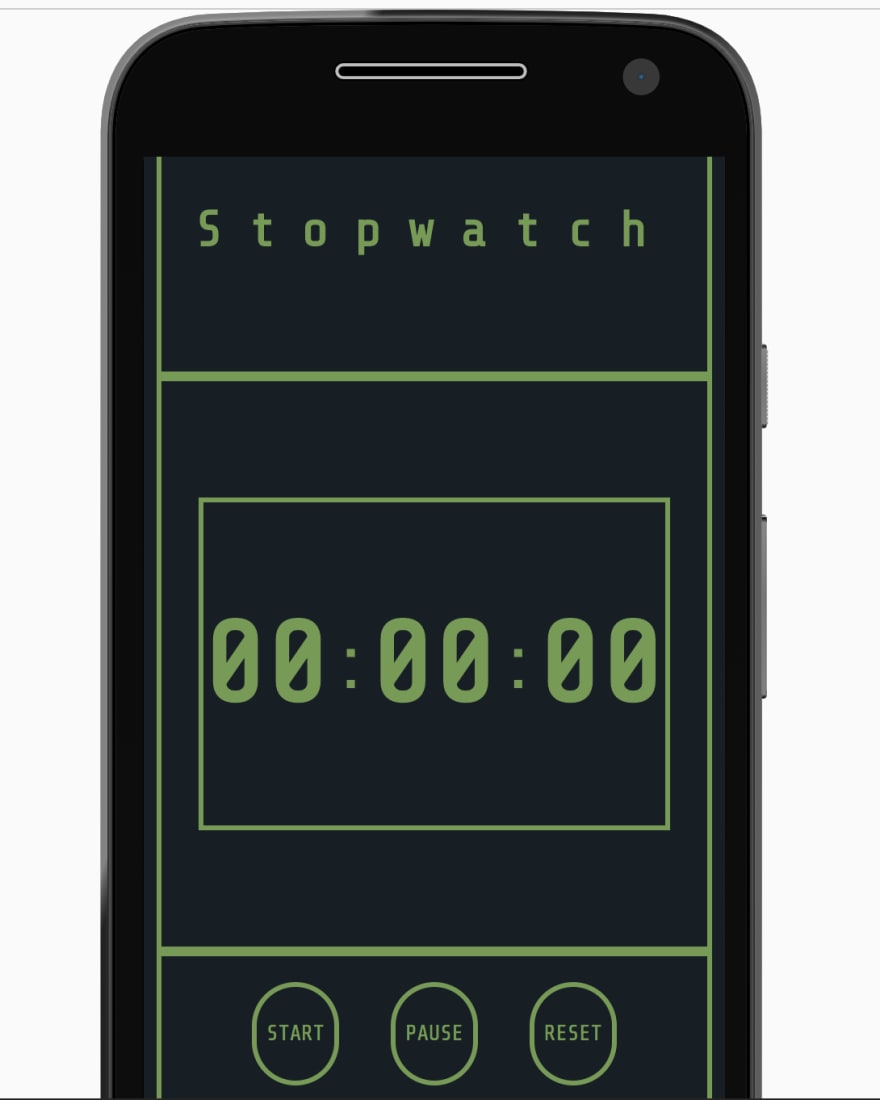
So now my app was pretty but not functional.
My next step was to create a function that would alternate time I used this Youtube tutorial for guidance.
Time variables
Before creating the functions we need we need to create variables for seconds, minutes and hours (sec, min, hr) and set them to zero (these are the variables that will increment every second, minute or hour).
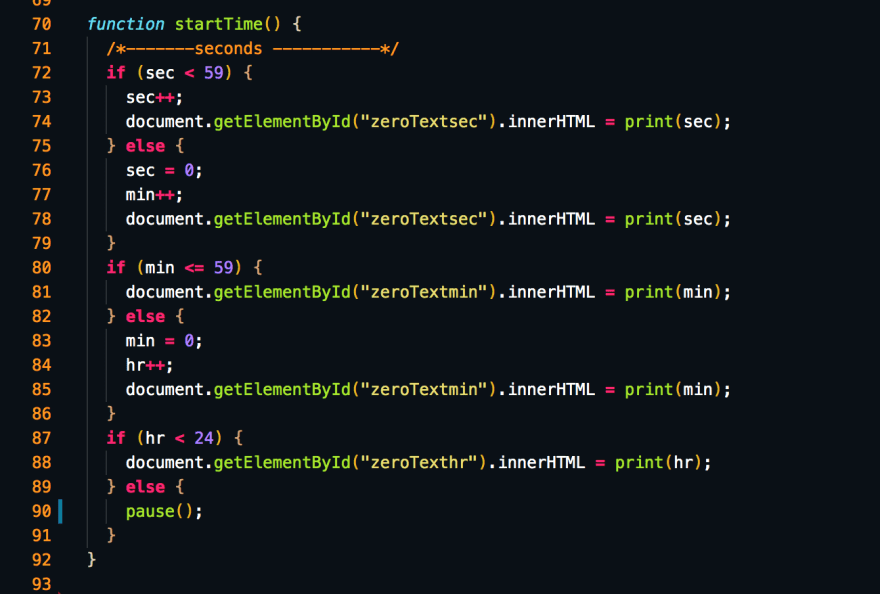
startTime() Function
I started by creating a function that would allow me to increment seconds, minutes and hours. The conditions of the if statements for seconds and minutes was that if it was less than 59 then increment the specified counter but if more then that count would be set 0 while the higher time count was incremented.
So if it was 59 seconds (00:00:59) then it would then be 1 min after and the seconds counter would return to 0 while the min would increment + 1 (00:01:00). The hour's condition was that if it was less than 24 then increment but the hours surpass 24 hours then it should reset to 0.
In the code blocks for the if statements the "00"'s were selected and their text content altered through a print function.
Print() Function
The print function takes a value (val) as an argument. it has an if statement with the condition that if the value is less than or equal to 9 that the function should return "0" + the specified value. So if the value is. 3 secs then print() will return "03".
Start(), Reset() and Pause() Functions
For the start and pause functions the start button was selected using getElementById() and the button was either disabled for start (to prevent repeated clicks) or active when the stopwatch was paused so you could restart.
Start()
In the start function, the interval was set for 1000ms because 1000ms = 1s. I was curious to how setInterval() actually works, well I was mainly curious about what the set time did. The answer? it's in the name ;)
setInterval takes a callback function as an argument and runs that function after a set interval. So if you enter 1000ms it will run that function every second.
In our case we want the set time variables to increase and have those values printed to our "00" elements.
Pause() function
In the pause() function we clear the interval using clearInterval() with the setInterval variable t as an argument.
Reset() function
In the reset function, we also clear the interval and reset the time variables (sec, min, hr) to 0 and replace the text content of the "00" h2 elements.
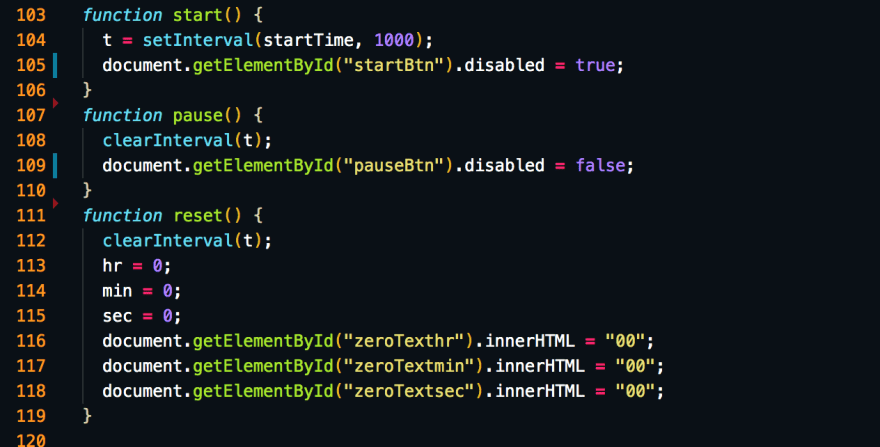
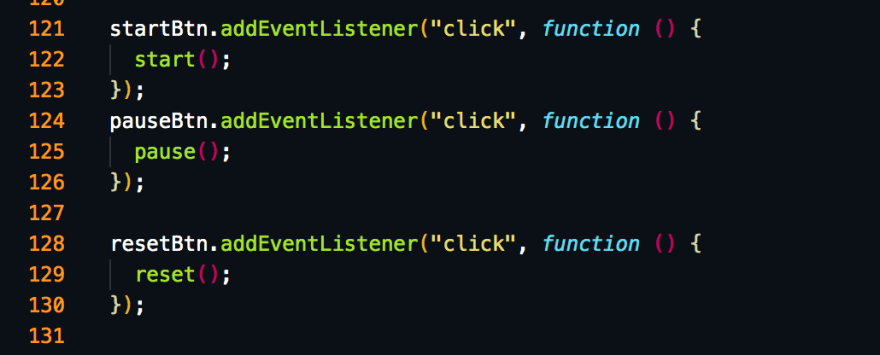
After completing these functions all I needed to do was select the buttons from the DOM (I used querySelector()) and create "click" event listeners with the start(), pause() and reset() functions as arguments.
After fixing some programmer errors I had a working stopwatch that was pretty as well as functional.
MyResult
Click here to view my stopwatch.
I've missed anything out please let me know.
You can view my source code here.

Posted on September 15, 2020
Join Our Newsletter. No Spam, Only the good stuff.
Sign up to receive the latest update from our blog.
