Build your own Waiting Room for your Web site with Cloudflare Workers and Serverless Redis

Enes Akar
Posted on November 2, 2021

In this blog post, we will implement a waiting room page for your website.
Why?
High number of visitors on your website is a good thing generally but not always. Sudden high traffic may easily overwhelm your applications which may disrupt your services completely. Waiting room is a solution that helps you to control the traffic and protect your resources during traffic surges. Cloudflare Waiting Room is a good solution but it is only available for business and enterprise accounts. Don’t worry, in this blog we will build a waiting room for any type of web site using Cloudflare Workers and Upstash Redis.
How?
There are two parameters to control the waiting room.
- Max session duration: How long can a visitor stay idle on the web site?
- Max website capacity: How many visitors can the website allow at the same time?
When a visitor enters our website, we will generate a unique key (like a session key) and keep it in Redis. We will put this key to the Redis with an expiration time which is the max session duration. Before letting a visitor into the website, we will check the dbsize of the Redis. If the size is higher than the **max website capacity, **then we will forward the visitor to the waiting room. The waiting room is a static html but refreshes every 30 seconds. That is, once every 30 seconds, the visitor can be allowed to enter the website if there is availability.
The unique key that we generated also is written to the visitor requests as a cookie. So the requests of the same visitor will have the same key. This is required to check if a visitor has already a session inside the website when the capacity is full. So as a visitor you are allowed to enter the website even if the capacity is full as long as your key exists in the Redis keyspace. If you stay idle longer than the max session duration, then your key will be deleted from Redis. And if the capacity is full when you send a request you will be forwarded to the waiting room.
We will implement this logic at Cloudflare Workers. We will use Upstash as a Redis store. Now let’s explain the background of these technology decisions.
Why Cloudflare Workers?
Waiting room implementation will intercept all requests to your website. So its performance overhead should be minimal. Cloudflare Workers leverages Cloudflare edge infrastructure, so it gives you the minimum latency globally. Also unlike AWS Lambda, it does not have a cold start problem. It is a serverless technology so scalability is not a problem too.
Why Upstash Redis?
You need to check the current size of the website before allowing each new visitor. Cloudflare Workers is stateless so you need to keep this information externally. Redis is the best choice with its low latency. But Redis offerings require TCP based connections which are not supported by Cloudflare Workers. Upstash is the only Redis offering with a built in REST API. Also thanks to Global replication it gives you low latency all over the world.
Step by Step Implementation
We will implement the project step by step below. If you want to clone the project and set up the waiting room for your web site directly, you can follow the steps in the readme of the source code.
1 Project Setup
Create a project using wrangler.
wrangler generate waiting-room
Then install the dependencies:
npm install cookie upstash@redis
2 Update wrangler.toml
Update the type:
type = "webpack"
Set your Cloudflare account id. Check this to find your account id.
account_id = "REPLACE_HERE"
Add these variables:
[vars]
UPSTASH_REDIS_REST_TOKEN = "REPLACE_HERE"
UPSTASH_REDIS_REST_URL = "REPLACE_HERE"
TOTAL_ACTIVE_USERS = 10
SESSION_DURATION_SECONDS = 30
You need to create a Global database from the Upstash console. You just need to copy and paste the REST token and URL from the console. The Redis database should be empty initially and used by only this application.
You should set TOTAL_ACTIVE_USERS and SESSION_DURATION_SECONDS depending on your own requirements.
3 index.js
Index.js is the Cloudflare Workers implementation file. So we will put all the logic inside it. Copy and paste the below code into it:
import { parse } from 'cookie'
import { auth, dbsize, get, setex } from '@upstash/redis'


auth(UPSTASH_REDIS_REST_URL, UPSTASH_REDIS_REST_TOKEN)


addEventListener('fetch', (event) => {
    event.respondWith(
        handleRequest(event.request).catch(
            (err) => new Response(err.stack, { status: 500 }),
        ),
    )
})

const COOKIE_NAME_ID = '__waiting_room_id'
const COOKIE_NAME_TIME = '__waiting_room_last_update_time'

const init = {
    headers: {
        'Authorization': 'Bearer ' + UPSTASH_REDIS_REST_TOKEN,
    },
}

async function handleRequest(request) {
    const { pathname } = new URL(request.url)
    if (!pathname.startsWith('/favicon')) {
        const cookie = parse(request.headers.get('Cookie') || '')
        let userId

        if (cookie[COOKIE_NAME_ID] != null) {
            userId = cookie[COOKIE_NAME_ID]
        } else {
            userId = makeid(8)
        }

        let res = await dbsize()
        console.log('current capacity:' + res.data)
        // there is enough capacity
        if (res.data < TOTAL_ACTIVE_USERS) {
            return getDefaultResponse(request, cookie, userId)
        } else {  // site capacity is full
            let obj2 = await get(userId)
            if (obj2.data === '1') { // the user has already active session
                return getDefaultResponse(request, cookie, userId)
            } else { // capacity is full so the user is forwarded to waiting room
                return getWaitingRoomResponse(userId)
            }
        }
    } else {
        return fetch(request)
    }
}

async function getDefaultResponse(request, cookie, userId) {
    // uncomment below to test the function with a static html content
    // const newResponse = new Response(default_html)
    // newResponse.headers.append('content-type', 'text/html;charset=UTF-8')

    const response = await fetch(request)
    const newResponse = new Response(response.body, response)

    const now = Date.now()
    let lastUpdate = cookie[COOKIE_NAME_TIME]
    if (!lastUpdate)
        lastUpdate = 0
    const diff = now - lastUpdate
    const updateInterval = SESSION_DURATION_SECONDS * 1000 / 2
    if (diff > updateInterval) {
        await setex(userId, SESSION_DURATION_SECONDS, 1)
        newResponse.headers.append('Set-Cookie', `${COOKIE_NAME_TIME}=${now}; path=/`)
    }

    newResponse.headers.append('Set-Cookie', `${COOKIE_NAME_ID}=${userId}; path=/`)
    return newResponse
}

async function getWaitingRoomResponse(userId) {
    const newResponse = new Response(waiting_room_html)
    newResponse.headers.set('content-type', 'text/html;charset=UTF-8')
    return newResponse
}


function makeid(length) {
    var result = ''
    var characters = 'ABCDEFGHIJKLMNOPQRSTUVWXYZabcdefghijklmnopqrstuvwxyz0123456789'
    var charactersLength = characters.length
    for (var i = 0; i < length; i++) {
        result += characters.charAt(Math.floor(Math.random() *
            charactersLength))
    }
    return result
}

const waiting_room_html = `
<title>Waiting Room</title>
<meta http-equiv='refresh' content='30' />

<style>*{box-sizing:border-box;margin:0;padding:0}body{line-height:1.4;font-size:1rem;font-family:ui-sans-serif,system-ui,-apple-system,BlinkMacSystemFont,"Segoe UI",Roboto,"Helvetica Neue",Arial,"Noto Sans",sans-serif;padding:2rem;display:grid;place-items:center;min-height:100vh}.container{width:100%;max-width:800px}p{margin-top:.5rem}</style>

<div class='container'>
  <h1>
    <div>You are now in line.</div>
    <div>Thanks for your patience.</div>
  </h1>
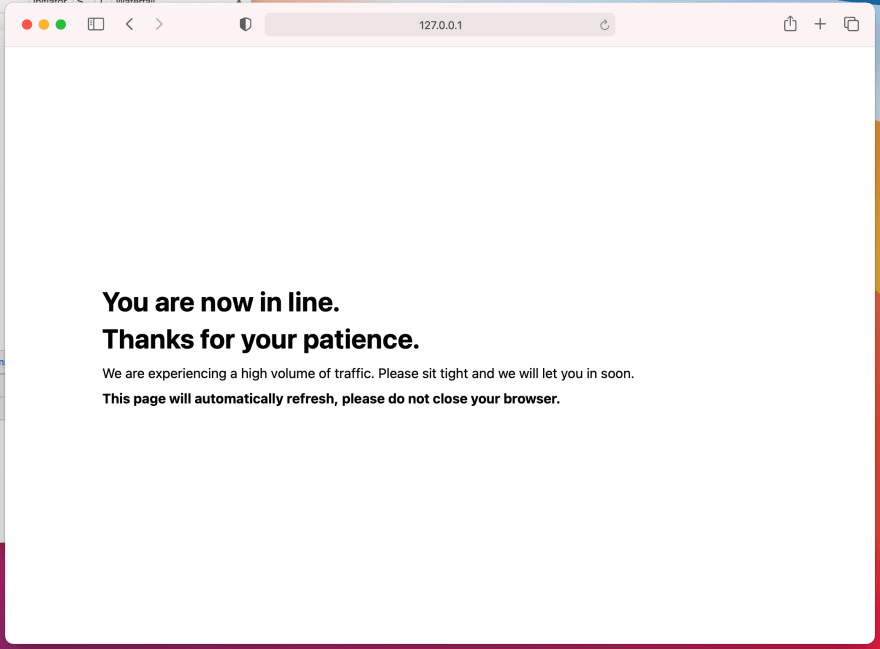
  <p>We are experiencing a high volume of traffic. Please sit tight and we will let you in soon. </p>
  <p><b>This page will automatically refresh, please do not close your browser.</b></p>
</div>
`


const default_html = `
<title>Waiting Room Demo</title>

<style>*{box-sizing:border-box;margin:0;padding:0}body{line-height:1.4;font-size:1rem;font-family:ui-sans-serif,system-ui,-apple-system,BlinkMacSystemFont,"Segoe UI",Roboto,"Helvetica Neue",Arial,"Noto Sans",sans-serif;padding:2rem;display:grid;place-items:center;min-height:100vh}.container{width:100%;max-width:800px}p{margin-top:.5rem}</style>

<div class="container">
  <h1>
    <div>Waiting Room Demo</div>
  </h1>
    <p>
              Visit this site from a different browser, you will be forwarded to the waiting room when the capacity is full.
    </p>
  <p>  Check <a href={"https://github.com/upstash/waiting-room"} style={{"color": "blue"}}>this project </a> to set up a waiting room for your website.</p>
</div>
`
In the above code, you can edit the waiting_room_html variable. It is the static html of the waiting room page.
handleRequest method returns either getDefaultResponse or getWaitingRoomResponse depending on the availability of your website.
4 Run Locally
To test the waiting room locally, it might make sense to set capacity to 1, session duration to 30 seconds. Then run
wrangler dev
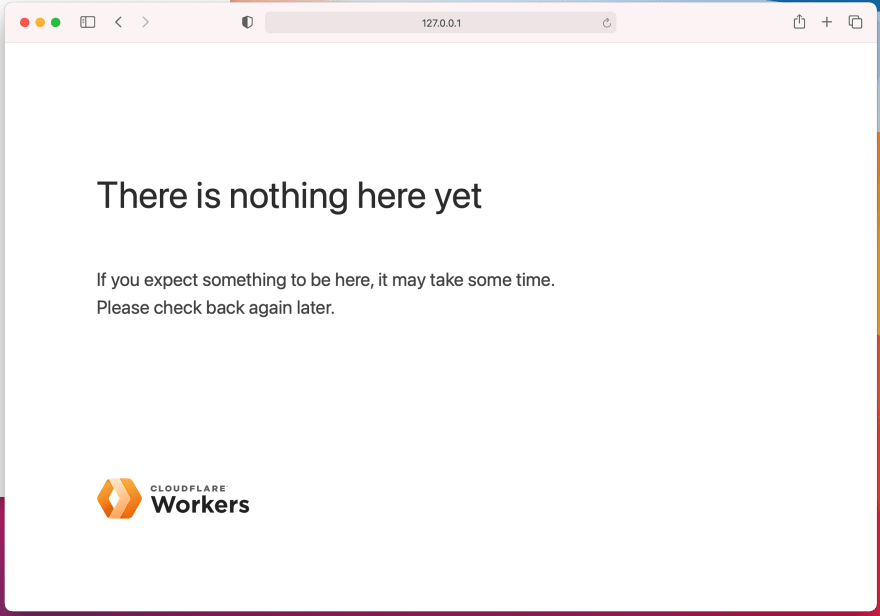
Now open http://127.0.0.1:8787/ at Chrome, you will see:
And then open the same url on Safari (or Chrome incognito), you will see:
Wait for longer than 30 seconds. You should see the page in waiting room will refresh and enter the website.
Our local does not forward to a real website so we see the 404 page of Cloudflare, that’s ok.
5 Publish
Deploy your CF Workers function with:
wrangler publish
It will give you a url like: https://waiting-room.upsdev.workers.dev/
Now let’s route our worker to your website. First your domain's nameservers should point to Cloudflare. Check this. Then, you need to add your domain as a route and select your Workers function in the CF Workers dashboard.
Conclusion
We have successfully built a waiting room without touching our application code thanks to Cloudflare Workers and Upstash Redis. We believe this is another indicator of how powerful edge functions become together with Upstash.
There are things to improve:
- Estimated waiting time: We could calculate and show average waiting time.
- Fair and ordered queue: Currently waiting visitors randomly enter the site when there is availability. We might keep a queue and try to let visitors in an ordered way.
Both of the above improvements require keeping more state and making more remote calls. That’s why we preferred to skip those. If your use case strictly requires those, you may check this blog to be inspired from Cloudflare team’s work on their enterprise solution.
Check the source code.

Posted on November 2, 2021
Join Our Newsletter. No Spam, Only the good stuff.
Sign up to receive the latest update from our blog.
Related

November 2, 2021


