David Chedrick
Posted on June 12, 2022
Over the next few blogs we will be building a Rails project. We will use Rails as an API. Eventually we will use it as the end point for a React project.
For this you will need Ruby, RubyGems, and Bundler installed on your system. I will be using Visual Studio as my IDE.
$gem update --system
$gem install bundler
Installing Rails
To install the latest version of Rails, run in the terminal:
$ gem install rails
In the terminal create a new folder for the project and cd into that folder, once inside we can create our Rails project. I will name mine rails-api-project.
$ rails new rails-api-project --api --skip-javascript
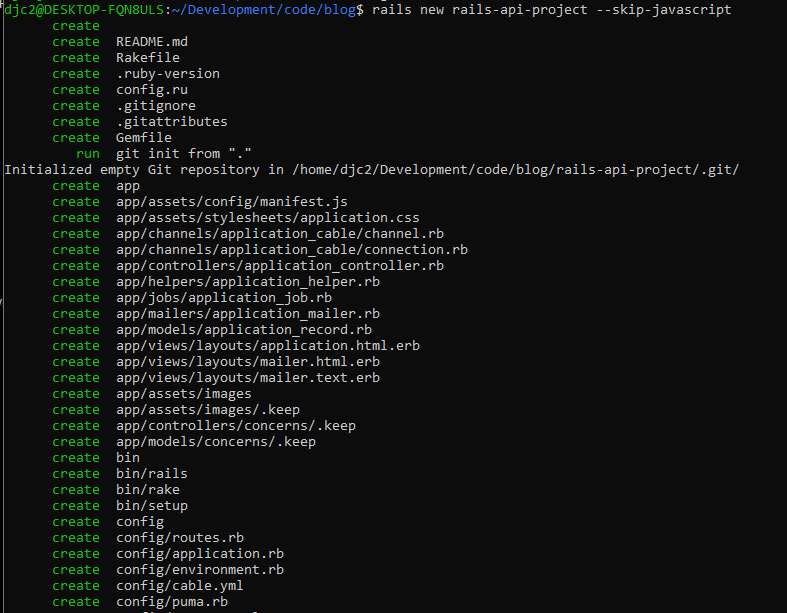
Once you run that command a lot will load:
A lot just happened right there, the main points are:
- Rails generated a new directory with all the code required to build our application
-
bundle installran to download all the required gems -
gitwas initialized in the newly created directory
I used the --skip-javascript flag to tell Rails that we won't be using JavaScript for this project. We will use React for all of our JavaScript needs. Using this flag makes the installation faster.
Running the Rails Server
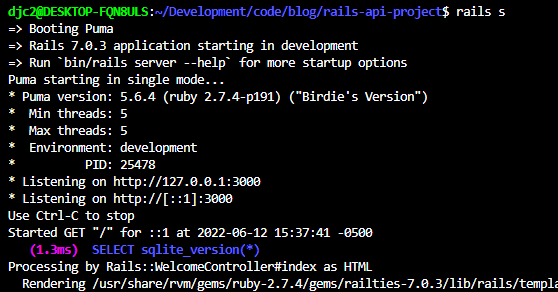
To start the Rails server, make sure that you are in the root of the application in the terminal and run this in the terminal:
$ rails s
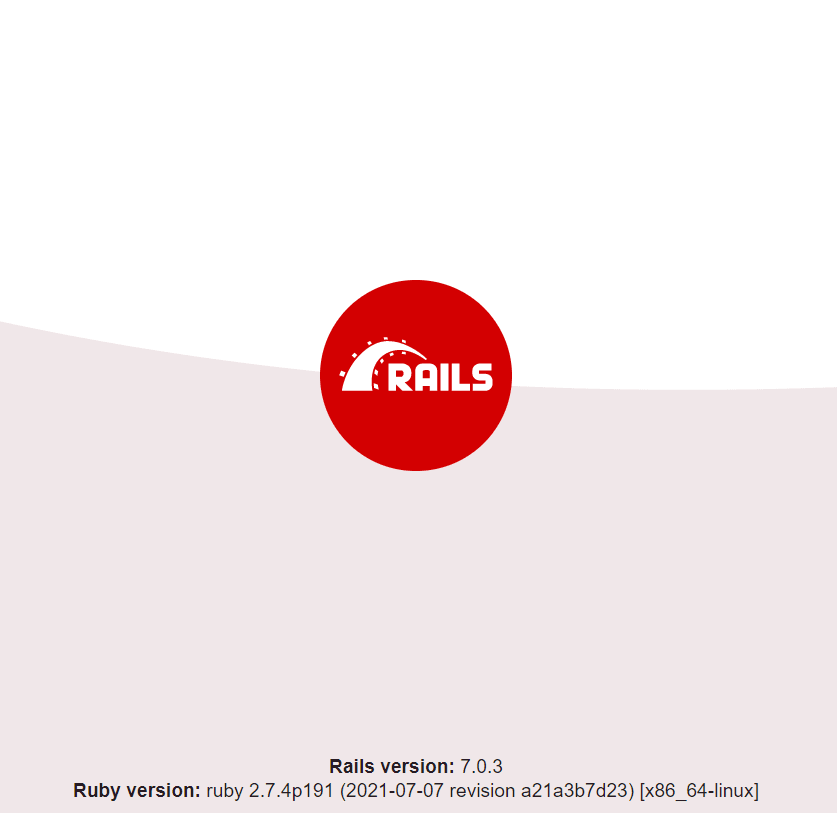
Lets verify that it's working in the browser by navigating to localhost 3000
If you click on the image it will take you to the Ruby On Rails website
Fantastic! We have a Rails application running. It isn't doing much right now so lets get something of our own happening.
Creating Routes
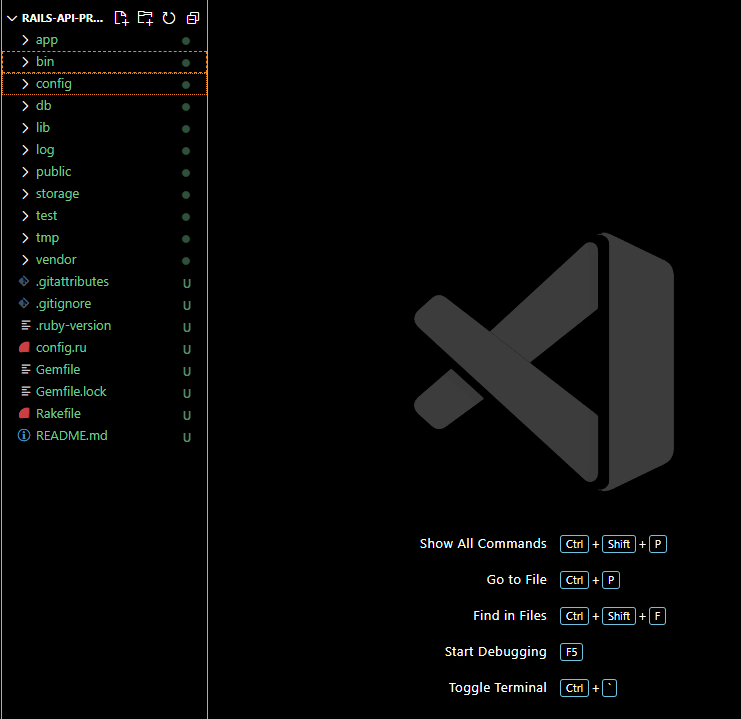
Here is what we should see in our IDE. These are all the files that Rails set up for us:
Now lets click into the folder config then the file routes.rb. We should see:
Now we need to define a route in our Rails app. A route will tell Rails that when a user makes a request with this HTTP verb and this path, run the code in this controller.
Lets set up a route to cats
# config/routes.rb

Rails.application.routes.draw do
  get "/cats", to: "cats#index"
end
Here we are telling Rails that when a GET request to the /cats path comes in, run the index method in the CatsController.
Setting up a controller
Let's create a controller now. Click on the app folder, then the controllers folder, then create a new file called cats_controller.rb and put the following code inside:
class CatsController < ApplicationController

  def index
  end

end
Since we are creating an API lets render some JSON.
Lets just write something for now so we know our code is working.
class CatsController < ApplicationController

    def index
        render json: { love: "Cutie Cats~!!! <3" }
    end

end
Lets give it a test and check out http://localhost:3000/cats
If your JSON doesn't look pretty in the browser I recommend the Chrome extension json-formatter.
Next Time
This was the initial set up of our Rails API.
Next blog we will get into adding Active Record to our Rails application so we can start adding tables and data.

Posted on June 12, 2022
Join Our Newsletter. No Spam, Only the good stuff.
Sign up to receive the latest update from our blog.


