Learn Route Parameters in Angular with Example

Dany Paredes
Posted on February 25, 2024

When we build applications in Angular keep the communication of data between components or routes is important, sometimes we use a state manager, services or but take advantage of the url to provide information is a nice alternative. The url with combination of the router to send parameters to routes make very easy solve common communication challenges in our apps.
The Angular router enables us to add parameters to the URL by using the routerLink directive or the Router service, making it easy to provide information to routes and components. There are three types of parameters: required, query, and optional, each with its own role and advantages. In the following sections, we'll explain each type with examples using both the routerLink and Router service.
Route Parameters
Required Route parameters are part of the URL path itself. They are used to specify a dynamic or static part of the URL, and we define the parameter in the route definition using a colon. For example:
{
path: 'user/:id',
component: UserComponent
}
UsingRouterLink
<a [routerLink]="['/user', userId]">View User</a>
UsingRouter Service
this.router.navigate(['/user', this.userId]);
The final result is a url that expect the parameter 123
http://example.com/user/123
In this URL, 123 serves as the route parameter for id, representing the ID of the user you wish to display or manipulate within the UserComponent.
Now, let's move on to query parameters.
Query Parameters
Query parameters appear after the question mark (?) in the URL and are used for optional data that does not fit into the URL path structure and is not required to be registered in the routes. Similar to required parameters, we can use the routerLink directive or Router Service.
UsingRouterLink
<a [routerLink]="['/search']"
[queryParams]="{ term: 'angular', page: 2 }">Search</a>
UsingRouter Service
this.router.navigate(
    ['/search'],
    { queryParams:
        { term: 'angular', page: 2 }
    }
);
Example URL:
http://example.com/search?term=angular&page=2
In this URL, there are two query parameters: term, with a value of angular, and page, with a value of 2. These could be used for search functionality, indicating that the user is searching for "angular" and is currently on page 2 of the search results.
Matrix Parameters
Matrix parameters are a method to include optional parameters in the same part of a URL in Angular routing. This is helpful when you want to keep the state while navigating or use multiple parameters without changing the route structure.
For example the url http://example.com/products;color=red;size=large with matrix parameters in Angular, you can use RouterLink in the template and the Router service in your code. Here's how to use matrix parameters in both situations:
UsingRouterLink
To use matrix parameters with RouterLink, include them right in the link's path:
<a [routerLink]="['/products', { color: 'red', size: 'large' }]">Filtered Products</a>
This template example makes a link that, when clicked, goes to the /products route with matrix parameters color=red and size=large for that part of the route.
UsingRouter Service
To use matrix parameters when navigating with the Router service, you need the navigate method. But unlike query parameters, matrix parameters are included in the route's path. Here's how to do it:
import { Component, Inject } from '@angular/core';
import { Router } from '@angular/router';

@Component({
  selector: 'app-product-viewer',
  template: `<button (click)="navigate()">View Filtered Products</button>`
})
export class ProductViewerComponent {

  route =  inject(Router)

  navigate() {
    this.router.navigate(['/products', { color: 'red', size: 'large' }]);
  }
}
In this example, calling the navigate() method (e.g., by clicking a button) directs the app to the /products route with color and size matrix parameters.
Now, let's apply these skills to solve a real-world problem.
Scenario
One friend contact us continue with his project, he want show a list a products from https://fakestoreapi.com/docs, when the user click on the product see details in a new page for like http://localhost:4200/products/1.
One more thing, if we can add show a discount link for users with the parameter "discount", looks complex ? nah! combining the required router parameters and query parameters to make it!
Let's do it!
The source code is part of my previous article about Router Navigation
Setup Project
First, clone the repo and install all dependencies by running npm i to have our project ready
git clone https://github.com/danywalls/play-with-angular-router.git
cd play-with-angular-router
npm i
Run the project with npm run start, open the browser http://localhost:4200
Before start with need must to update our app.config.ts to include essential services for routing and HTTP client functionalities and binding components.
provideHttpClient()enable to use HttpClient with Injection.withComponentInputBinding():help to bind information from theRouterstate directly to the inputs of the component inRouteconfigurations.
export const appConfig: ApplicationConfig = {
  providers: [
    provideRouter(routes,
        withComponentInputBinding()
     ),
    provideHttpClient(),
  ],
};
Get The Products From API
We need to get the productos from https://fakestoreapi.com/products, to do it, we a service using the CLI ProductsService
$ ng g s services/products
CREATE src/app/services/products.service.spec.ts (383 bytes)
CREATE src/app/services/products.service.ts (146 bytes)
Next we going to define few steps to enable the service provide the information.
Declare a type to match with the products API response
Inject the
httpClientto make the request to API.Declare
APIurl variable.Define a property
$productsto bind the http response and transform to signals usingtoSignals.
The final code looks like this:
import { inject, Injectable } from '@angular/core';
import { HttpClient } from '@angular/common/http';
import { toSignal } from '@angular/core/rxjs-interop';

export type Product = {
  id: string;
  title: string;
  description: string;
  image: string;
  price: string;
};

@Injectable({
  providedIn: 'root',
})
export class ProductsService {
  readonly http = inject(HttpClient);
  readonly API = 'https://fakestoreapi.com';
  $products = toSignal(this.http.get<Array<Product>>(`${this.API}/products`));
}
We have the ProductService ready to provide the data, let's implement into the home.component.ts 😊
Using Router Link and Show Products
Open home.component.ts and inject the ProductService and create a $products property to get the list the products.
readonly productService = inject(ProductsService);
$products = this.productService.$products;
Next, open home.component.html and use @for to iterate over $products. Render the image with the routerLink directive, which takes two parameters: the route and the product id.
The final code looks like:
<div class="products">
  @for (product of $products(); track product) {
    <img [routerLink]="['../'+ ROUTE_TOKENS.HOME,product.id]"

         [src]="product.image" [alt]="product.description"/>
  }
</div>
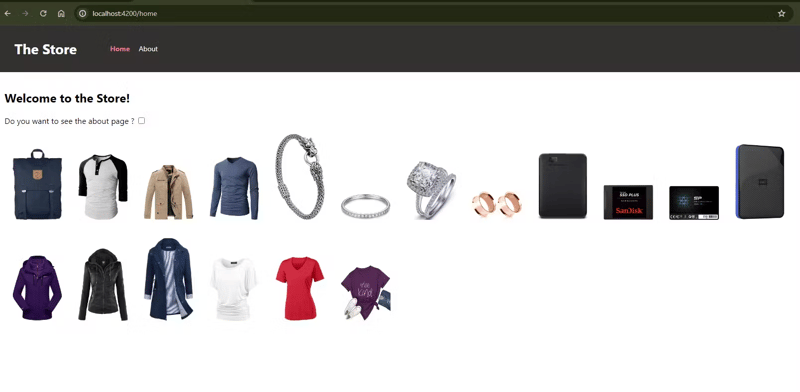
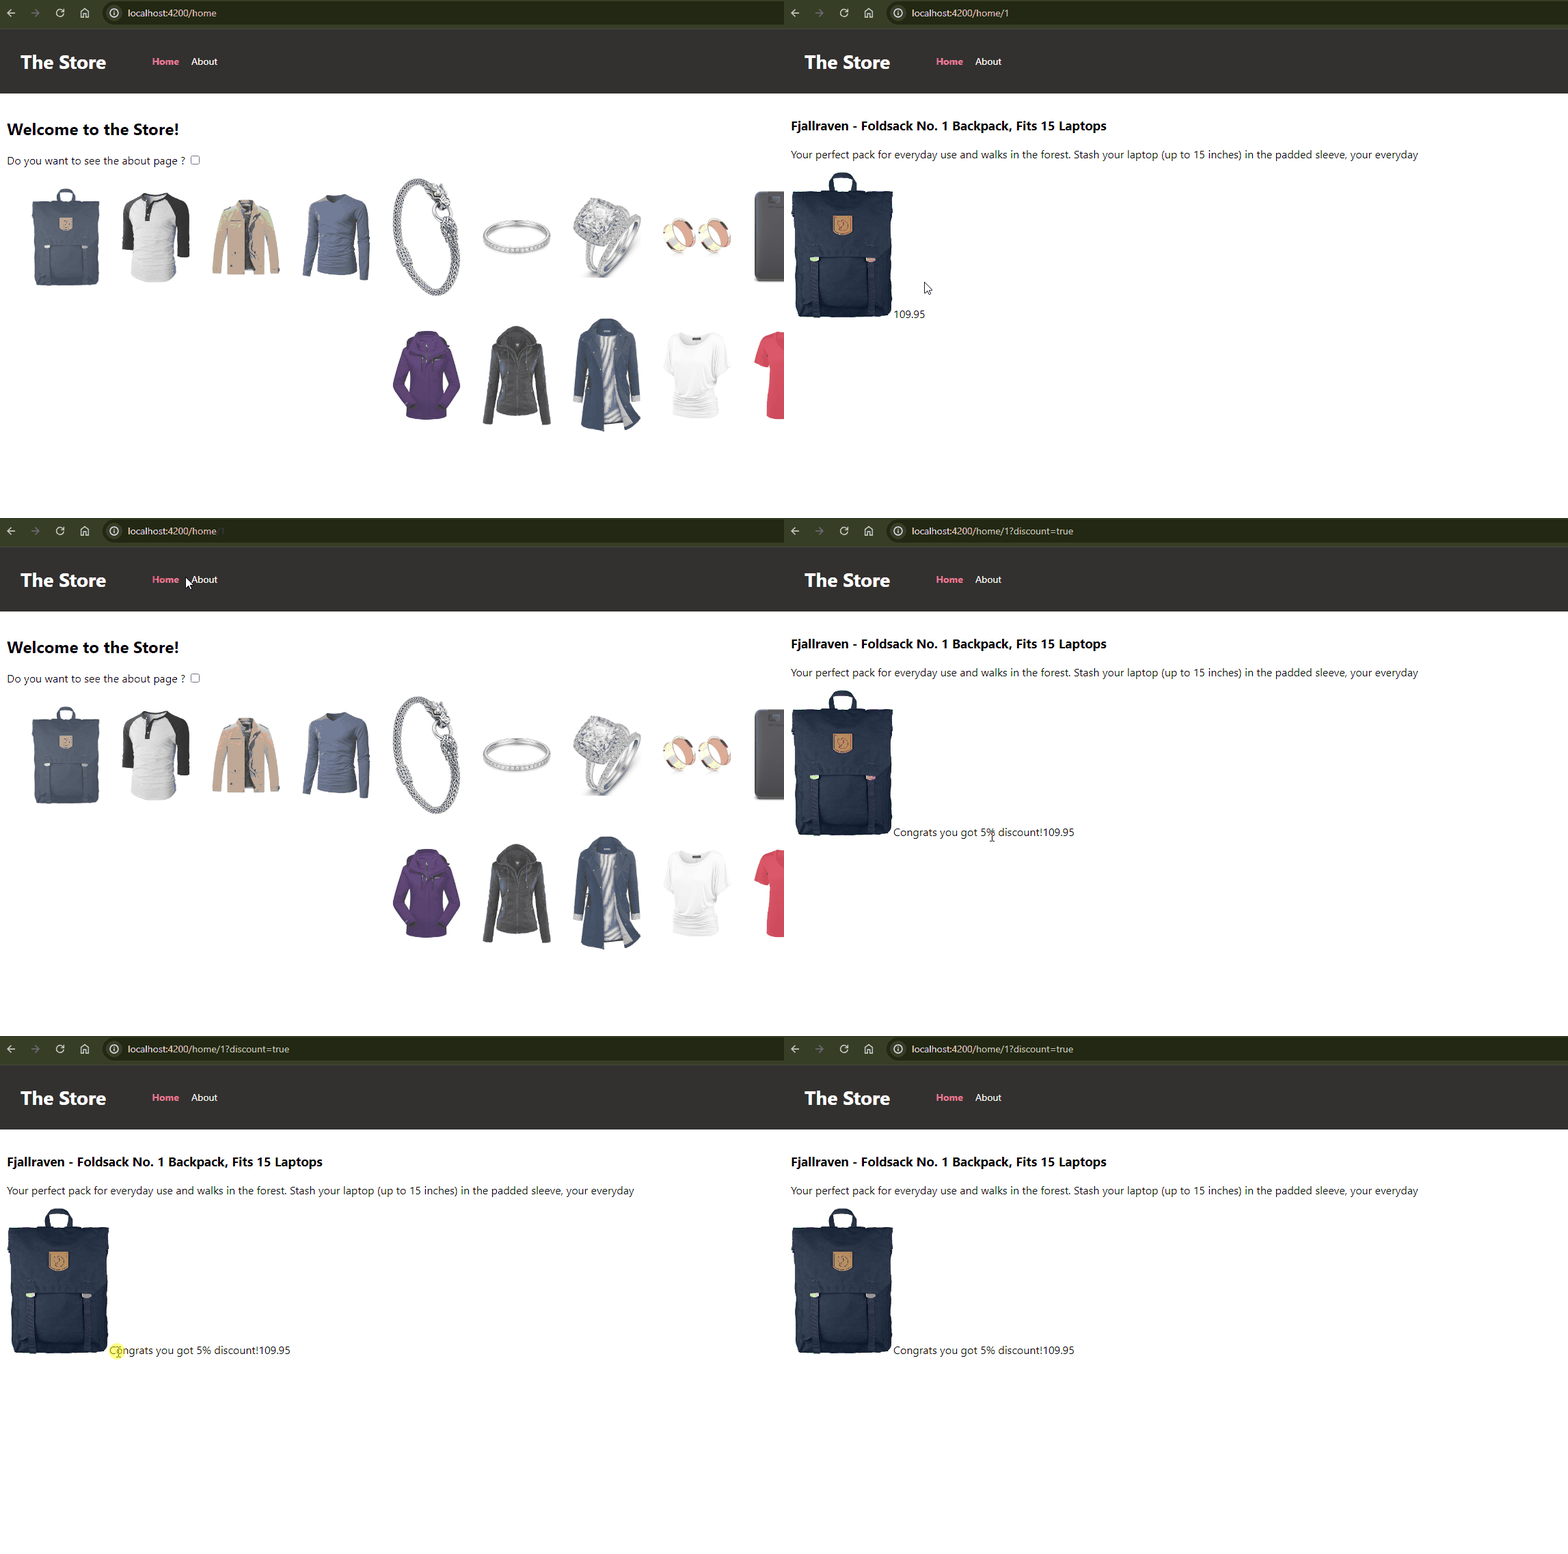
Save the changes, and we'll see the products.
However, there's one issue: the route `products/id` doesn't exist yet. We need to declare it, so let's do that!
The Details Products
Our first step is generate the ProductDetail component and introduce a new route that allows navigating to a product's details:
$ ng g c pages/product-details
CREATE src/app/pages/product-details/product-details.component.html (31 bytes)
CREATE src/app/pages/product-details/product-details.component.spec.ts (676 bytes)
CREATE src/app/pages/product-details/product-details.component.ts (282 bytes)
CREATE src/app/pages/product-details/product-details.component.scss (0 bytes)
next, open the app.routes.ts and add a new ${ROUTE_TOKENS.HOME}/:id pointing the ProductDetailComponent.
{
    path: ROUTE_TOKENS.HOME,
    component: HomeComponent,
  },
 {
    path: `${ROUTE_TOKENS.HOME}/:id`,
    component: ProductDetailsComponent,
  },
Perfect we have the product detail, but how get the id from the url parameter? did you remember withComponentInputBinding() it allow us bind input properties from the router, sound interesting let's do it!
Binding Route Parameters
Open the product-detail.component.ts and inject ProductsService , then we declare two new properties, id type input and productSelected.
$productSelected: using computed function get the product selected when the id input signals changes.id: it's the input bind by the match with the router.
export class ProductDetailComponent {
  private readonly productService = inject(ProductsService);
  readonly $productSelected = computed(() => {
    return this.productService.$products()?.find(({ id }) => id == this.id());
  });
  id = input<string>('');
}
Update the product-detail.component.html markup to use the $productSelect value.
<div class="product-detail">
  <h3>{{$productSelected()?.title}}</h3>
  <p>{{$productSelected()?.description}}</p>
  <img [src]="$productSelected()?.image"/>
  <span >{{$productSelected()?.price}}</span>
</div>
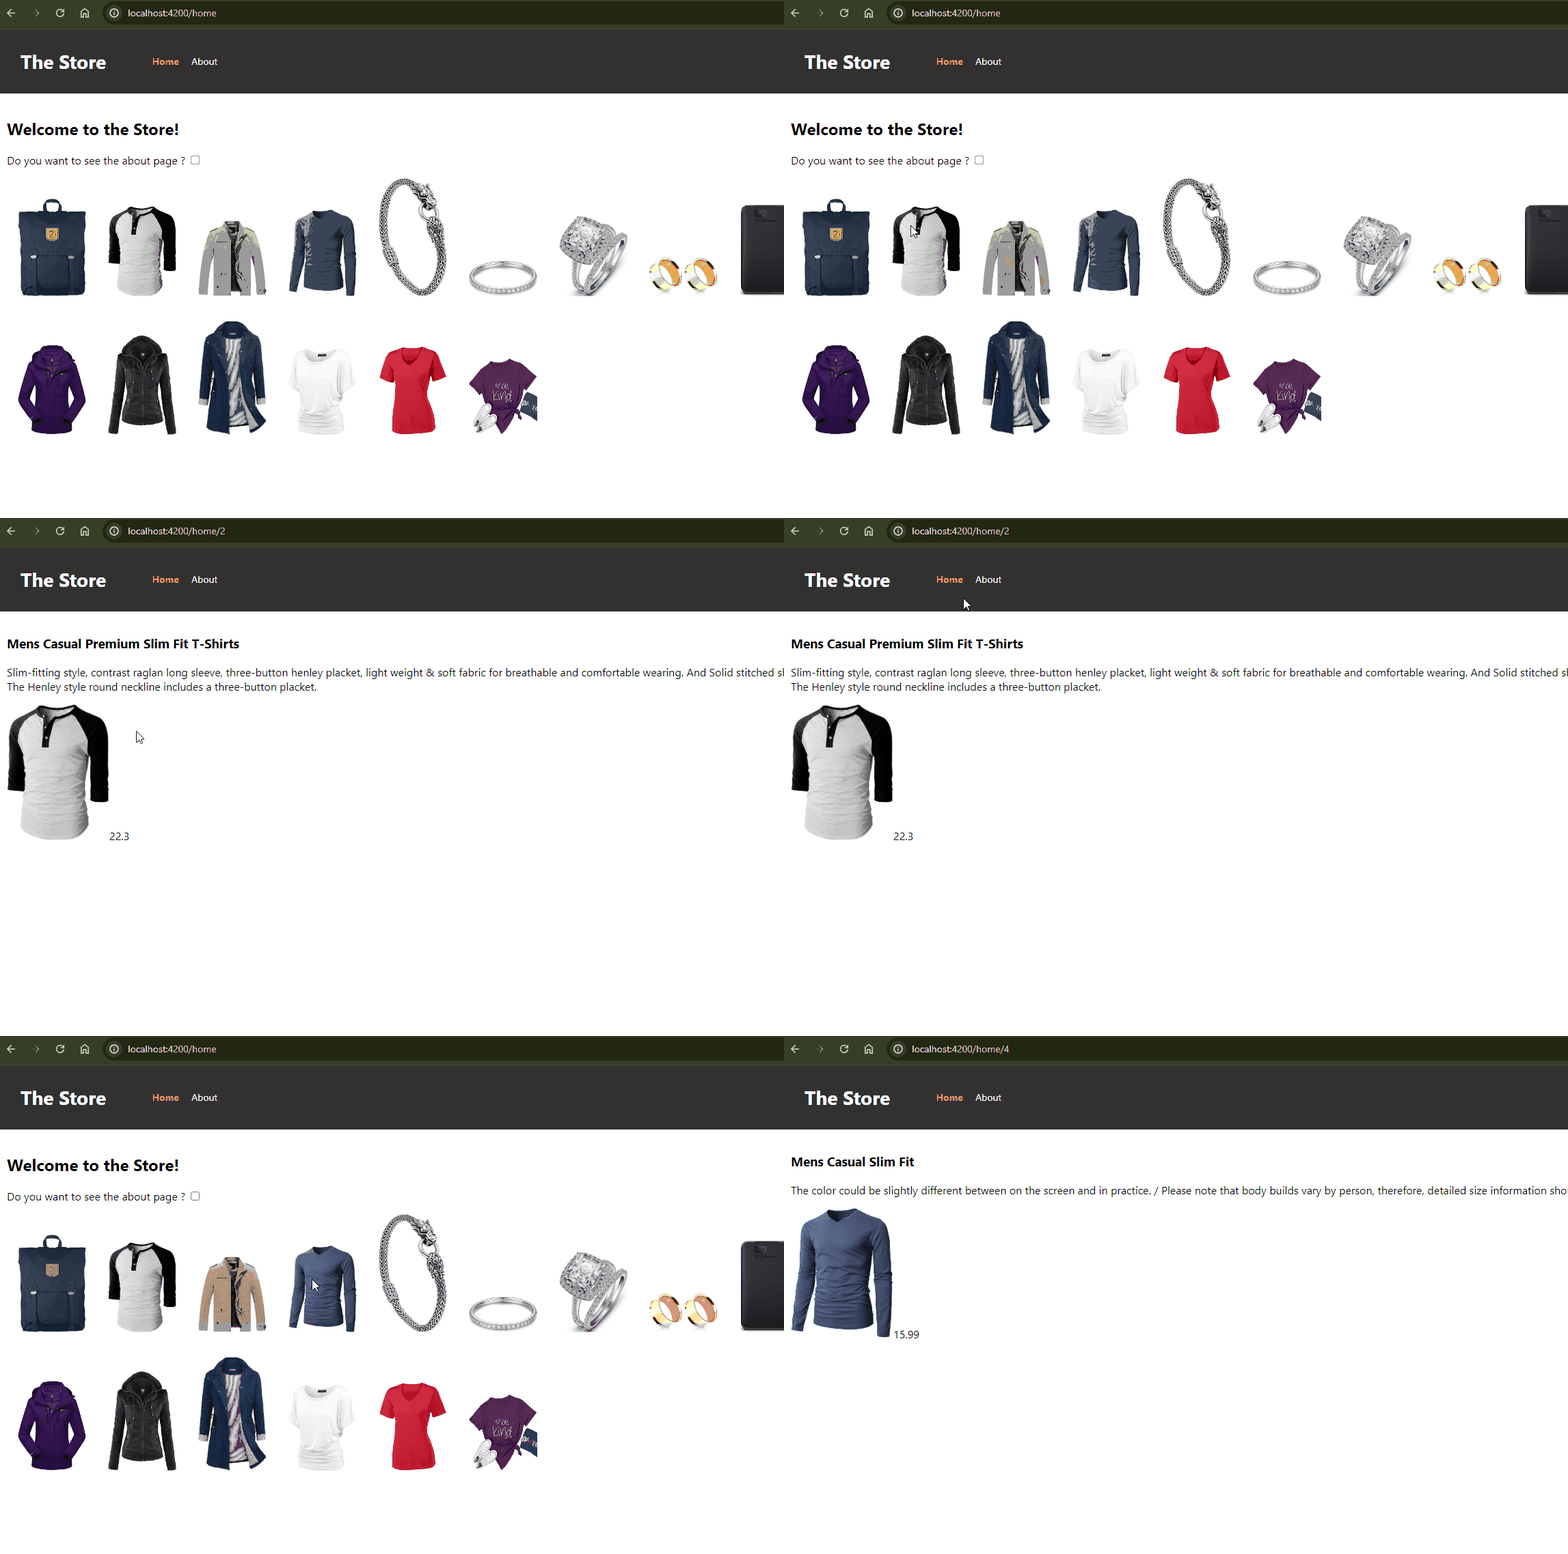
Save the changes. Now, when you click on a product, it navigates to the new route and displays all of the product details.
Excellent, we now have the product details with the necessary ID parameters, but we're missing the discount query parameters. Let's complete the final part.
The Discount Query Parameter
We want when the user click in a discount link send the query parameter and show some information about the discount in the product.
First, we use the routerLink with the queryParams binding the queryParams and send on it the object { discount: true } , also we use the queryParamsHandling to merge.
Open the about.component.html, and add the following code snippet:
<a [routerLink]="['../' + ROUTE_TOKENS.PRODUCTS,1]"
   [queryParams]="{discount: true}"
   queryParamsHandling="merge">
  Get something with discount
</a>
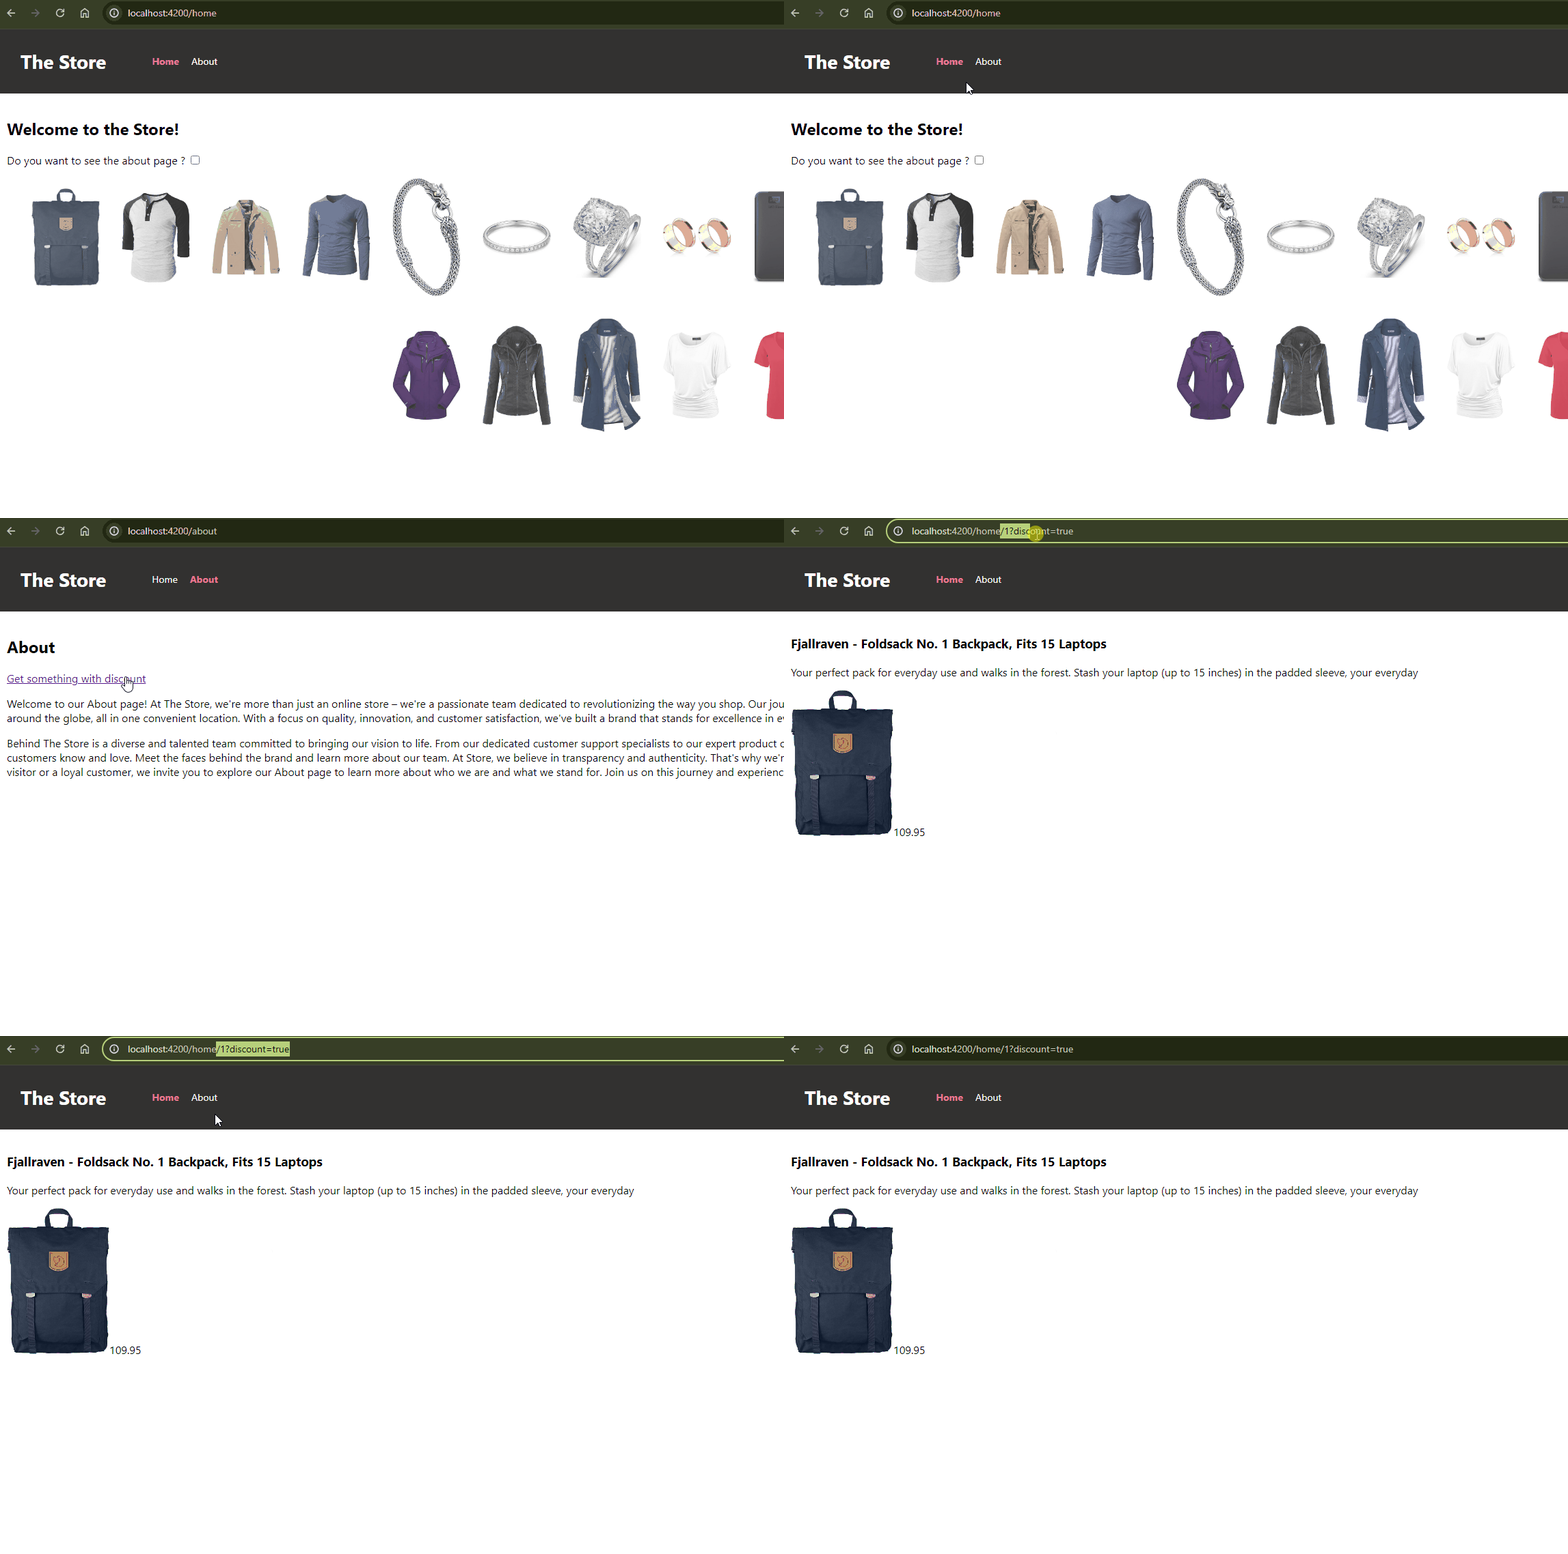
Save the changes, and when you click the "Get something with discount" link, it sends the query parameter "discount."
Our final step is to read the query parameters. We make a small change in the ProductsService by adding a new property $discount. It takes the queryParamMap from ActivatedRouter and retrieves the discount parameter. We transform the queryParamMap observable into signals using the toSignal method.
The final code looks like:
readonly $discount = toSignal(
  inject(ActivatedRoute).queryParamMap.pipe(
    map((params) => params.get('discount')),
  ),
);
Open the product-details.component.ts file and add a new property $discount, then bind it with the ProductService.$discount.
readonly $discount = this.productService.$discount;
Finally, edit the product-details.component.html to read the $discount property and display the message only when the discount is true.
 @if ($discount()) {
    <span>Congrats you got 5% discount!</span>
  }
Save the changes and experiment with the discount feature in our app.
Conclusion
Yes, we've learned how to work with parameters in Angular, introducing a detailed view of our product offerings and the ability to feature special promotions via query parameters and how easy is to send parameters using the routerLink and read them using the RouterService. By combining this with ActivatedRoute, we can read values and provide data for our application routes.

Posted on February 25, 2024
Join Our Newsletter. No Spam, Only the good stuff.
Sign up to receive the latest update from our blog.
