Making a REST service using Node and Express to use with Unity - Part 2

Cem Ugur Karacam
Posted on September 8, 2019

Hello fellow developers! Thanks for all good vibes for part-1. We will deep dive into unity again.
Here's the github project, if you want to follow along with blogpost.
I've decided to make another series, Unity MVC with Scriptable Objects, to boost up our ninja rest communication skills with unity in our development.
Last part, we have started small. This part we will meet JsonUtility class to parse our data.
First of all, let's provide a json data from our server. I'll make an object to send when a client asks for it.
Since we don't have a database yet, let's just define a json object in app.js. Then send it back to client.
/enemy/orc url end point is good enough to start with.
const express = require('express');
const app = express();

app.get('/', (req, res) => {
    res.send('Hello Unity Developers!');
});

let enemy = {
    "name": "orc",
    "health": 100,
    "attack": 25
}

app.get('/enemy/orc', (req, res) => {
    res.send(enemy);
});

app.listen(3000, () => console.log('started and listening.'));
Start a local server, grab a terminal and type node app.js.
Before jump to unity, give it a go with your favorite api request to localhost:3000/enemy/orc.
Seems no error.
We will do more work on our node server to make it a proper api. But first we need to learn fundamentals of json parsing in unity.
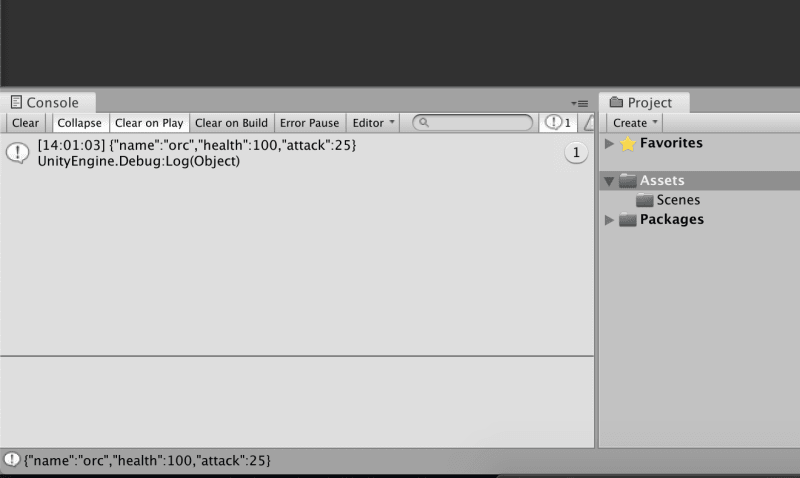
Now jump in to unity. Last part we have created our ClientApi class and attached to an object in the hierarchy. Pass our endpoint to url parameter and let's read the console.
Everything seems working so far.
I like working with json in node, it's native to javascript and web lives with json communication, literaly. In unity, you'll need a couple more step.
Let's take a look closer to our json data.
{
    "name": "orc",
    "health": 100,
    "attack": 25
}
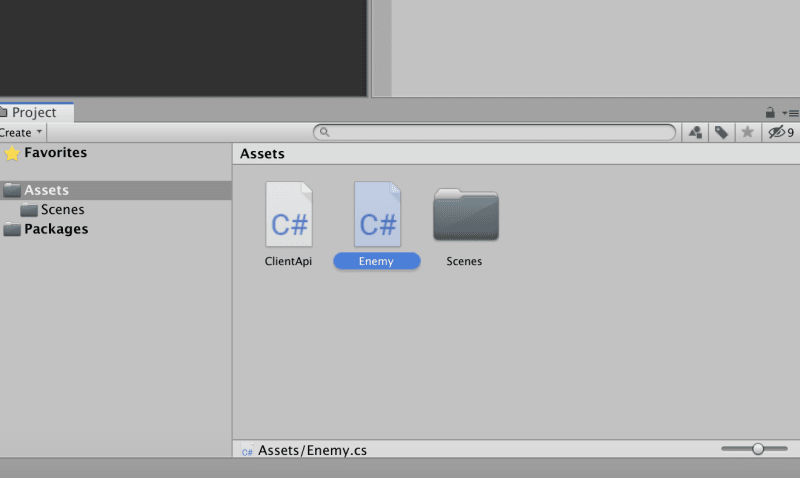
We'll make a model (or contract) class to match these values. Create a c# script in project folder and name it Enemy.
public class Enemy
{
    public string name;
    public int health;
    public int attack;
}
As you notice, it doesn't derive from anything, just a plain c# class.
Our goal is making an instance from this model class when you get the data from api and inject in to JsonUtility.
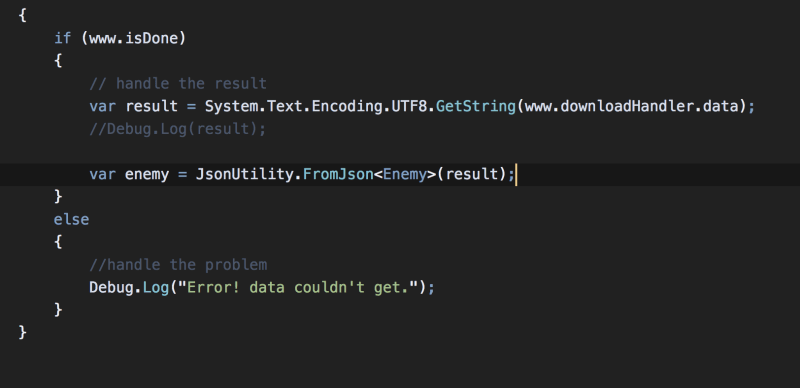
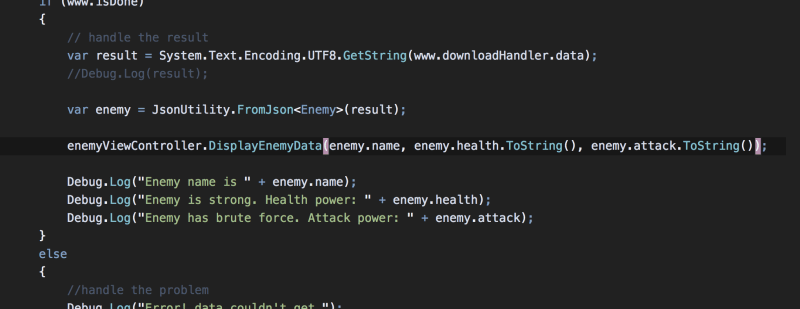
Now it's the part that parsing involves in. Open the ClientApiand after recieving data call the JsonUtility class for json boogie magic. Since its a generic method we have to specify a type as well, in this case Enemy.
var enemy = JsonUtility.FromJson<Enemy>(result);
In unity, you have to be careful when working with json, because JsonUtility class has some limitations. Our json schema will work because JsonUtility class created to work this way. I'll explain more about next parts how you should structure your schema when working with this class. There are some other solutions available to parse json in unity as well, but my intention is making this system with no third party extension or library, only vanilla unity.
Further reading on JsonUtility
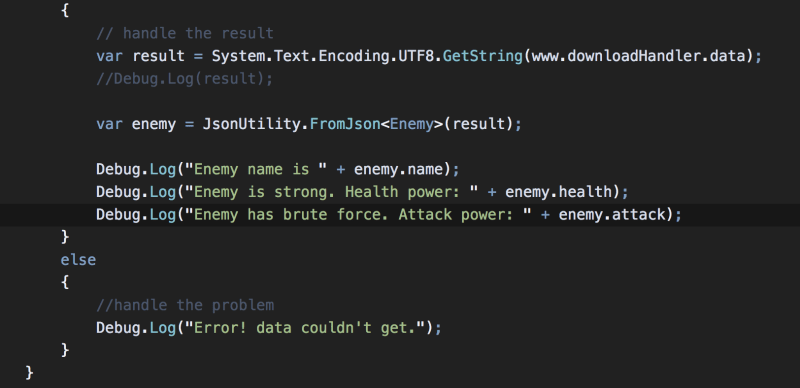
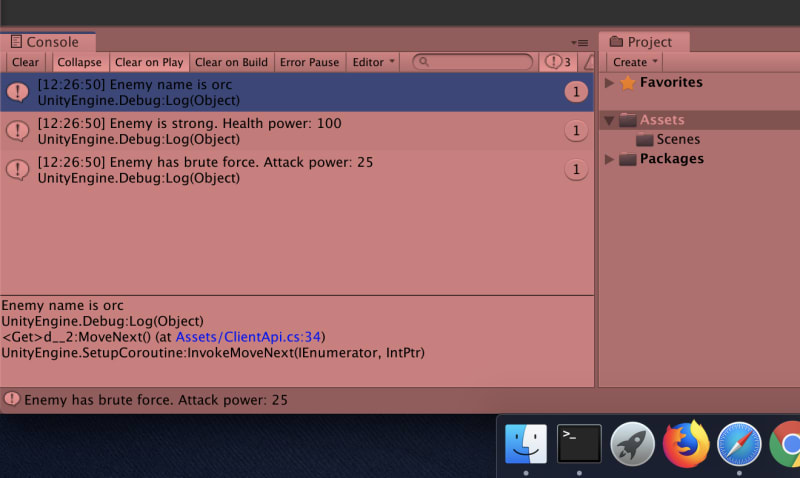
Next, test our inctance of Enemy. Place some Debug.Log() to print in console.
Our enemy friend seems working and it's time to add some visual element in our scene.
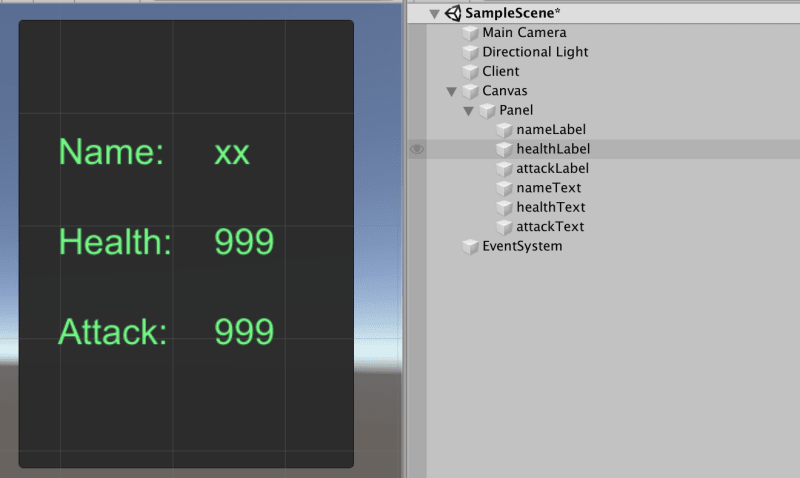
Create some text elements in hierarchy.
I've added a Panel to make it look good. Now these elemnts needs to be controlled when data parsed.
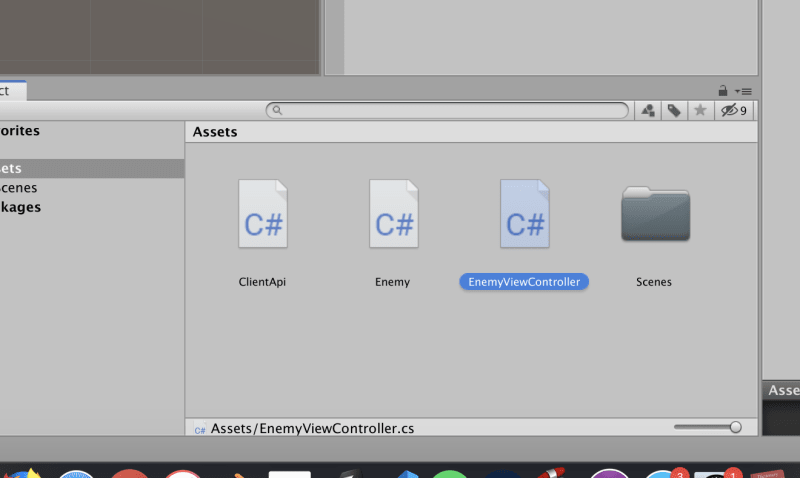
Create a new c# script in project folder and name it EnemyViewController.
Open up the EnemyViewController script and we'll define those Text elements as references to our controller.
Since ui components is in another namespace, put a new using statement.
using UnityEngine.UI;
Next define our enemy text elements.
using System.Collections;
using System.Collections.Generic;
using UnityEngine;
using UnityEngine.UI;

public class EnemyViewController : MonoBehaviour
{
    public Text nameText;
    public Text healthText;
    public Text attackText;
}
I'll make a method to pass enemy data and update our text elements.
using System.Collections;
using System.Collections.Generic;
using UnityEngine;
using UnityEngine.UI;

public class EnemyViewController : MonoBehaviour
{
    public Text nameText;
    public Text healthText;
    public Text attackText;

    public void DisplayEnemyData(string name, string health, string attack)
    {
        nameText.text = name;
        healthText.text = health;
        attackText.text = attack;
    }
}
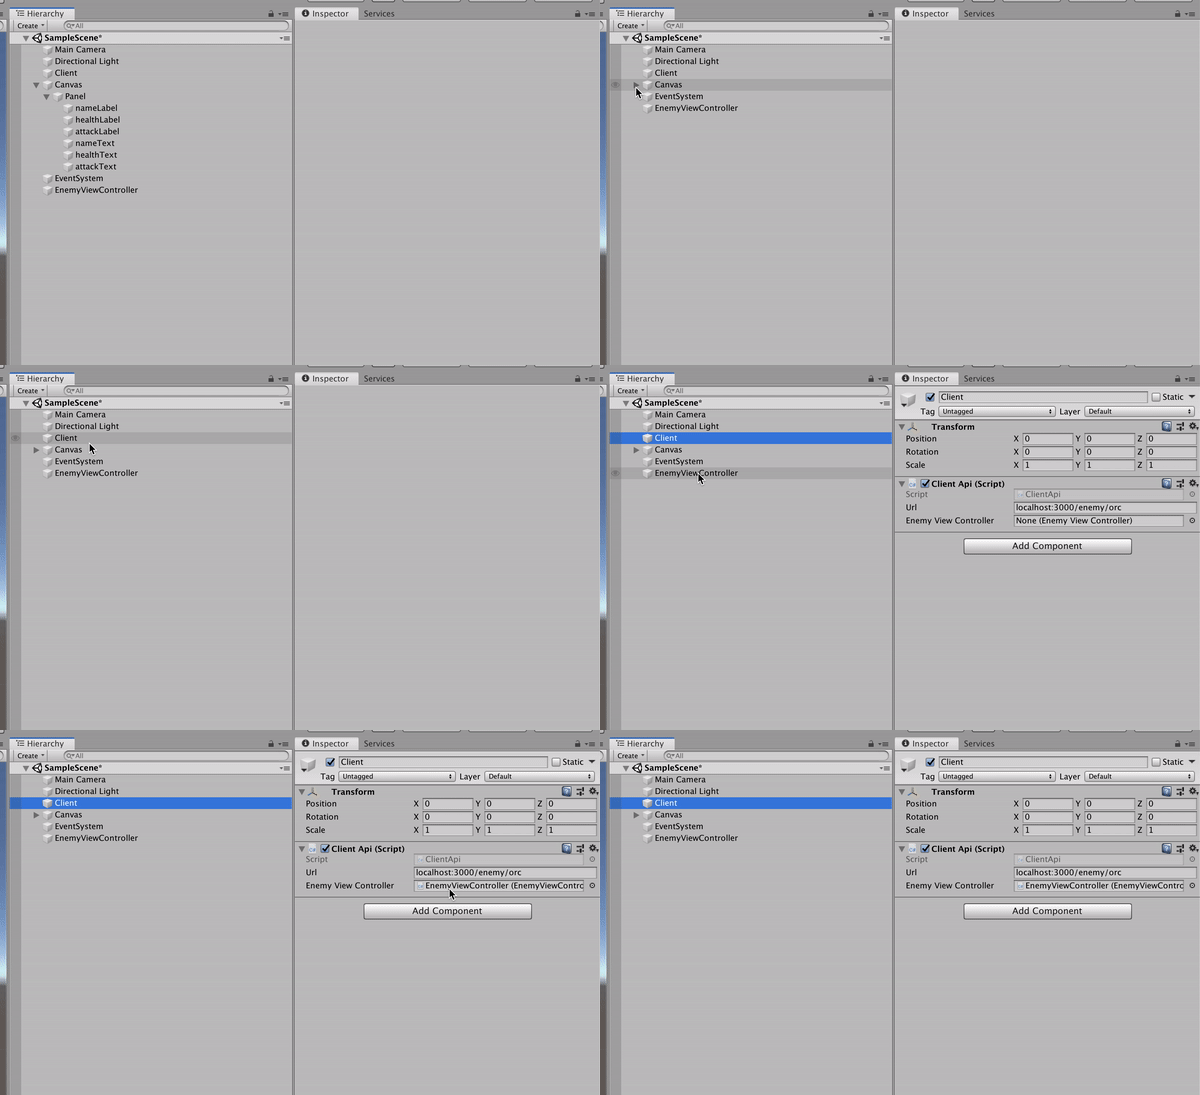
Go back to ClientApi and we'll use our controller. First define an instance of it.
using System.Collections;
using System.Collections.Generic;
using UnityEngine;
using UnityEngine.Networking;

public class ClientApi : MonoBehaviour
{
    public string url;
    public EnemyViewController enemyViewController;

    void Start()
    {
        StartCoroutine(Get(url));
    }

    public IEnumerator Get(string url)
    {
        using(UnityWebRequest www = UnityWebRequest.Get(url)){
            yield return www.SendWebRequest();

            if (www.isNetworkError)
            {
                Debug.Log(www.error);
            }
            else
            {
                if (www.isDone)
                {
                    // handle the result
                    var result = System.Text.Encoding.UTF8.GetString(www.downloadHandler.data);
                    //Debug.Log(result);

                    var enemy = JsonUtility.FromJson<Enemy>(result);

                    enemyViewController.DisplayEnemyData(enemy.name, enemy.health.ToString(), enemy.attack.ToString());

                    //Debug.Log("Enemy name is " + enemy.name);
                    //Debug.Log("Enemy is strong. Health power: " + enemy.health);
                    //Debug.Log("Enemy has brute force. Attack power: " + enemy.attack);
                }
                else
                {
                    //handle the problem
                    Debug.Log("Error! data couldn't get.");
                }
            }
        }

    }
}
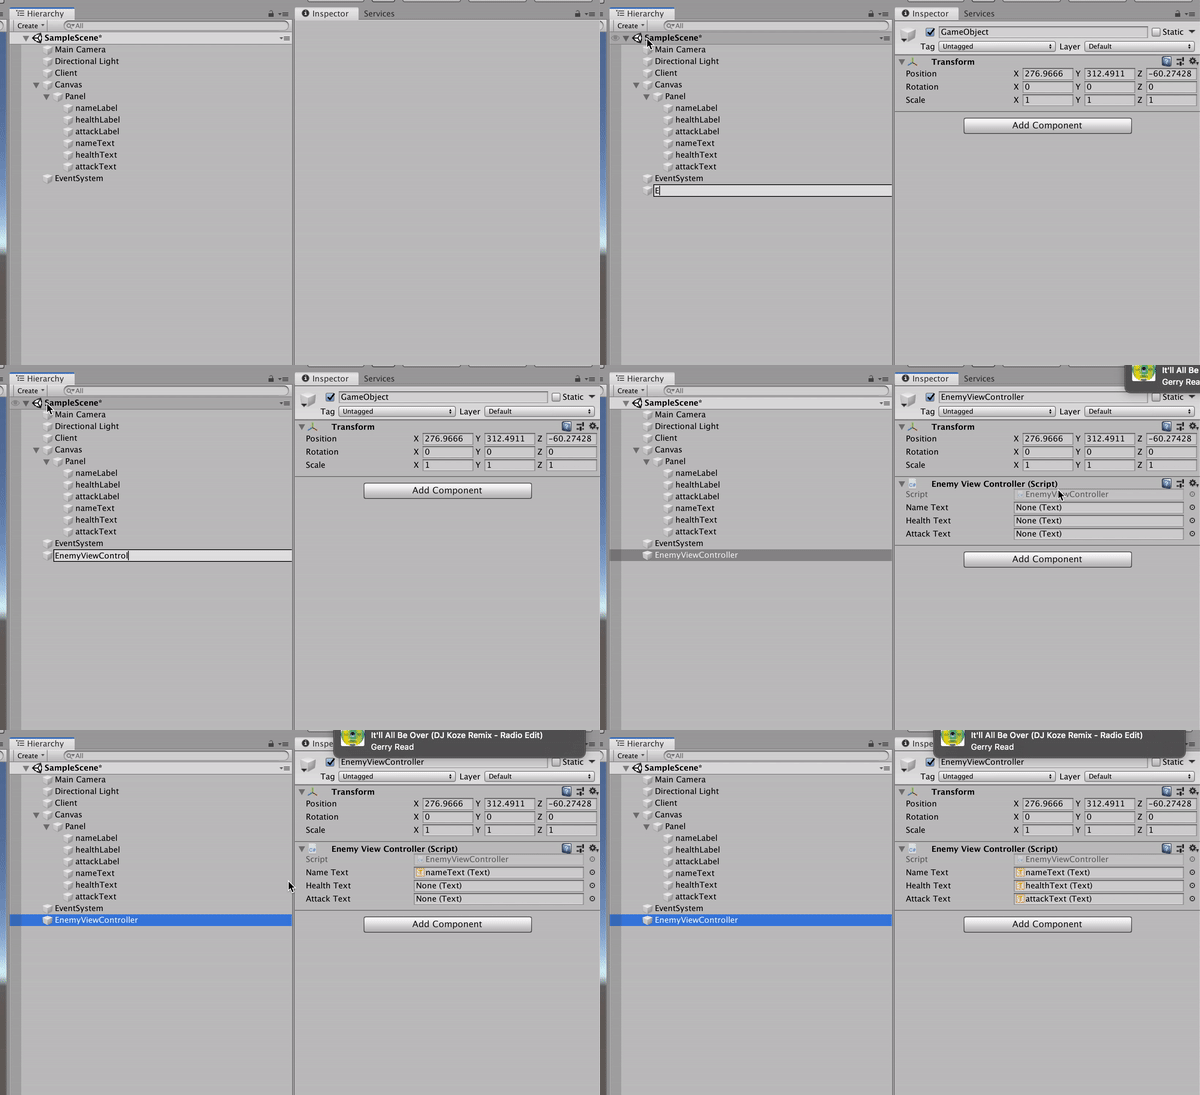
Switch back to editor. Create an Empty GameObject and place our EnemyViewController. We have to assign variables that we have created as well.
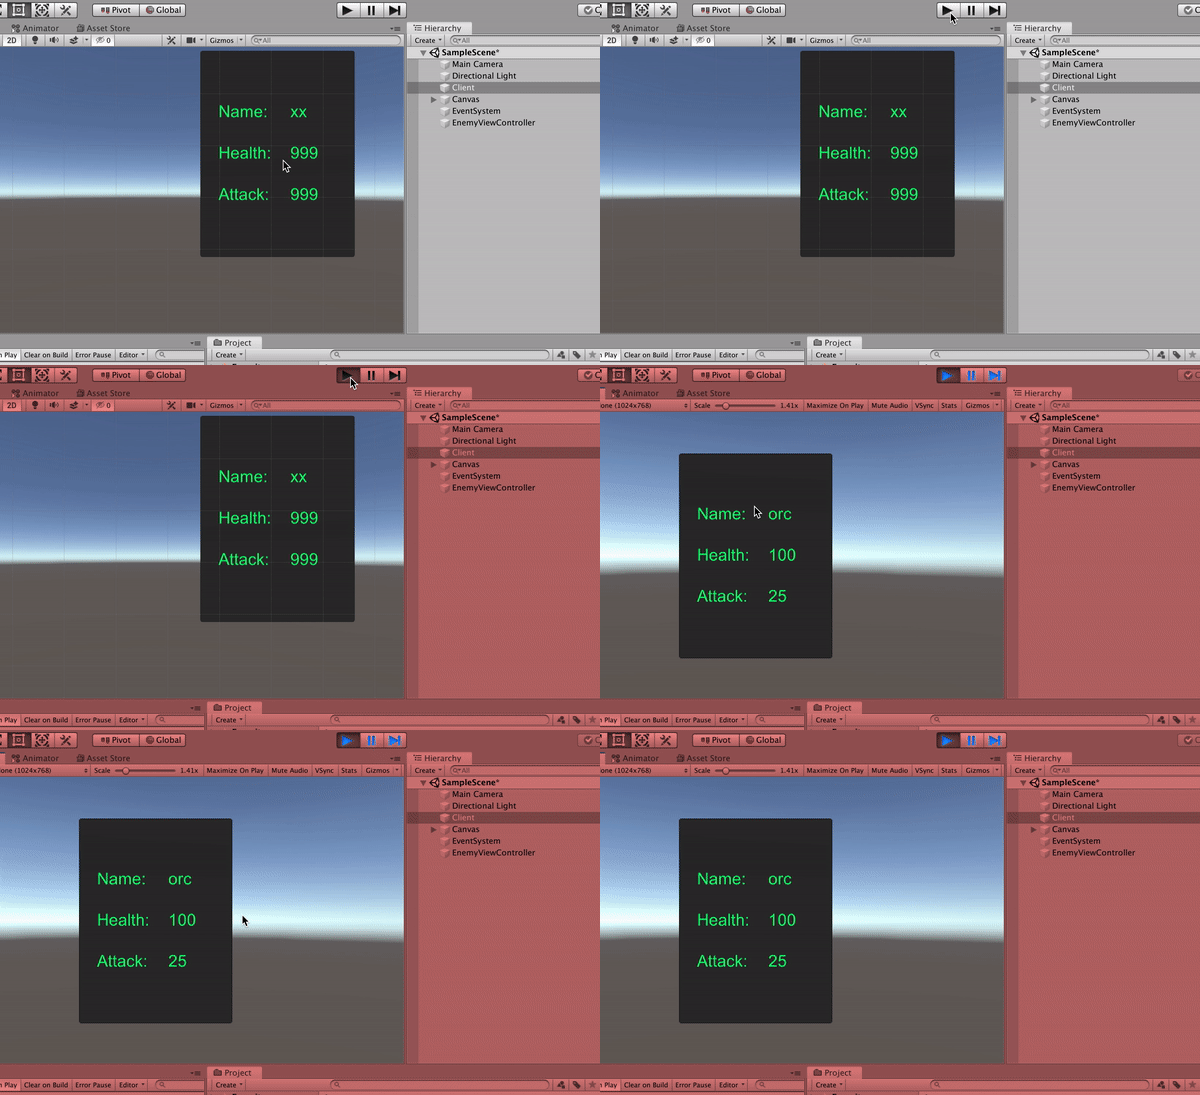
It's time to test! Hit the play to see the result!
Our ninja skills proved that we have accomplished connection and succesfully displayed the data in the scene.
Congrats!
Next part we will see how you could make a post request from our unity client to the our server.
Get the github project
Until next time, cheers!

Posted on September 8, 2019
Join Our Newsletter. No Spam, Only the good stuff.
Sign up to receive the latest update from our blog.


