How to Contribute to Open Source Project - Your First GitHub PR

Adela
Posted on April 26, 2022
If you are a tech beginner / non-tech person and wonder how to contribute to an open-source project, this is THE article for you. I'll take Bytebase's open-sourced documentation as an example to guide you through the whole process.
Bytebase is an open-source database tool for DBAs and developers; it's the GitLab for database schema lifecycle management. It open-sourced its official documentation since v1.0.2.
Let's get started; make sure you install Git and have a GitHub account. If you have any questions about git, ask google or https://git-scm.com/docs.
Preparation
Visit https://github.com/bytebase/bytebase.com; as we can see, actually Bytebase open-sourced the whole website, but we only pay attention to docs/.

Under your project folder, do git clone to download the whole repository.

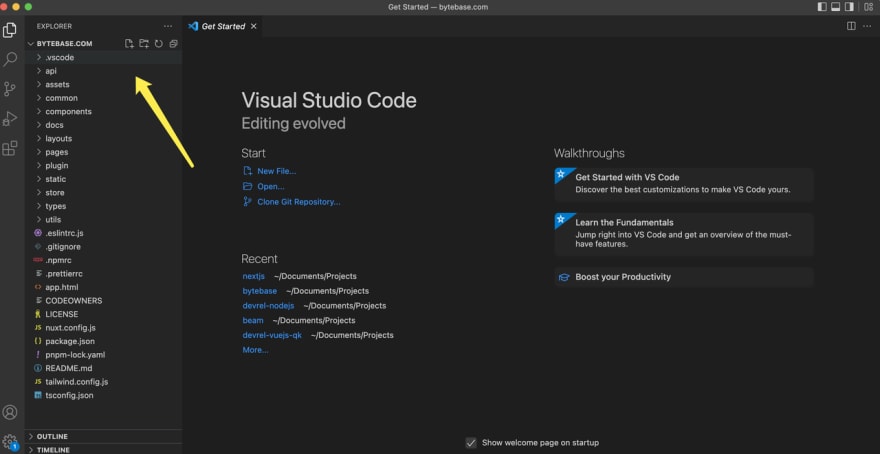
Yes, now we have the code, and here is the most popular editor code.visualstudio.com
- Open the folder from VSCode
Delete a file
Do the Delete
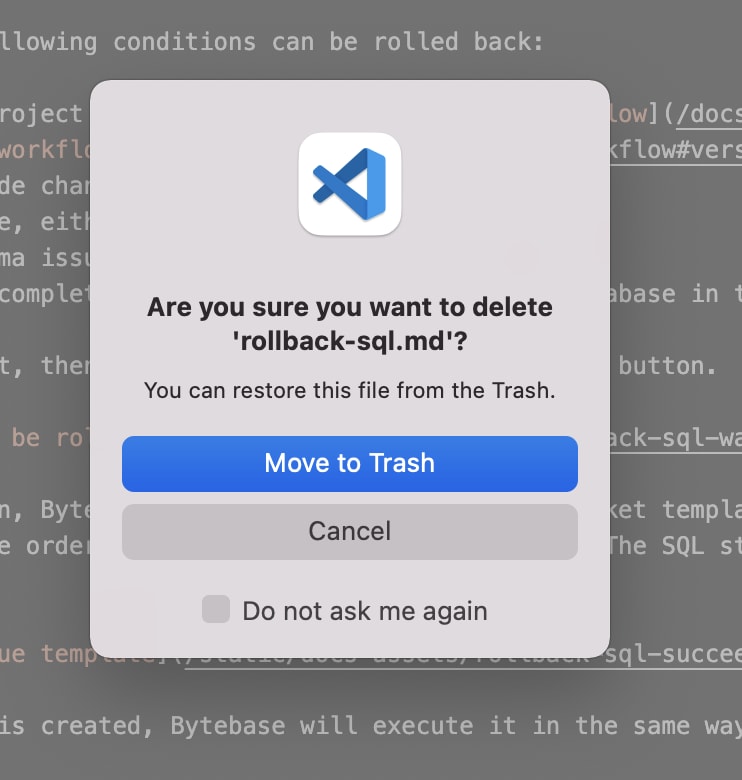
Our first example is to remove a page - Bytebase sunset a feature in v1.0.0, but the related file is still there.
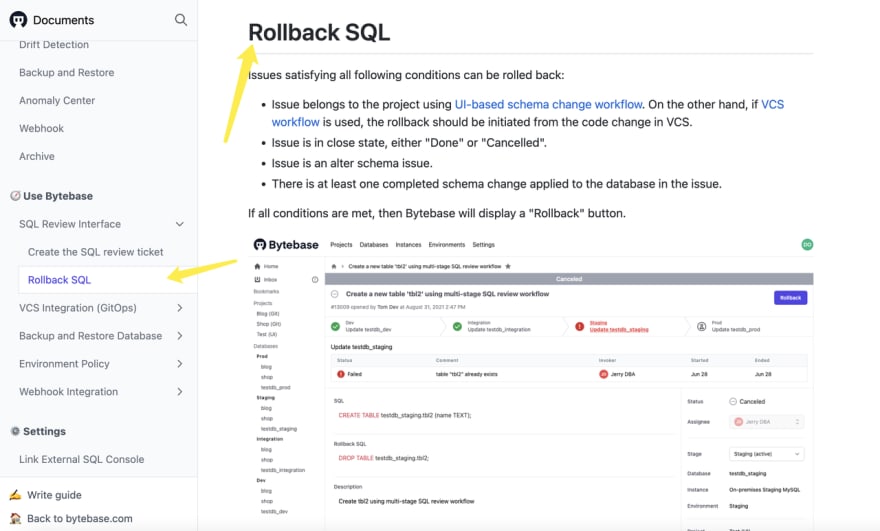
Within the editor, it's super straightforward - delete this file.

Commit and Push
- After deletion, we use Terminal to view the current status - the file is deleted, yes, that's right!
- Git commit with the message telling what this commit is for.
- The changes are committed, and that's not enough; we need to synchronize it to the remote branch so that others can see. And ... We encountered this!
- It's because we are now in the main branch. If we build our own code repository, it's OK to push directly to the main branch. But now we are trying to make changes to others' project. Let's get to the document guidance here. https://bytebase.com/docs/document-write-guide
Create a PR
- "Create a new PR" - how? First, we need to create a new branch to push our local copy to remote. If you are similar to me - not so familiar with the git command, google is always there for you.
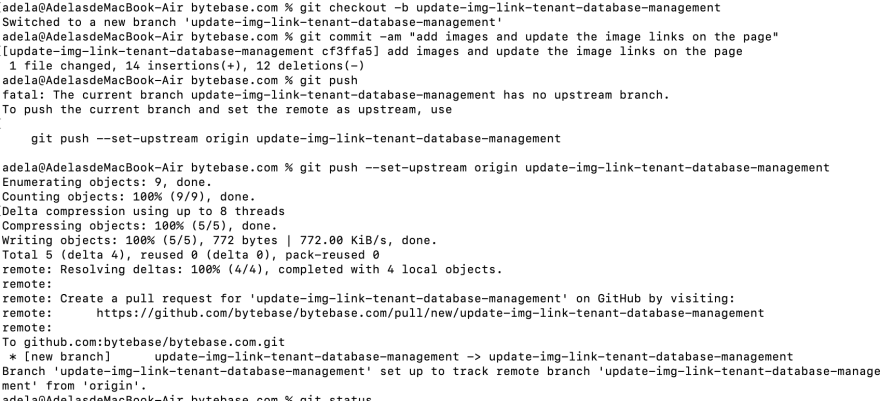
- We use the command "git checkout -b xxx" to create our branch
- Then push to remote
- Set the upstream and push to remote "git push --set-upstream origin remove-sql-rollback-page".
- Let's get back to GitHub; click the "Pull requests" tab
- We can see the push, but let's click "New pull request"
- Here we can see our branch, click!
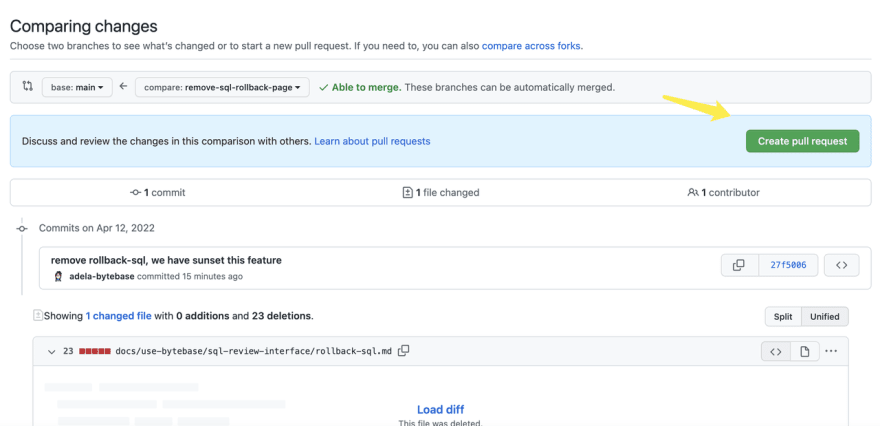
Here, you can make the comparison, but it's pure deletion for our case. Click "Create pull request"!
- Succeed!
Update a file
Do the Update
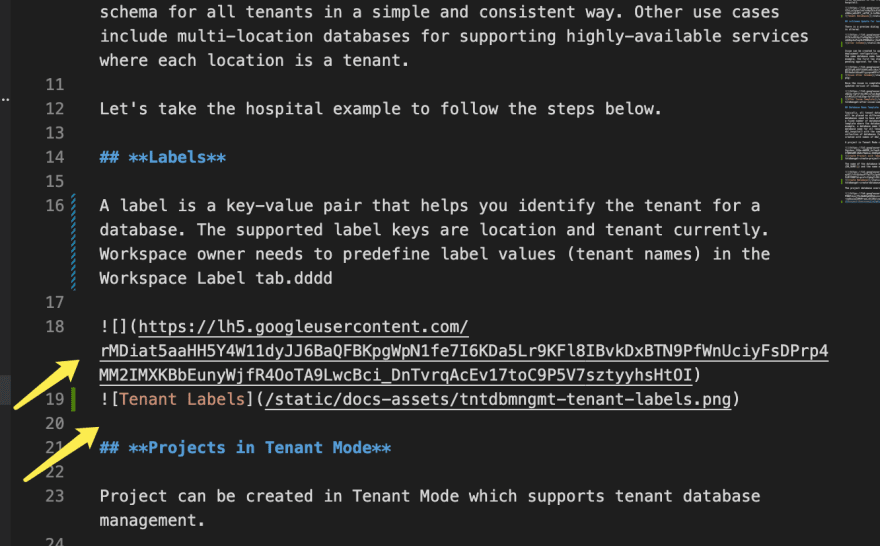
- Our second case is to update. When we copy images from google docs, it will have its self-generated link. What we need to do is to replace that with static/doc-assets/xxxx.png from the same repository.
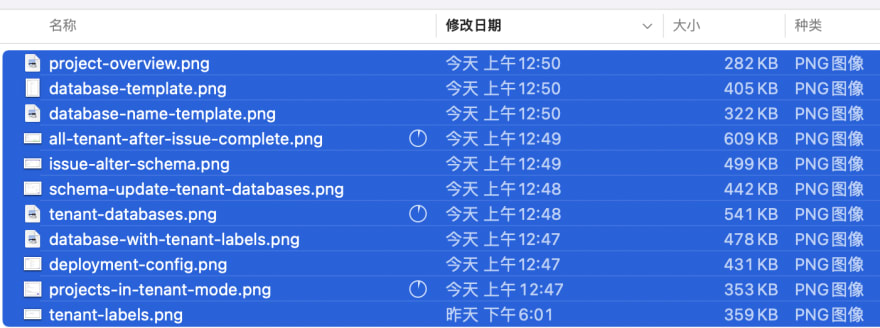
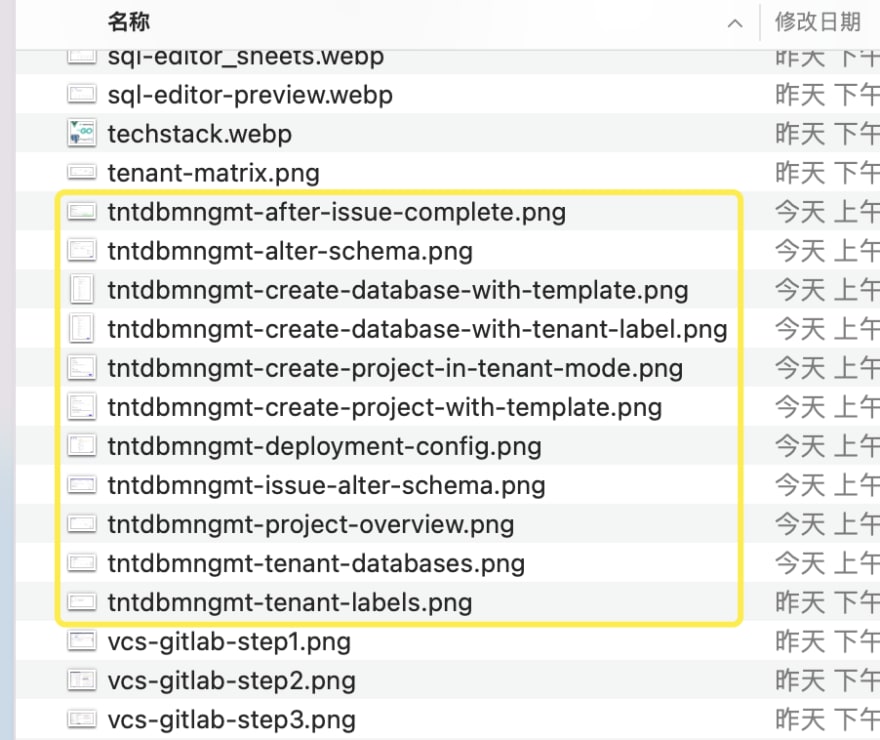
- Firstly, I download all the related images and move these to static/docs-assets/
Then update the corresponding file. I keep the old files there to ensure the new images look the same.
- Do git status to view the status.
Preview Locally
- This time, we want to preview locally before committing. On https://github.com/bytebase/bytebase.com, you can find development instructions at the end of README.md
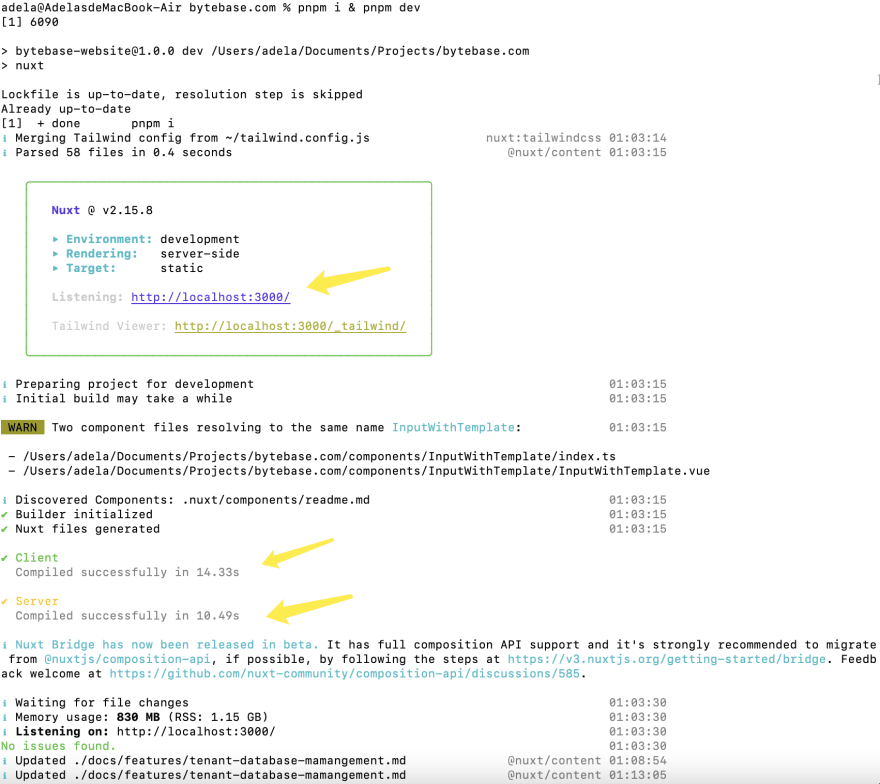
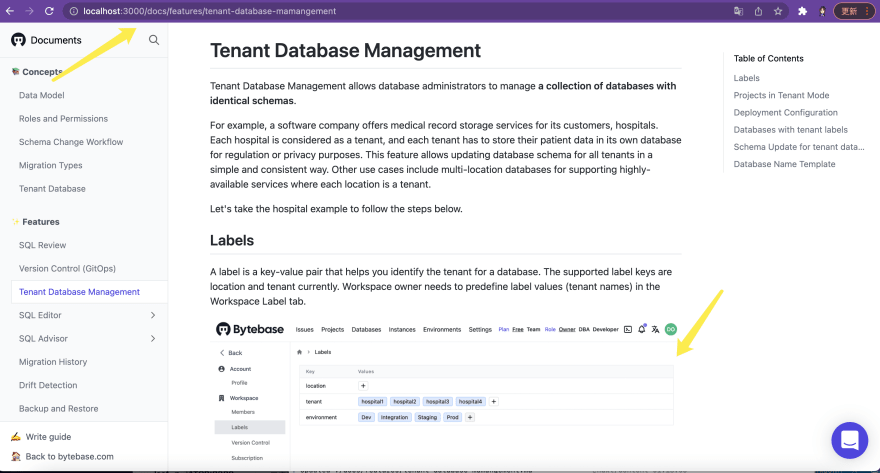
- We run "pnpm i & pnpm dev" and it compiles successfully. Now we can visit http://localhost:3000 and preview the whole site.
New PR
- Everything seems fine to me, now let's create another branch and then a new PR
- The link is here: Update img link tenant database management by adela-bytebase · Pull Request #82 · bytebase/bytebase. ### The Preview
- How handy this is!!! Bytebase integrates a render bot to generate a PR preview, which means others can follow this link to preview my PR. No need to download and run locally!
Change Requests
- Then, I got my first "change request".
- Then, the second.
- Yes! I forgot to push all the images ... And another commit and push.
- Remove the letters "dddd".
- Then, I need to re-request reviews from them again.
LGTM and Merge
- If you look at this https://github.com/bytebase/bytebase.com/pull/82, you'll find that I have other mistakes. Thanks to my super careful reviewers!!! At last, I see "LGTM"!
- And I can merge!!!!

Posted on April 26, 2022
Join Our Newsletter. No Spam, Only the good stuff.
Sign up to receive the latest update from our blog.

