A bit about a bash script to use macOS' Wi-Fi interface to log another Internet-enabled device into a captive portal

Alexandre Harano
Posted on October 29, 2017
Originally published in my Medium account in this link.
Hello there.
As suggested by Felipe Brigatto, I am writing a post to share about a small script which I wrote.
In corporate environments, mainly in hotels, there is a system which is used to authenticate users and devices before letting them use Internet (usually with restrictions) called captive portal. This system let the device (a smartphone, a tablet, a laptop, an e-book, a gaming console or another Internet-enabled device) get an IP address, but initially the device doesn't have access to Internet until the user register an account and log into the portal using the selected credentials. Unfortunately, not all Internet-enabled devices provides useful interfaces to let the user log into captive portal using only the device itself, such as a Chromecast. So, one way to log such devices into captive portals is:
- Clone the Internet-enabled device's MAC address into a working network interface;
- Log into the target captive portal pretending to be the Internet-enabled device using the working network interface;
- Restore the original MAC address to the working network interface; and
- Use the Internet-enabled device in the captive portal network under its restrictions as the device had already being authenticated.
The aforementioned listing is a generic guide to log a device into a captive portal using a working device which doesn’t have any problems logging into the target captive portal.
The script I wrote is customized to Mac OS X / OS X / macOS as it uses networksetup. But it should not be hard to adapt it for other OS as long as the user knows their OS' network binaries to handle Wi-Fi interfaces. I like to write bash scripts and for this one I followed some tips from Julia Evans's Twitter account such as wonderful ShellCheck. Come on! Linters are great!
Use the following commands into the Terminal to download and setup the script as an executable script:
$ # Download captive.sh
$ curl https://gist.githubusercontent.com/ayharano/3ead655ca67192f8fda5d99deaec1d60/raw/ > ~/captive.sh
$ # Set captive.sh as an executable script
$ chmod +x ~/captive.sh
Before using the script referred in this post, read the following to check what exactly the script is and how it compares to what was written up to this point.
Sometimes, I am a bit overzealous when treating errors. For this specific script, located at my GitHub account's gists, it only proceeds if every needed binary is found previously and, because of set -eu, it will exit before its successful completion if either an error occurs or a variable is unset (e.g. empty string).
Comparing the aforementioned listing with the script,
- is covered by
# Applying MAC address changesection; - is covered by
# Waiting for user to logging into captive portal using requested MAC addresssection; - is covered by
# Applying MAC address restoresection; - is outside the script's scope, given that it is the use of the Internet-enabled device after successfully running the script.
Notice that step 2 requires user's interaction, given that they need to use macOS to provide the captive portal credentials and log into the system.
If you try to run the script parameter-less, it will yield the following result:
$ # Run captive.sh without parameters
$ ~/captive.sh
usage: /Users/YOUR_USER/captive.sh wifi_interface_name other_mac_address
There are two parameters needed to run the script wifi_interface_name
and other_mac_address.
For the first parameter of the script, wifi_interface_name, an easy approach to retrieve the needed value is to hold down Option key while left-clicking the Wi-Fi icon located in status bar.
The following image provides an example: the first line (Interface Name) in the listing gives the needed value for the script, which is en0.
For the second parameter of the script, other_mac_address, I will not provide information in this post about how to retrieve a device’s MAC address nor will explain what it comes to be a MAC address. DuckDuckGo, Google and other search engines are your friends to find about it. The accepted format for the script is xx:xx:xx:xx:xx:xx, where x is a hexadecimal value, which means that it can be one of 0, 1, 2, 3, 4, 5, 6, 7, 8, 9, A, B, C, D, E, F, a, b, c, d, e or f. If the Internet-enabled device has a system menu, usually the MAC address information is in it.
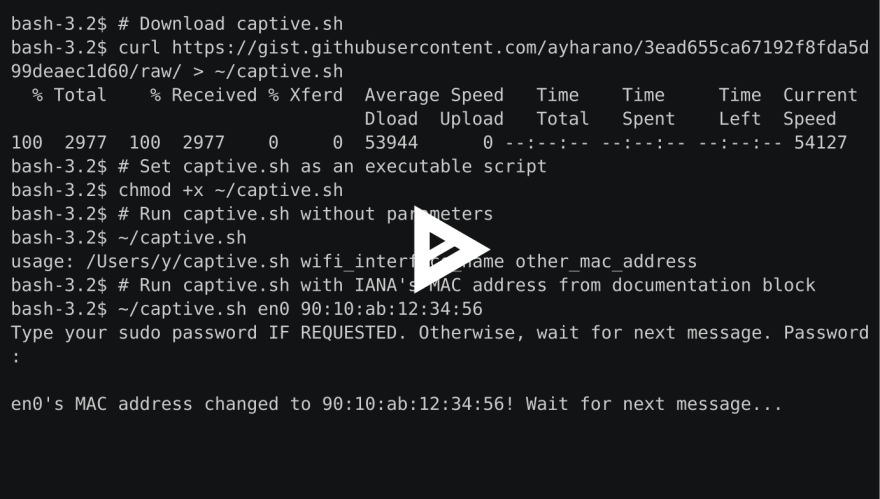
I recorded an asciinema using IANA's MAC address from documentation block for example purposes. I used the following parameters in the example (DO NOT USE IT IN YOUR ENVIRONMENT):
$ # Run captive.sh with IANA's MAC address from documentation block
$ ~/captive.sh en0 90:10:ab:12:34:56
If the embedded version of the recorded asciinema isn't working, here's a link to the original URL.
For those who were wishing a less technical post to cover the bypass of a captive portal for an Internet-enabled device using this technique, you may comment and I'll try to answer as soon as possible. Hope that this post helps you somehow!

Posted on October 29, 2017
Join Our Newsletter. No Spam, Only the good stuff.
Sign up to receive the latest update from our blog.

