Avery Berkowitz
Posted on November 18, 2019
Getting started with React is pretty easy. Install it, run create-react-app and poof! You have an app -- well, the client, at least. Afterwards, it's up to you, the developer, to choose a file structure, add routing, build out a server, configure the webpack, choose a styling library -- the list goes on. This makes sense - React is a Javascript library. For those looking for a bit more direction, Next.js to the rescue. This post will explain why Next.js has become a leading React framework and provide a step-by-step guide to set up a basic app.
What is Next.js?
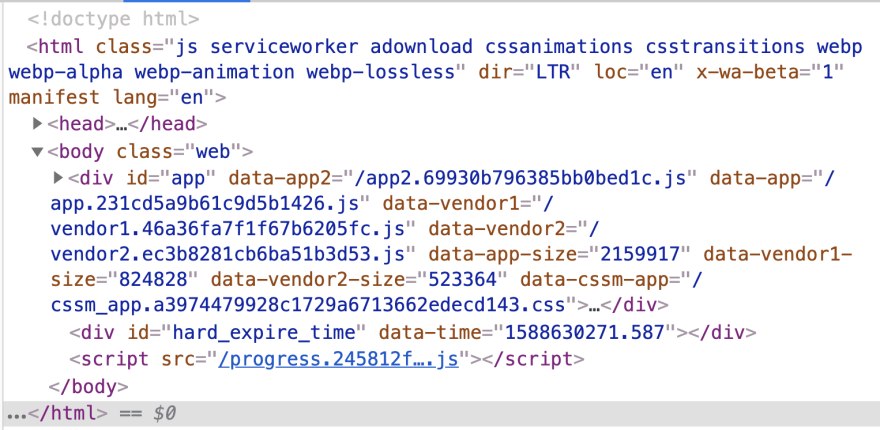
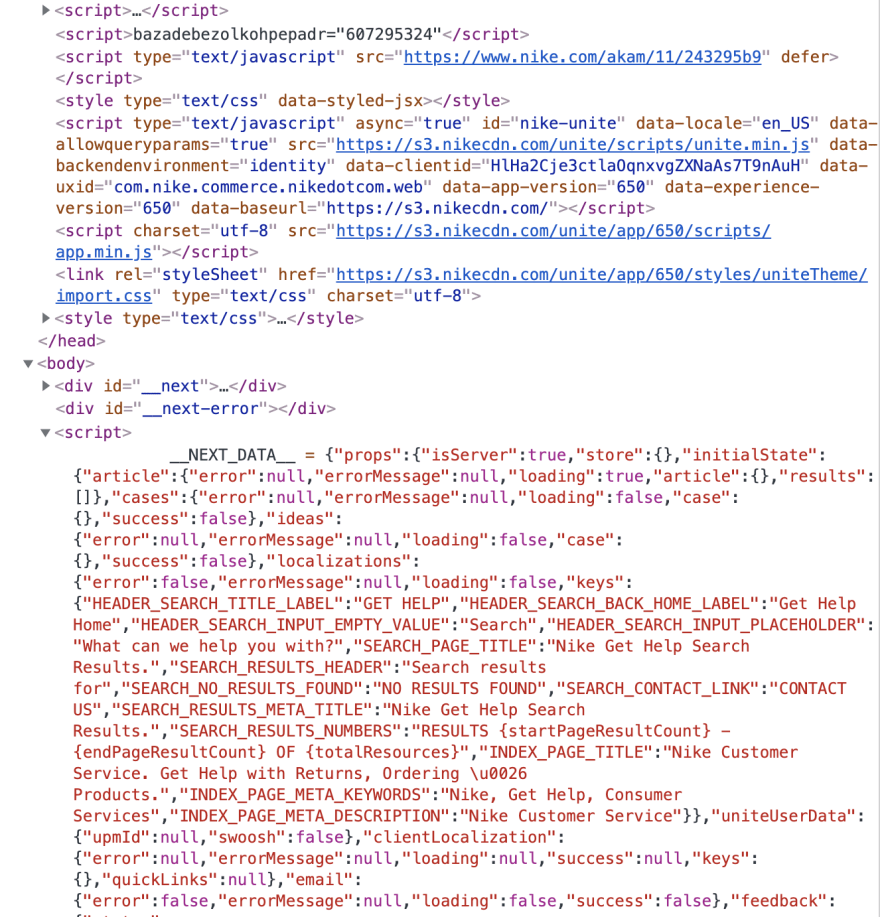
Next.js is a server-side rendering React framework. This means that the app code is compiled on the server-side and sent to the client only once it has fully rendered. The difference isn't very noticeable in a web browser unless we look under the hood. Let's use the google chrome tools to inspect a normal React app and contrast it with a Next app.
React
whatsapp web

This is all you get for the most popular message app in the world! The rest of the application will be rendered by the browser depending on user input and interaction.
Next.js
Nike


...and there is much more that I didn't screenshot as I think I have made my point -- there is way more when we inspect a Next.js app. So, you are probably wondering why on earth we would ever want that? Let's talk about that now:
Why Next.js?
Search Engine Optimization (SEO). In order for our websites/apps to be found on the internet, it is important to make them easy to find by common search engines like google. Without getting into too much boring detail about SEO, just know that one of the main factors is including keywords in your app's HTML so it can be easily found by bots and web-scrapers. In the whatsapp web HTML above, you can see that there isn't much to go off of. Clearly, we see the opposite with the Nike code. Try and find the INDEX_PAGE_META_KEYWORDS near the bottom of the picture above. These are used to help identify this page as relevant in internet searches.
Next.js also makes some of the harder architecture decisions for you, particularly when setting up your file structure and routing. Routing, in particular, requires quite a bit of set-up including the installation of additional npm packages like react-router. Fortunately, Next.js comes with this capability out of the box, with far less code necessary for implementation. We will see this in action in the next section.
Getting started with Next.js
In this next section, we will be building a basic Hello World application with a few different routes to demonstrate some of the decisions that Next.js makes for you, the developer.
- Make a project directory
- Create a package.json
$ mkdir next-demo
$ cd next-demo
$ npm init -y
-y flag automatically runs npm init, skipping all the questions you would normally be asked during setup. It is totally optional.
- Install
react,react-dom, andnext
$ npm install --save react react-dom next
In contrast to create-react-app, you still have a little work to do if you want to actually see anything in the browser. If you try to start up your app now, you will get an error message. .
We need to add a few more folders and files for us to be able to see our app in action.
- Create a pages directory and index.js file
$ mkdir pages
$ touch pages/index.js
Next.js automatically looks inside the pages directory for the index.js file when rendering. It is a requirement for you to set up your app. Let's add a simple React component to our index.js file in order for us to be able to actually see something when we run our app in our local environment.
- Add a React component to
index.js
const App = () => (
    <div>
        <h1>Hello World</h1>
    </div>
);

export default App;
- Add a start script to
package.json- add
"start": "next"inside of scripts inpackage.json. your scripts should look something like this:
- add
Now, start up your app with npm start! It will take a moment for your app to compile, but you should see a link display in your terminal for localhost:3000. Here's what you should see:

Cool! We have a working app! Without stopping your server, try changing the text for your <h1>. Notice how your app is automatically re-rendered upon saving. Pretty easy to set up, right?!
Basic routing
One of my big gripes with react is that setting up routing can be a bit of a pain. In order to do any routing at all in create-react-app, for example, we have to install a package like react-router. Next.js handles this for us as "routes" are created by simply naming our files within the pages directory. Our index.js file defaults as our / route. All others will be the exact same as the file name.
- Create a new route by creating
home.jswithin our pages directory:
$touch pages/home.js
- Add a basic functional component to
home.js:
const Home = () => (
    <div>
        <h1>Home</h1>
    </div>
);

export default Home;
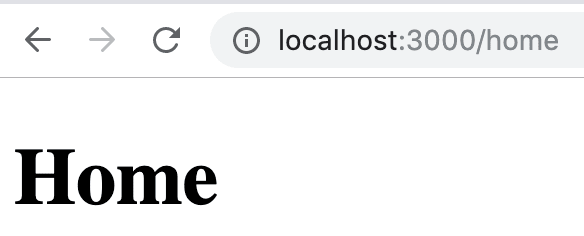
Now if we visit localhost:3000/home, we should see:

In order for us to link these two routes that we have created, we need to add a Link component to each of our pages. This will allow us to jump back and forth via client side routing, which is optimal for speed and creating single page applications (what React was made for)! This can be done by adding import Link from "next/link".
- Modify your
index.jsby adding a link to yourhome.jspage:
import Link from "next/link";

const App = () => (
    <div>
        <h1>Hello World</h1>
        <Link href="/home">
          <a>Home Page</a>
        </Link>
    </div>
);

export default App;
Notice that we add an href property to our Link component specifying the route we want. We also need to pass in a child component to Link. I used an <a> tag here but a button, div, or most other text-friendly tags would also work just fine.
- Update
home.jsby adding a route back to theindex.jspage:
import Link from "next/link";

const Home = () => (
    <div>
        <h1>Home</h1>
        <Link href="/">
          <div>Go back to index</div>
        </Link>
    </div>
);

export default Home;
Refresh your browser and you should now be able to jump back and forth from your index and home pages with ease!
Summing up
Getting started with Next.js is quite painless and fast. Routing can be quickly set up from the starter code but we have to be careful with our initial setup as folder structure is opinionated. To see more of what Next.js can do, I suggest checking out the docs. I don't say this often, but they really are well written!

Posted on November 18, 2019
Join Our Newsletter. No Spam, Only the good stuff.
Sign up to receive the latest update from our blog.


