I have to say, writing this is harder then I originally anticipated... But Okay I guess, don't want this to deter me from making the post and sharing my progress...
Continuing from the last post, we had set up a Code Red CMS ( Django App ) and successfully running the development server with
python manage.py runserver
view the web server in our web browser ( google Chrome for me ) at http://localhost:8000 or http://127.0.0.1:8000 give us this (local host is mapped out in the system as 127.0.0.1.
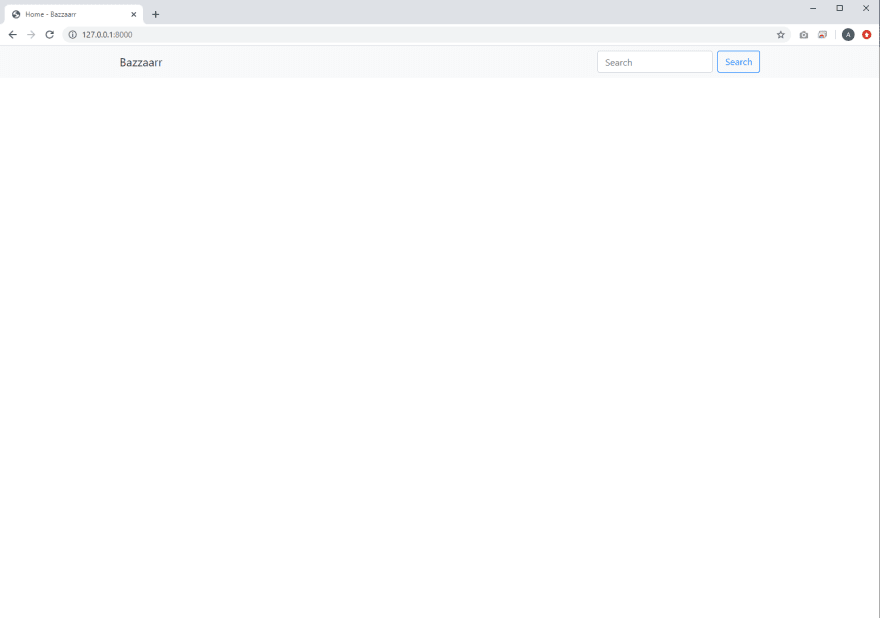
btw if you are seeing this and thought I dont wanna use the
http://localhost:8000 maybe cause you have some other webapp running using the port or the IP, you could actually specify a different IP and port using this command
python manage.py runserver <IP> <Port>
Change the IP or Port in <> to what ever private IP you want to use.. if possible use the same 127.0.0.1 but a different port.
Now that is out of the way, Let see what the admin site looks like... since there is not button as of yet to divert our request to the admin page... we need to manually type /admin in the browser
the full url is now
http://localhost:8000/admin
or
http://127.0.0.1:8000/admin
going forward, for viewing the site subdirectory, I would only type /subdirectory as a shorthand... use what ever you prefer as site...
since we havent log in yet, we will be prompted with this page
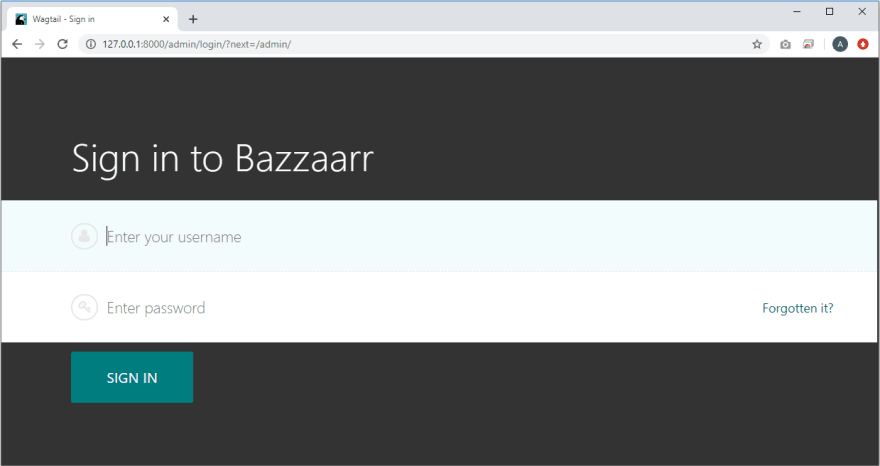
I just love how Code Red CMS add the Project Title into its login page
now... just sign in using the username and password you specify when creating the super user

I personally think wagtail admin page is polish and beautiful, simple but allow for so much room for customization.
For now I will use the current Database (SQLite3) that comes build in with Django but later on in the build I'll change to PostgreSQL.
Lets talk about what a E-commerce site, I personally love Saleor but due to some time constrain and also the integration with Wagtail CMS, I think I prefer to use
Oscar... There is a module for Integration with wagtail and Oscar called wait for it Django-Oscar-Wagtail.
Well to be honest I find it hard to understand the point of having a read doc page that redirect you to the github page
Wagtail integration for Oscar Commerce (or Oscar Commerce integration for Wagtail?)
Django Oscar Wagtail


This project integrates the Wagtail CMS with Django Oscar for eCommerce. It
adds the following features:
- each Oscar category page can now be managed by the Wagtail CMS
- it is possible to add product lists to wagtail pages
Installation
Presuming you have installed Django-Oscar and Wagtail into your Django project.
First install django-oscar-wagtail via PIP:
pip install django-oscar-wagtail
And add oscar_wagtail to your settings as follows:
INSTALLED_APPS = [
    # ... your other apps
    'oscar_wagtail'
]
Add the URLs to urls.py:
import oscar_wagtail.urls
urlpatterns += [
    url(r'^api/oscar_wagtail/', include(oscar_wagtail.urls)),
]
Fork the catalogue app as described in the oscar documentation. Then instead of
using the AbstractCategory from Oscar use the one from this project as follows:
from oscar_wagtail.abstract_models import AbstractCategory
class Category(AbstractCategory):
    pass

from oscar.apps.catalogue.
…
Anyway enough with my pet peeve, lets go down to business...
ouh wait... I still don't understand how this work even when I read the whole read me page... Thankfully there is this github page that hand holding you every step of the way .... Oscar-Wagtail demo <--- Click this for the step by step.
A Django recipe for integrating Oscar E-commerce into a Wagtail CMS application.
Oscar Wagtail demo project
A Django recipe for integrating Oscar E-commerce into a Wagtail CMS application.
We do not recommend using this project to start your own site. This recipe is only to provide some examples of implementing common features, it is not an exemplar of Django, Oscar or Wagtail best practice.
If you're reasonably new to Python/Django, we suggest you run this project on a Virtual Machine using Vagrant, which helps resolve common software dependency issues. However instructions to start this project without Vagrant follow below.
Setup with Vagrant
Dependencies
Installation
Run the following commands:
git clone https://github.com/LUKKIEN/oscar-wagtail-demo.git
cd oscar-wagtail-demo
vagrant up
vagrant ssh
  (then, within the SSH session:)
./manage.py runserver 0.0.0.0:8000
The demo site will now be accessible at http://localhost:8000/, the Wagtail admin interface at http://localhost:8000/admin/ and the Oscar dashboard interface at http://localhost:8000/dashboard/. Log into them with the credentials admin / changeme…
I guess now I will show you how to add the step by step method to install oscar and get oscar-wagtail to talk nicely with other.
from the command prompt, type
pipenv install django-oscar

wait for it to install
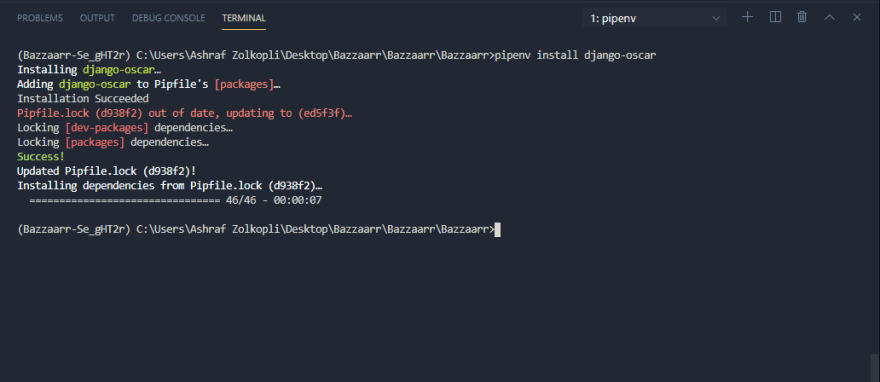
and now we can install django-oscar-wagtail
pipenv install django-oscar-wagtail

wait for it to install
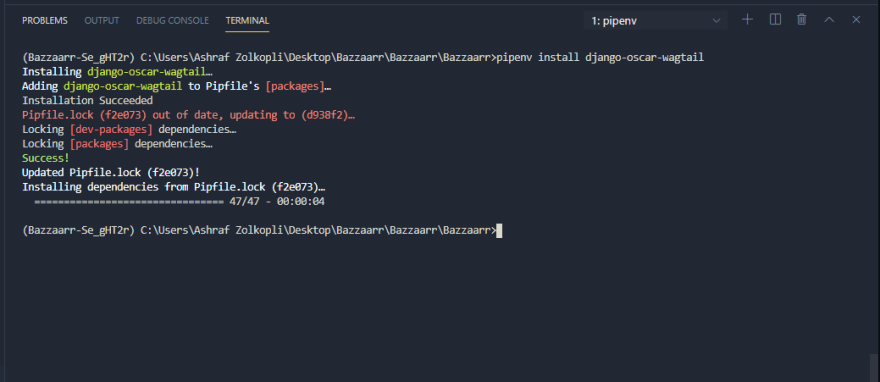
in case you are wondering how to clear your terminal...
for windows type
Now following oscar-wagtail documentation,
add 'oscar_wagtail', in your installed app in your base.py file
INSTALLED_APPS = [
    # ... your other apps
    'oscar_wagtail',
]
before
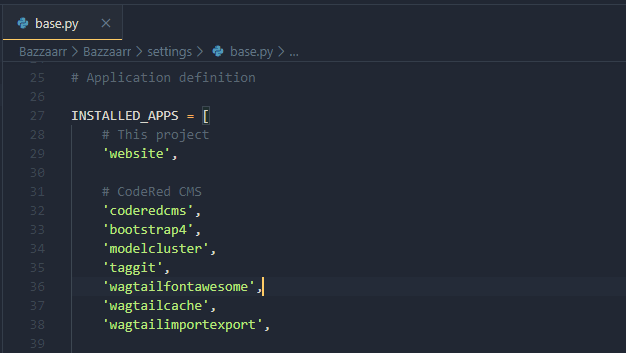
after

Add the URLs to urls.py:
import oscar_wagtail.urls
from django.conf.urls import url

urlpatterns += [
    url(r'^api/oscar_wagtail/', include(oscar_wagtail.urls)),
]
before
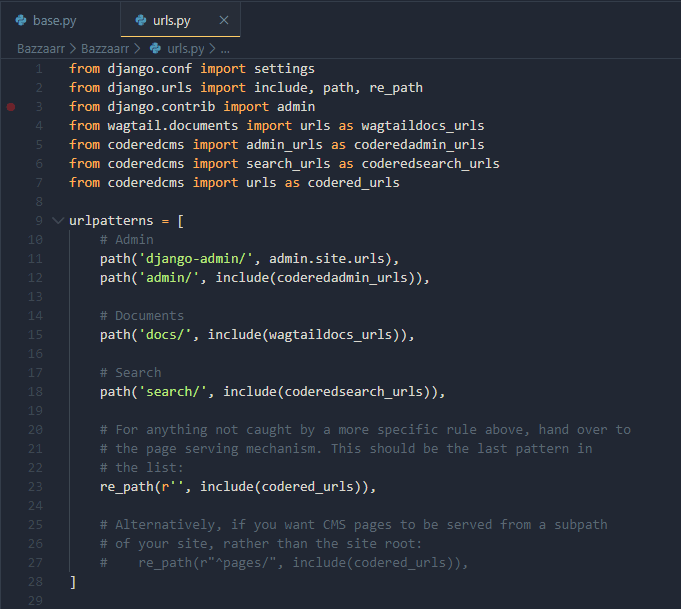
after
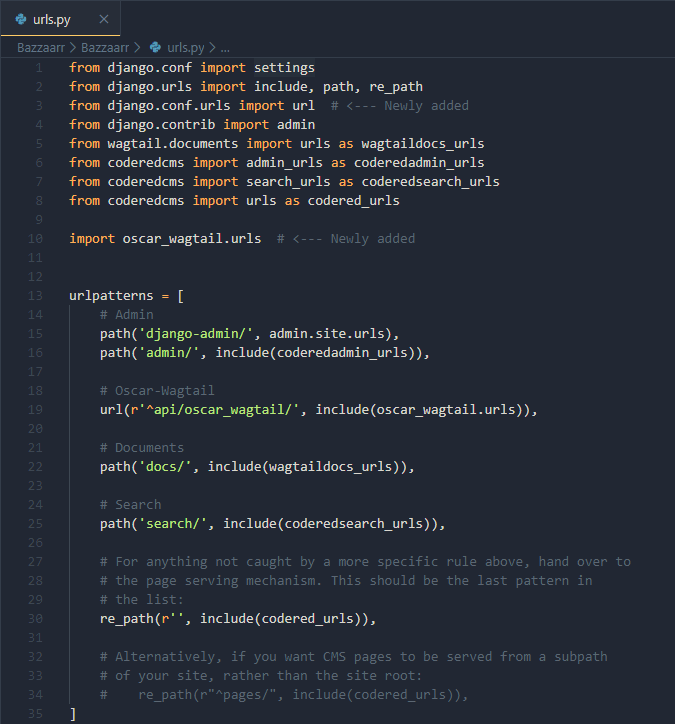
Now we need to fork the Oscar App following this page Fork Oscar App
so first make a directory for the forked app...
I think Ill name it Oscar app
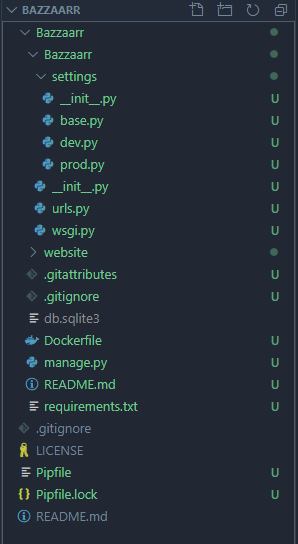
after
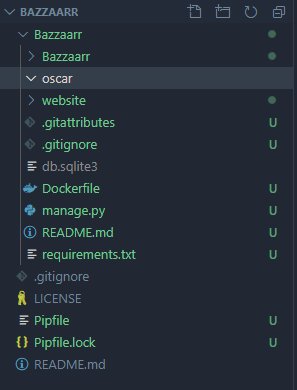
now i need to create a file in the folder name init.py
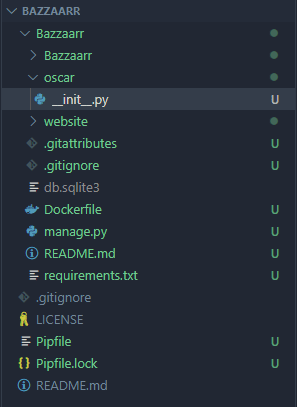
now we can start forking the oscar app using the command python manage.py oscar_fork_app Oscar
python manage.py oscar_fork_app order oscar

it seem I hit a snag... Continue tomorrow then... Its almost 2 am now, I been writing this since 11... Im basically almost doing a live coding... hahahaha

to be continue


