ashrafZolkopli
Posted on March 14, 2021
From the last post, we have now already able to run the Django Dev Server.
Usually new Django dev will start customizing away Django. However, based on my experience I notice that there are things that is better that you configure early even before you run the first migrate command that will help you in the long run.
I think the most important this you need to set up is the Django custom user. Its one of those caveat that unless a project is so well define that you think this will never happen, will help you later on... and even then I think you should still get this part out of the way.
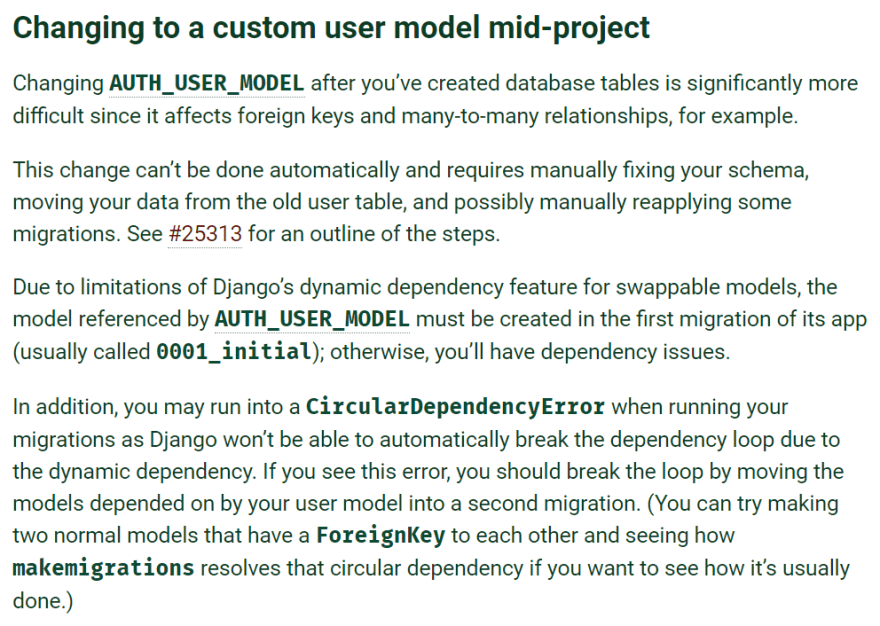
just to share the screen shot of why this is needed
Django: Changing Custom User Model Mid Project
now since even Django gave a fair warning why not just do this simple configuration change to help up later on when we decide to add new requirement to the user model..
first we need to make our own User app. This is so we can make the nesseccery changes.
for reference: Django Custom User Model
in your terminal type
python manage.py startapp User
now if you see in your Explorer tab, there's a new folder name User with the various starter file needed for app to work.
now open file
User > models.py
the initial state of model.py file are as below
now what we need is are as below
from django.contrib.auth.models import AbstractUser
from django.db import models

# Create your models here.

class User(AbstractUser):
    pass
this command means that we are currently using the Django build in User model but we are trying to extend from it. As of right now since we are not making any changes to the Base User Model, lets just put pass so python won't throw any error at us.
now open file
User > Admin.py
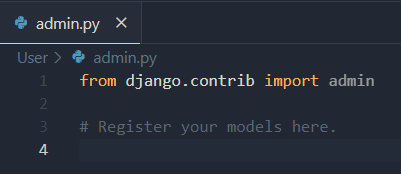
change the admin file as below
from django.contrib import admin
from django.contrib.auth.admin import UserAdmin
from .models import User

# Register your models here.
admin.site.register(User, UserAdmin)
Adding this will allow use to use the User app in the admin page of Django.
Now since we wanted to change the Django to point to our new User model, we need to tell Django which user model we going to use...
To make that changes we now need to open file
ToDo > settings.py
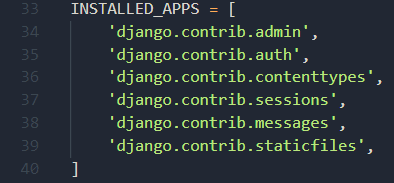
since its too long to screen shot... find in your settings.py file a list name INSTALLED_APPS
in your installed app, add
INSTALLED_APPS = [
    'django.contrib.admin',
    'django.contrib.auth',
    'django.contrib.contenttypes',
    'django.contrib.sessions',
    'django.contrib.messages',
    'django.contrib.staticfiles',

    'User', # <-- newly added
]
adding the User inside INSTALLED_APP means we are registering User as one of the app used in our project.
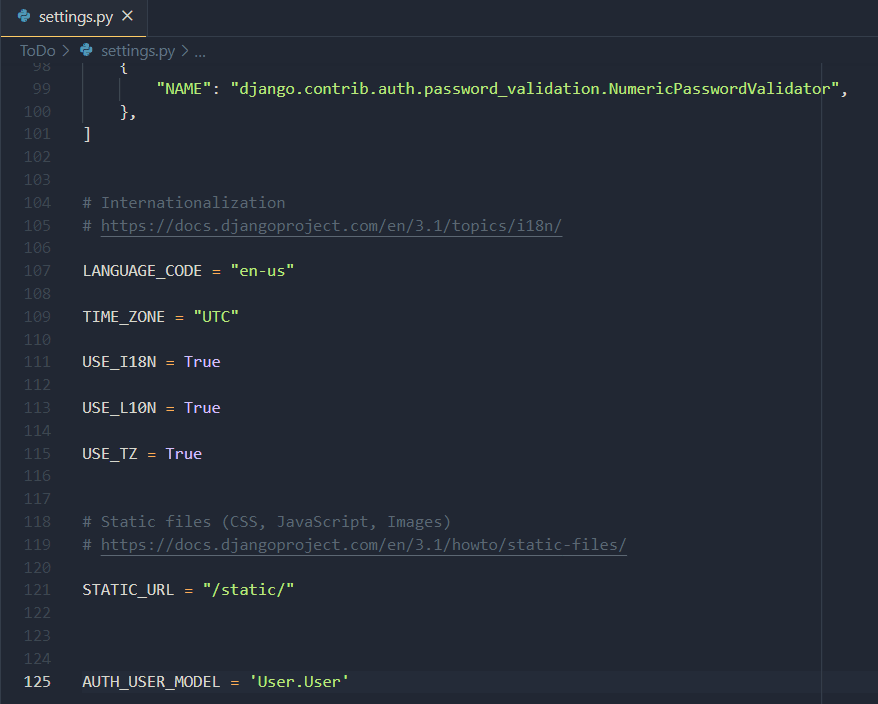
somewhere at the bottom of the file, add this following line
AUTH_USER_MODEL = 'User.User'
for reference : Django : Substituting a custom User model
this line is telling Django please use our newly created User model instead of the build in Django User Model.
so far so good... we are making sure that down the line if we ever decided that we need to make changes to the User model, it is now possible.
Now since we are done with the custom User Model, we should inform Django about our media and static files.
To now work with stating our media and static files
I would suggest that you now to
import os
for those who is wondering why should we import the OS library
please refer this Stack Overflow Answer : Why use os.path.join over string concatenation?
Tl;Dr:
Basically python will check for the OS where the program is being run in.
Windows used '\' for its directory separator while Mac/Linux use '/'. The os library will detect which OS system the python code run in and make the necessary changes
add the following code on top of your settings.py file
import os
now lets configure the setting and media to be serve by Django
STATIC_ROOT = os.path.join(BASE_DIR, 'static')
STATIC_URL = '/static/'

MEDIA_ROOT = os.path.join(BASE_DIR, 'media')
MEDIA_URL = '/media/'
for static file we don't have to make any more changes while media we need to add to add a url path so that we can serve the media file in Dev server. Btw the difference between Dev Server and Production Server is when your debug mode is either True or False.
Please Remember to turn off your Debug Mode in Production later on ok..
while we are in the topic of Static and Media, Do you know what should you put in Static File and what should you put in Media file?
Static is where you as the dev put files that cannot be change by the user. This include files but not limited to files such as your css files and js file.
Media is where you allow the user to add update or delete the file into your server. This means the file here are dynamic. It can be changes during the lifetime of your server.
For now maybe we do not need any media files since in the URS haven't stated anything about media file being uploaded, however it is good practice to have it done upfront so that you wont need to configure it later once the requirement changes.
In production, The static file and media file should not be handle by Django. This will only increase the workload on Django while it can serve other important things such as View or computation. This is usually the job of a Web Server such as NginX or Apache. However during dev, we might not have those running in front of our Django dev server. so now We need to tell Django for Dev server please serve our static and media file. To do that, We need to add a url link that only work in Dev mode.
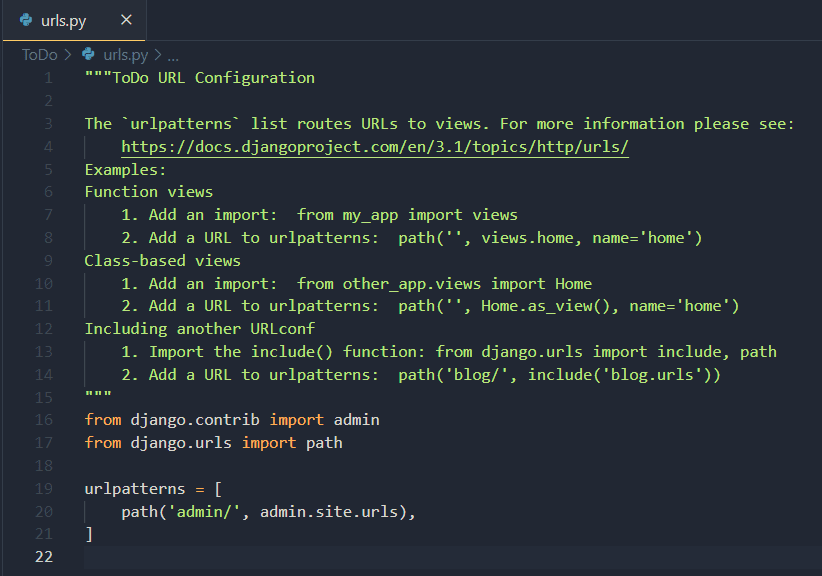
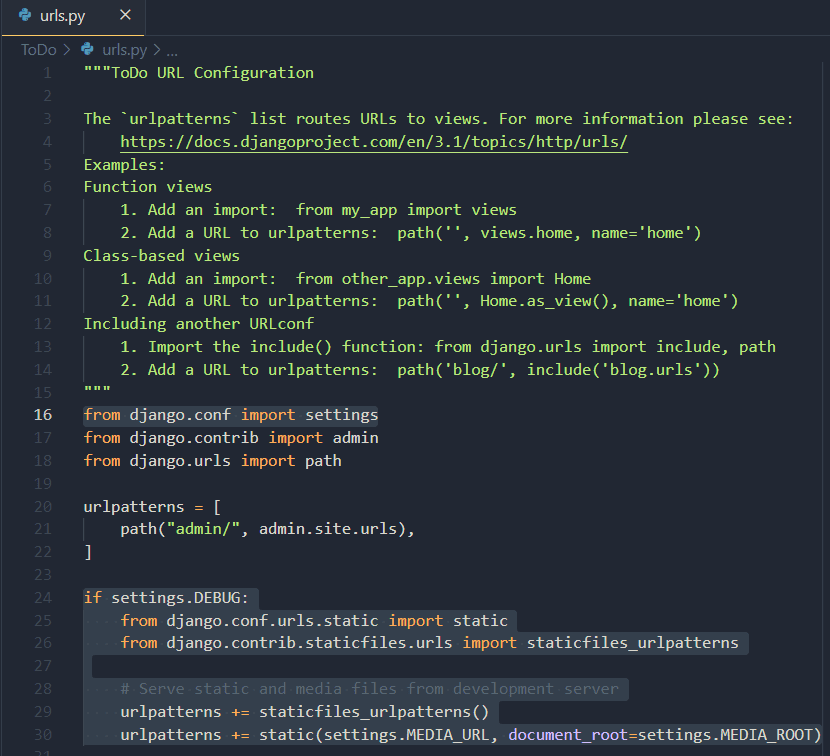
now open your
ToDo > urls.py
first we need to import settings
from django.conf import settings
then at the bottom add this lines
if settings.DEBUG:
    from django.conf.urls.static import static
    from django.contrib.staticfiles.urls import staticfiles_urlpatterns

    # Serve static and media files from development server
    urlpatterns += staticfiles_urlpatterns()
    urlpatterns += static(settings.MEDIA_URL,
                          document_root=settings.MEDIA_ROOT)
the part
from django.conf import settings
inform that we need to take variable from the Django settings config.
while
if settings.DEBUG means if we are in dev server mode please run the following command
The import static means that in the root folder find a folder and serve that too
we import staticfiles_urlpatterns from from django.contrib.staticfiles.urls so that in dev server mode, Django will find all the static folder in each app register in the INSTALLED_APP list and serve those file.
I guess this is what I would configure before I even start a Django project. However, the ones below are optional but help tremendously in getting your project to scale later on.
The optional settings would be having a root templates folder and a static_file root folder.
sometimes when you are trying to create a scalable project, you might need to change a few templates that comes with the library that you import, by having a root folder, you now have a place where you can collect all the templates file and static file and make changes to them.
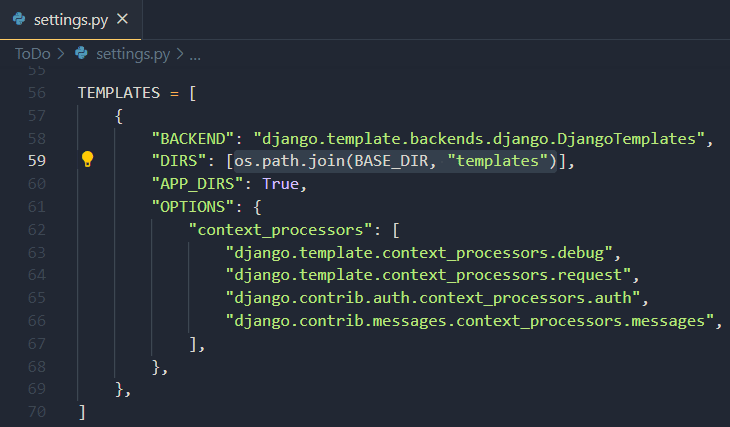
To tell Django that we will have a new templates root folder, first find Django TEMPLATES list
now if you look inside templates list theres a Dictionary entry call DIRS instance of an empty list...
in that list add the following
os.path.join(BASE_DIR, "templates")
now Django knows where to find your root template dir.
also dont forget to add a folder name templates at your root folder.
for setting up your static_file root folder
add this line as below
STATICFILES_FINDERS = [
    'django.contrib.staticfiles.finders.FileSystemFinder',
    'django.contrib.staticfiles.finders.AppDirectoriesFinder',
]

STATICFILES_DIRS = [
    os.path.join(BASE_DIR, "static_files"),
]
again do not forget to add a folder name static_file in your root folder.
now your Explorer should looked like this
I think the changes I did above will help in the long run when we need to make changes to the User models and also scalability of the project later on.
in the next post we will now look into how we could start making migrations, migrate the configuration into our DB and also collecting static files, at the same time we would also make some changes to our gitignore file so that our git will not be cluttered with things that should not be there.
Until next time...

Posted on March 14, 2021
Join Our Newsletter. No Spam, Only the good stuff.
Sign up to receive the latest update from our blog.
