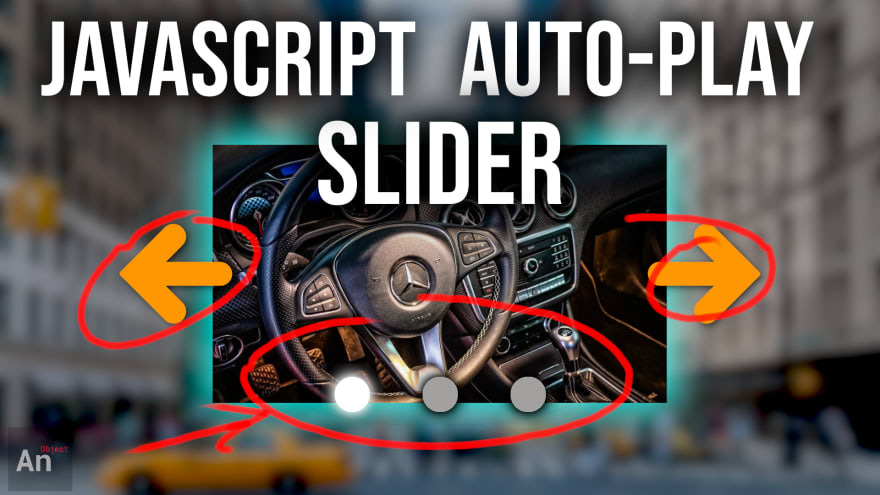
JavaScript Slideshow | Responsive, Autoplay with Manual Navigation Buttons

an-object-is-a
Posted on January 14, 2021

JavaScript Slideshow | Responsive, Autoplay with Manual Navigation Buttons
Browse our Teachable courses.
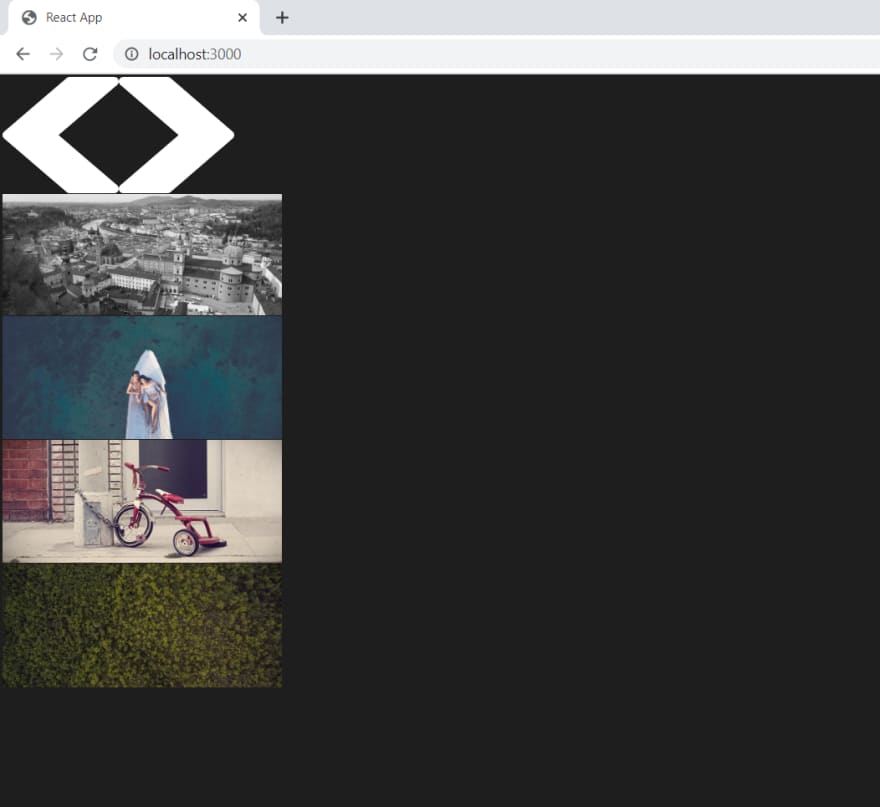
We'll start by putting all of our elements on screen.
We need two components: Deck.js and Card.js
We have 6 elements to work with:
- In the Deck.js
- an img that we'll use as a button for moving right (IMG)
- an img that we'll use as a button for moving left (IMG)
- a view port (DIV)
- an images container (DIV)
a DIV to hold our "radio" buttons (DIV)
In the Card.js
a "card" which we'll use to hold the image (DIV)
the actual image (IMG)
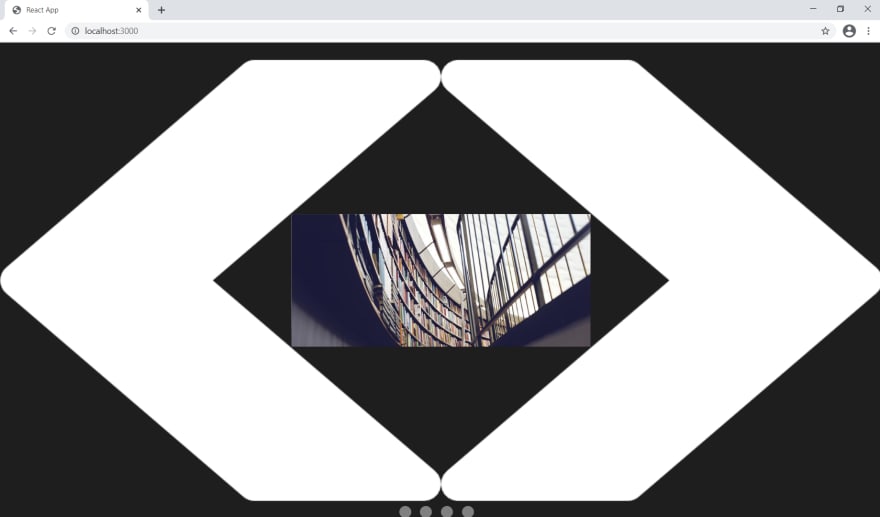
Now we need to center everything on screen.
We'll use a combination of absolute positions and transforms.
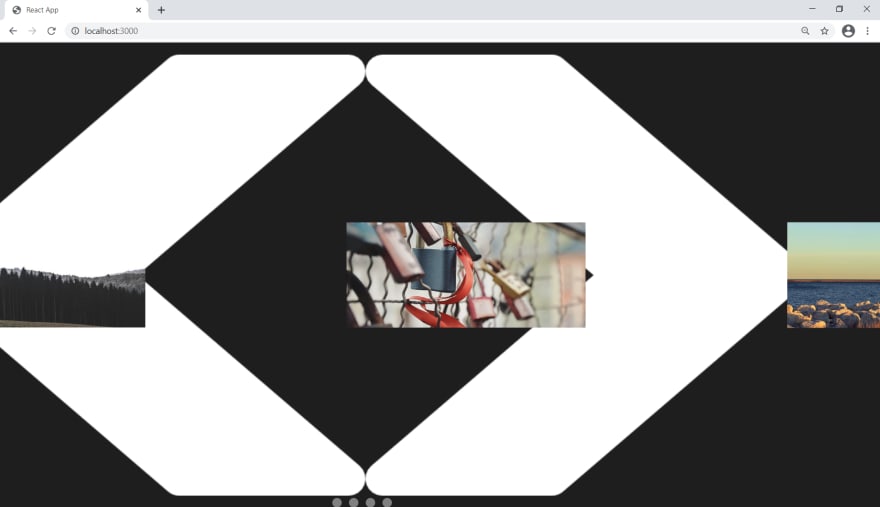
Now that everything is centered, we need to order the cards from left to right.
We write a simple function that determines the middle card of our deck and moves the cards to the left of that middle to the left and the cards to the right of that middle to the right.
function order_cards() {
    let counter_for_right = 1,
        counter_for_left = middle_card_by_index;

    for (let i = 0; i < images.children.length; i++) {
        images.children[i].style.transitionDuration = '0.0s';

        if (i < middle_card_by_index) {
            images.children[i].style.left = `-${(counter_for_left * new_width) - (new_width / 2)}px`;
            counter_for_left--;
        } else if (i > middle_card_by_index) {
            images.children[i].style.left = `${(counter_for_right * new_width) + (new_width / 2)}px`;
            counter_for_right++;
        } else {
            images.children[i].style.left = `${new_width / 2}px`;
        }
    }
}
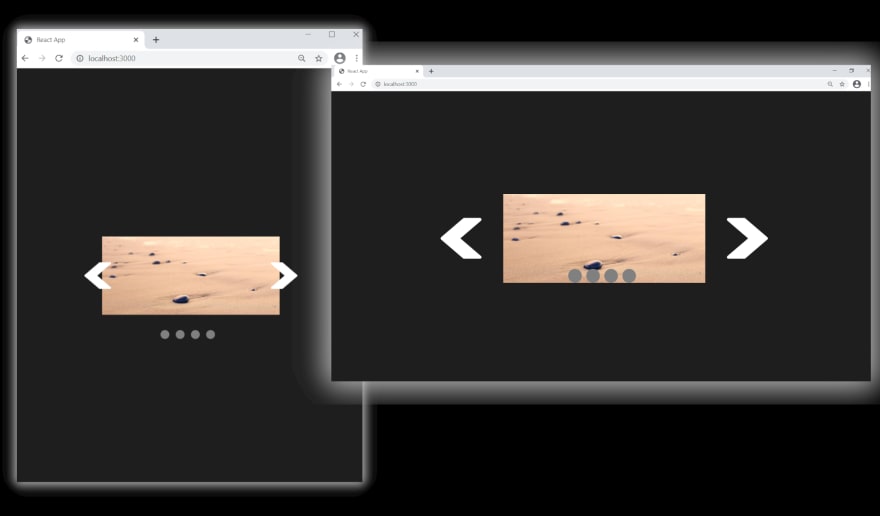
Let's discuss RESPONSIVE.
To make our carousel responsive, we need to resize our view port based on percentages and not hard pixel units.
So we'll just pick 50% and calculate a hard pixel count based on the width of the user's browser window; then we'll run this code in a resize window event listener.
window.addEventListener('resize', () => {
    img_width_as_percentage = 50;
    img_width_as_percentage = window.innerWidth < 768 ? 100 : img_width_as_percentage;

    new_width =
        /Android|webOS|iPhone|iPad|iPod|BlackBerry|IEMobile|Opera Mini/i.test(navigator.userAgent) ?
        (img_width_as_percentage / 100) * window.screen.width :
        (img_width_as_percentage / 100) * window.innerWidth;

    view_port.style.width = `${new_width}px`;

    order_cards();
});
We also resize our left & right buttons and "radio" buttons based on the viewport and window width
Now that we have our resize code, every time we resize the browser window, our carousel resizes.
We have 3 large tasks on-hand.
- BUTTON navigation
- "RADIO" navigation
- Auto-Play functionality
The basis for ALL navigation is this piece of code here:
for (let i = 0; i < images.children.length; i++) {
    const updated_position = last_positions[i] + /* some difference */;

    images.children[i].style.left = `${updated_position}px`;
    last_positions[i] = updated_position;
}
What it says is this:
Take the current position of all of the images...
where are they on the X-axis?
..add some difference which will move them to a new position.
We have a last_positions array to keep track of where our images are on screen.
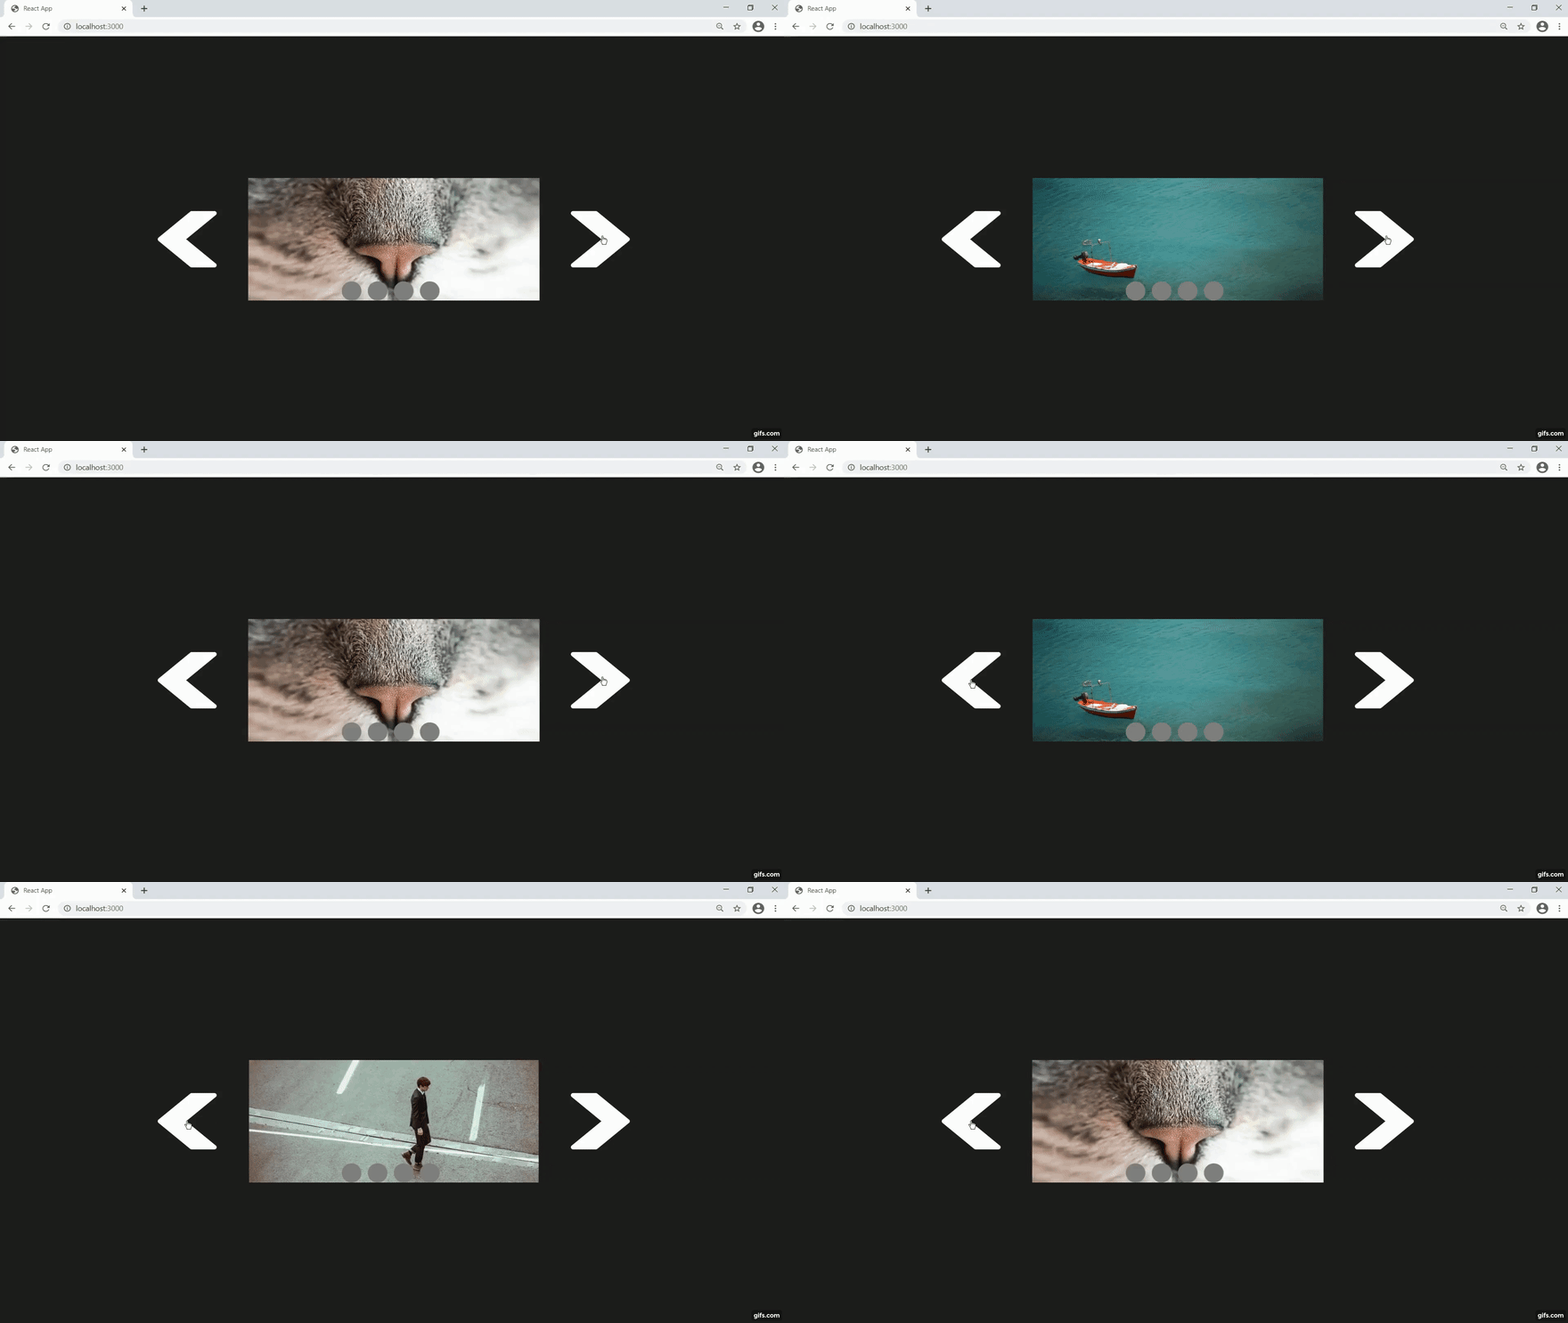
Let's code up the BUTTON navigation.
Very simple.
We move the images left or right one whole card width.
This makes our difference simply equal to the width of one card.
for (let i = 0; i < images.children.length; i++) {
    const updated_position = last_positions[i] - new_width;

    images.children[i].style.left = `${updated_position}px`;
    last_positions[i] = updated_position;
}
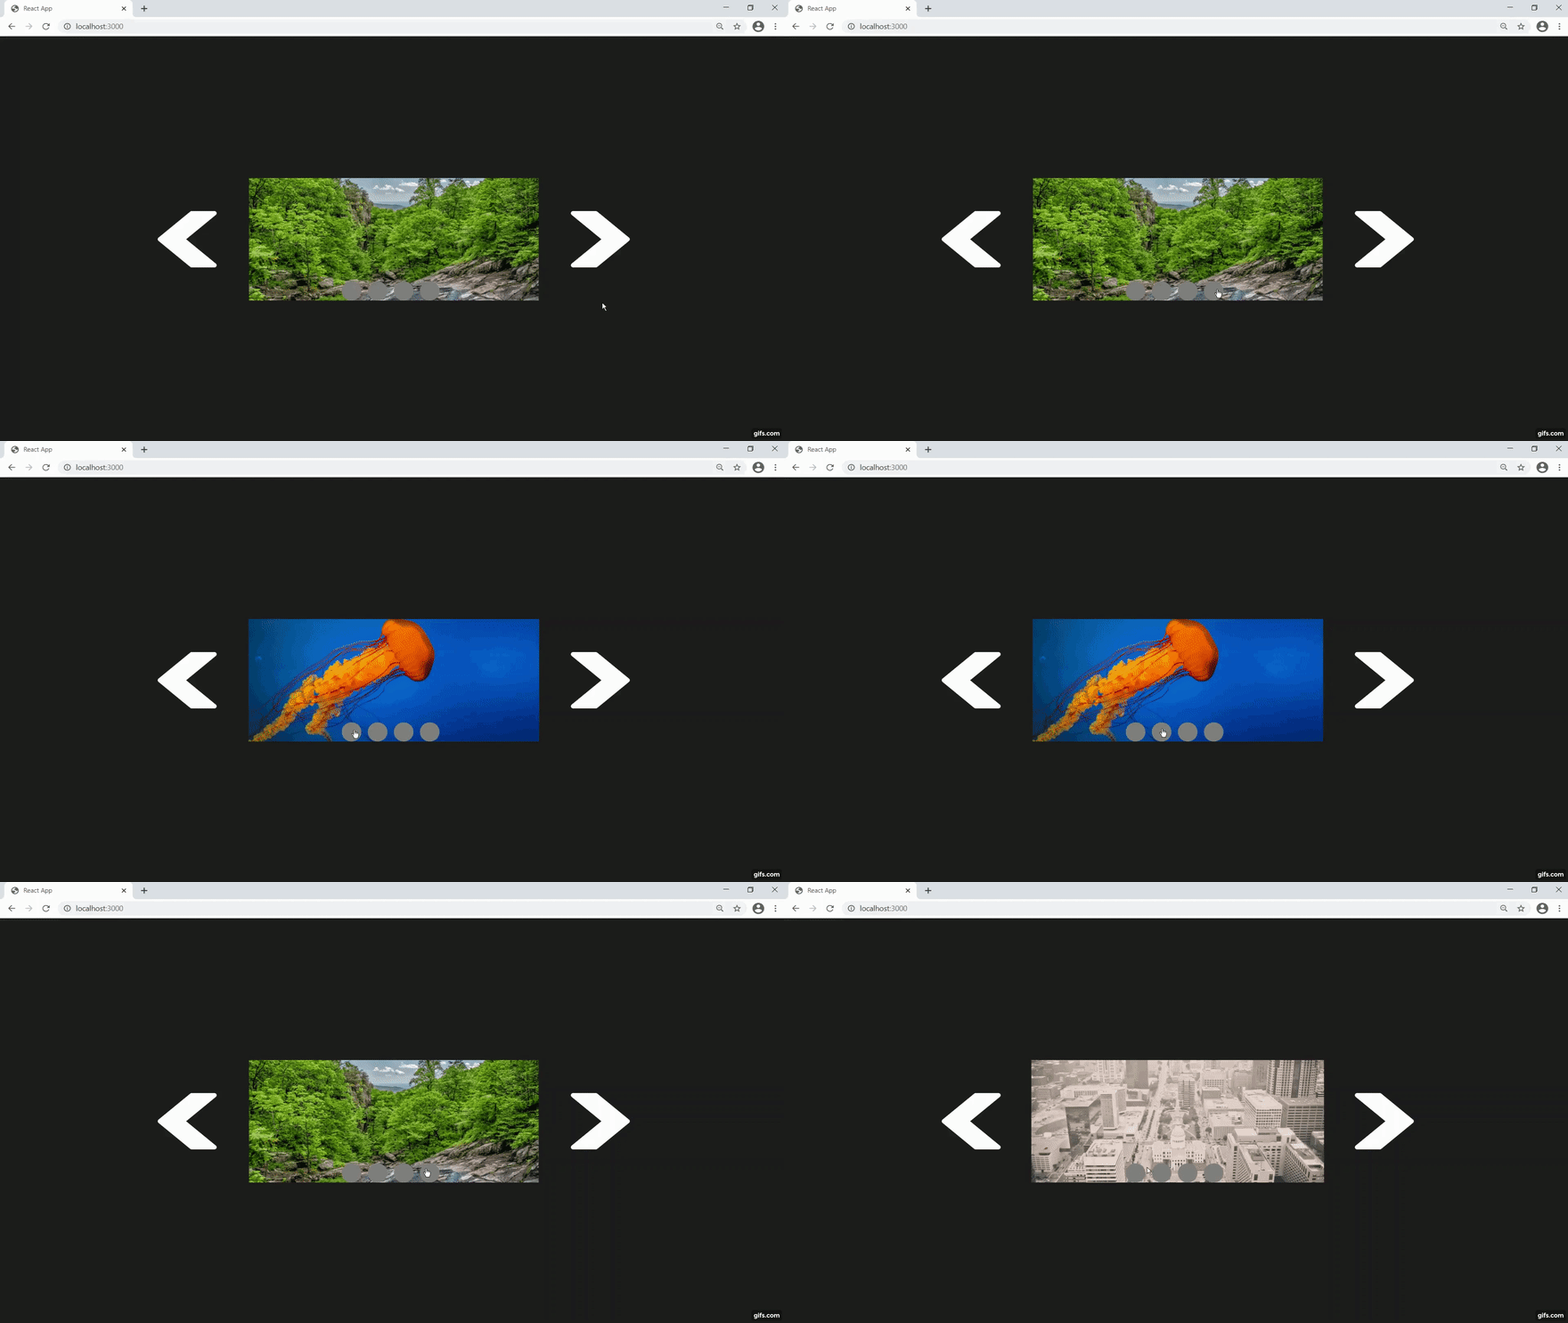
Let's code up the RADIO navigation.
Very simple.
We calculate which "radio" button the user clicked.
Do a little calculation to determine how many pixels to move left or right.
That is our difference.
let new_card = null;

for (let i = 0; i < images.children.length; i++) {
    if (event.target === selection_buttons_container.children[i]) new_card = i;
}

for (let i = 0; i < images.children.length; i++) {
    const updated_position = last_positions[i] + ((current_card - new_card) * new_width);

    images.children[i].style.left = `${updated_position}px`;
    last_positions[i] = updated_position;
}
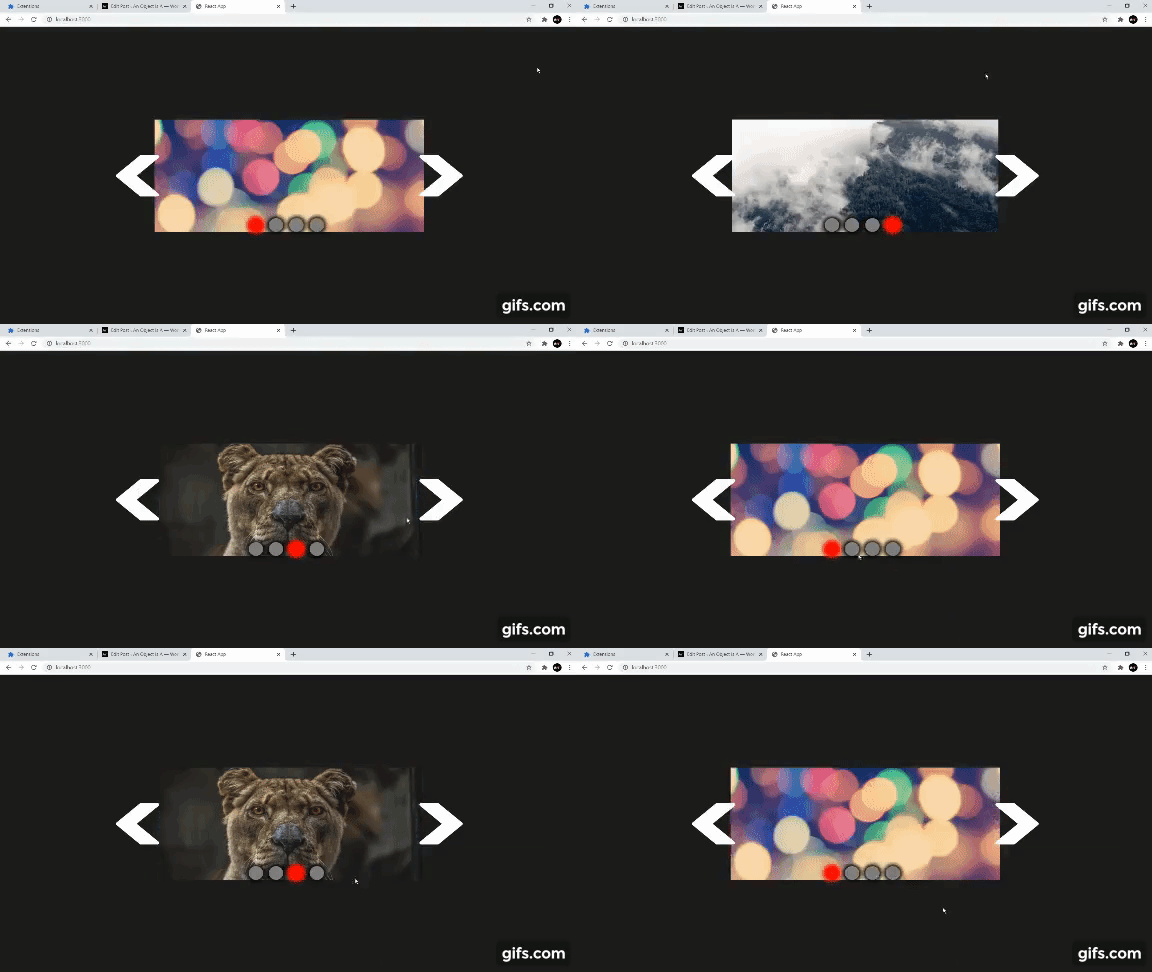
Let's handle Auto-Play.
The logic is simple.
Just put our next button navigation logic in a setInterval() function.
autoplay_timeout_id = setTimeout(() => {
    autoplay_interval_id = setInterval(() => {
        for (let i = 0; i < images.children.length; i++) {
            const updated_position = last_positions[i] - new_width;

            images.children[i].style.left = `${updated_position}px`;
            last_positions[i] = updated_position;
        }

        current_card = (current_card === number_of_cards_by_index) ? 0 : ++current_card;

        handle_boundaries();
        update_selection();
    }, 1100);
}, 1500);
There is much more nuance to this project.
You can get the source files here and you can follow the video tutorial down below.
If you want a more in-depth guide, check out my full video tutorial on YouTube, An Object Is A.
JavaScript Slideshow | Responsive, Autoplay with Manual Navigation Buttons

Posted on January 14, 2021
Join Our Newsletter. No Spam, Only the good stuff.
Sign up to receive the latest update from our blog.
Related

January 14, 2021
