Build a banking app with Ant Design + Strapi.io

Anima App
Posted on August 25, 2022
Anima is back end, design tool, and hosting agnostic. We're able to help our users ship products 10x faster by seamlessly integrating with a diverse range of tools and solutions. Occasionally, we like to test our approach by building a design-to-code solution that delivers on this.
Through the Anima Partners series, we'll look at how you can partner technology solutions with Anima to optimize your design-to-code workflow.
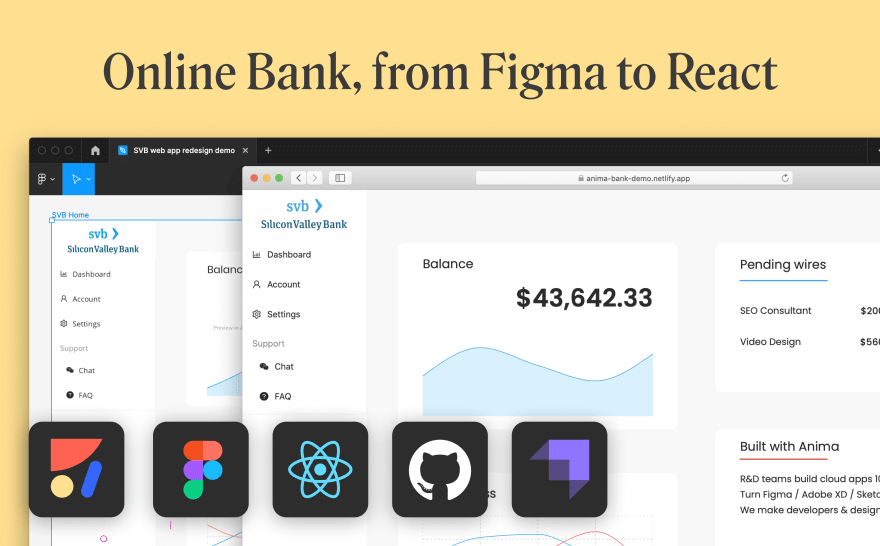
We redesigned the Silicon Valley Bank (SVB) banking app using Animas open source Component Library for Figma, connected our data, and went live in two days.
With Animas ready-to-use React components from Recharts and Ant Design, it took us 1 day to design and 1 day to go live using Strapi's headless CMS as the back end, with the app being deployed on Netlify.
How to build a React app fast with Figma + Anima + Strapi.io
Before starting
- Sign up to Anima
- Install the Component Library for Figma plugin
- Install Node.js
Partnered tech solutions used in this build: Figma + Recharts + Ant Design + Strapi.io + Netlify
Part one: Make your design interactive
We have a ton of interactive open source React components in our Figma plugin. Use them to create your own design file or duplicate our sample file to get started.
Step one: Explore the Component Library
- Open the Component Library for Figma plugin
- Select Component Library
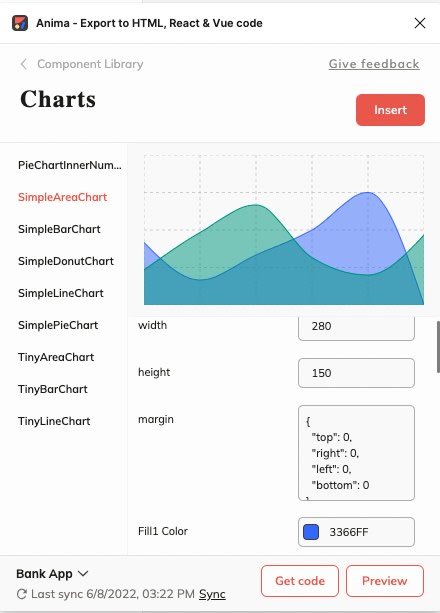
Step two: Insert a chart
- Select Charts from the Component Library menu
- Choose the chart you want to use and customize it for your application
- Click insert to add the chart to your canvas, then incorporate it into your design
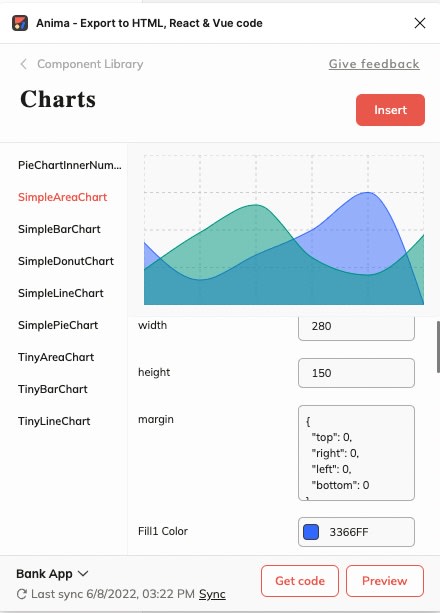 You can use the component library to insert any components you like
Part two: Convert your Figma design to React code using Anima
Once you're happy with your design, you can export it as developer-friendly React code using Anima.
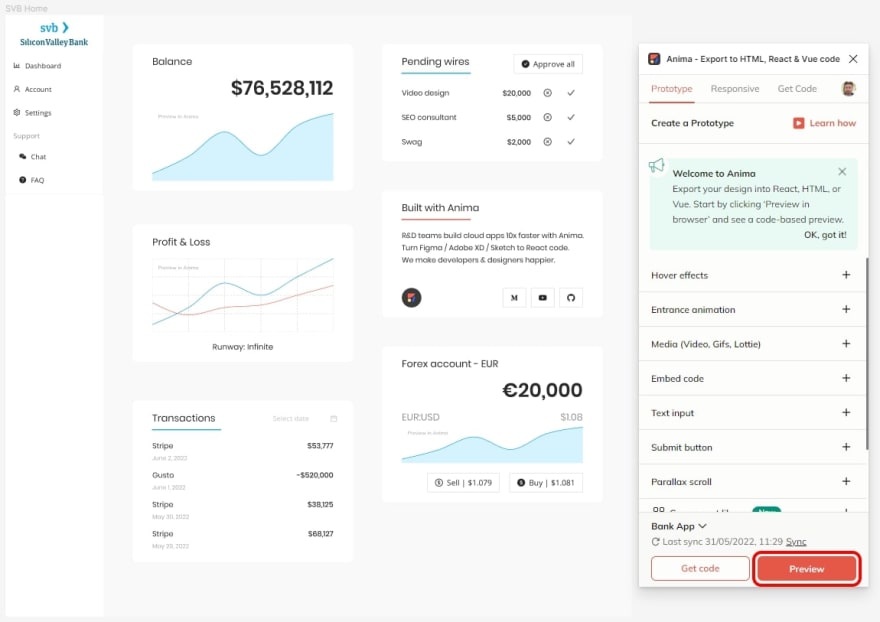
Step one: Sync to Anima
- Open the plugin in Figma
- Click Preview, then Sync
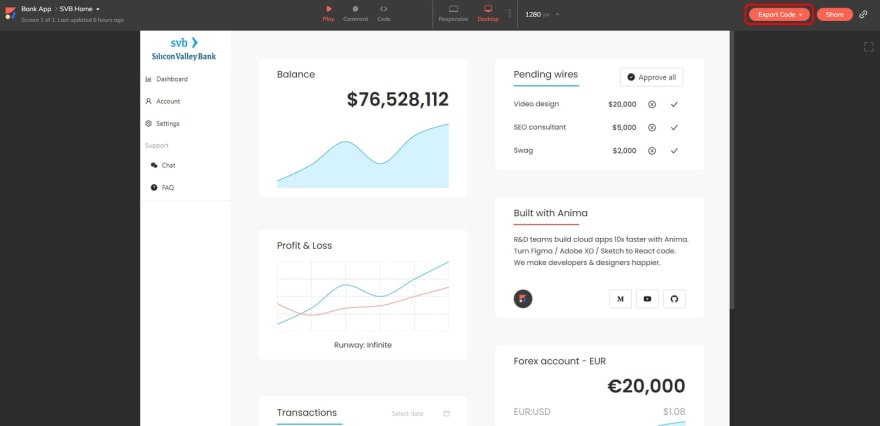
Step two: Export React code
- Open your project in the Anima web app and select Export code
- Change Selected Framework to React
- Export code for the whole project
Step three: Run locally
- Unzip the downloaded code 2. Open terminal in the Anima code folder
- Run
npm install - Run
npm start - Open http://localhost:1234
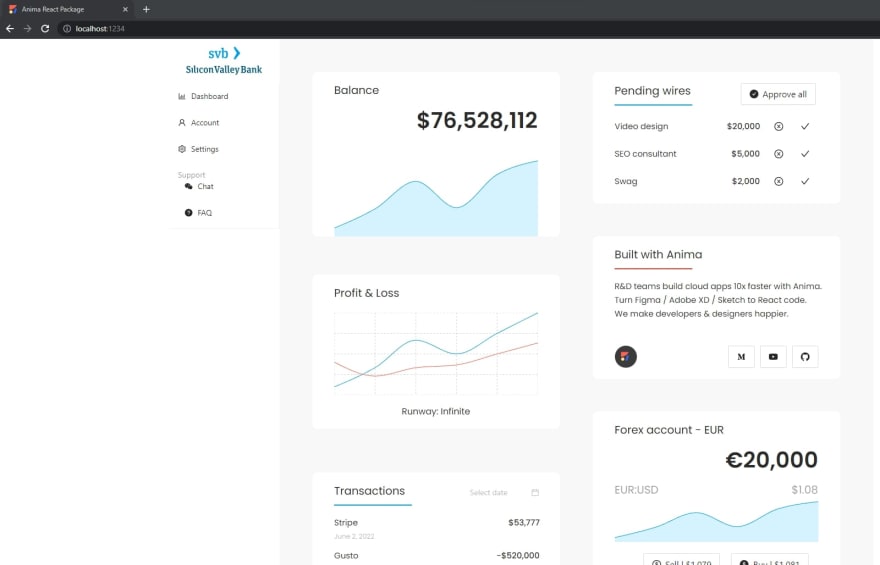 You now have the app running locally
Part three: Connect the charts to your data
Next, you want to populate your charts with real data from an API. To do this, we're going to set up Strapi and get our app connected to it. If you'd prefer, you can use the REST API of your choice instead.
Step one: Set up Strapi
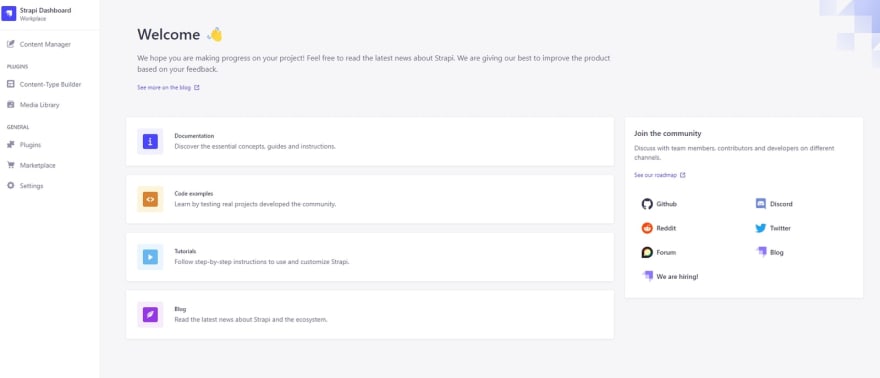
- Follow this Quick Start Guide to get Strapi up and running
- Create your admin account
Step two: Connect your app to Strapi
- In Strapi, go to Settings > API Tokens > Create a new API Token
- Copy the API token
- In the project folder, create a file called .env
- Add the URL and Token (without the word Bearer) to this file:
API_URL=http://localhost:1337/api/
API_TOKEN=[YOUR API TOKEN]
Step three: Populate data in Strapi
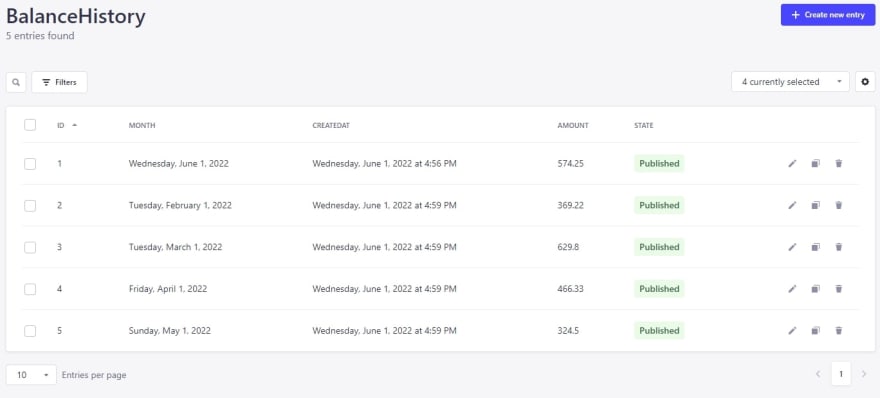
- In Strapi, go to Content-type builder and create a new collection type
- Name the collection BalanceHistory
- Add the following fields:
- Month: Date
- Amount: Number (Decimal)
- Create entries for BalanceHistory and publish each one
Step four: Populate chart data using API
- Open the code for one of your charts (i.e. BalanceChart)
- Add code to fetch data from the Strapi API
- Replace static data with fetched data in the chart args (here's an example)
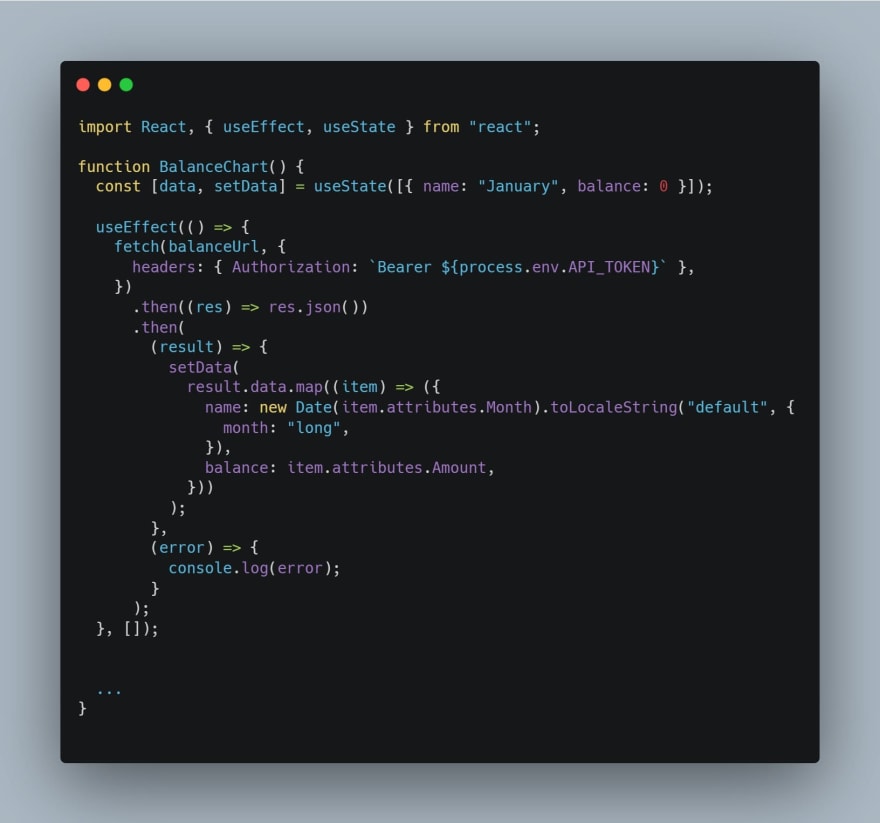 Your chart is now using data fetched from your API
Build & Publish to Netlify
Netlify is a great cloud to host React apps. Follow their deployment guide to connect your repo and automatically deploy your app.
Heres how to deploy to Netlify.
Interested in joining our Partner Program, or seeing our tech partners? Get more info here.
Additional resources:

Posted on August 25, 2022
Join Our Newsletter. No Spam, Only the good stuff.
Sign up to receive the latest update from our blog.
