How to gracefully use Environment Variables in a React Native app

Aman Mittal
Posted on July 9, 2019

API Keys and secrets always contain some amount of sensitive data or a token that needs to be saved gracefully. Managing different keys for different environments, such as development or production, is a common practice among JavaScript developers. Hence, the mechanism of .env file exists.
There is a way in React Native apps to save o save API Keys and other sensitive information without integrating any native code. In this short post, you are going to learn how to install and integrate a small library that helps you use environment variables without exposing sensitive information.
Note that the steps mentioned in this post for installing and integrating react-native-dotenv can be used with an Expo project in a similar manner as described below.
Requirements
To follow this tutorial, please make sure you have the following installed on your local development environment and have access to the services mentioned below.
- Nodejs (>= 8.x.x) with npm/yarn installed
- react-native-cli
-
watchman: The file change watcher for React Native projects
Getting Started
To get started, create a new project using the react-native-cli in a terminal window.
react-native init RNEnvVariables

# navigate inside the project directory
cd RNEnvVariables
Once the project directory is created, navigate it. Create a new file called .env. This file is going to hold all API keys or any sensitive information. Make sure you add this file to .gitignore such that you don't end up exposing any secret key on a version control website like Github.
To get started, let us add a mock key called SOME_KEY to the file .env.
SOME_KEY=something
Do take a note that .env files do consider strings valid inside any quotes. Also, writing SOME_KEY in uppercase is just a naming convention quite commonly followed.
Install react-native-dotenv
Next, install the dependency react-native-dotenv that will help you manage your environment variables gracefully throughout this app. Go to the terminal window, and execute the following command.
yarn add react-native-dotenv
The module react-native-dotenv lets you import environment variables from a .env file. To make it work, open the babel.config.js file and modify presets like below.
module.exports = {
    presets: ['module:metro-react-native-babel-preset', 'module:react-native-dotenv']
}
Running the app
To verify that it is working, open App.js and import the SOME_KEY from the package itself. react-native-dotenv parses the .env file that lets you import the environment variable mentioned inside the file.
// after other imports

import { SOME_KEY } from 'react-native-dotenv'
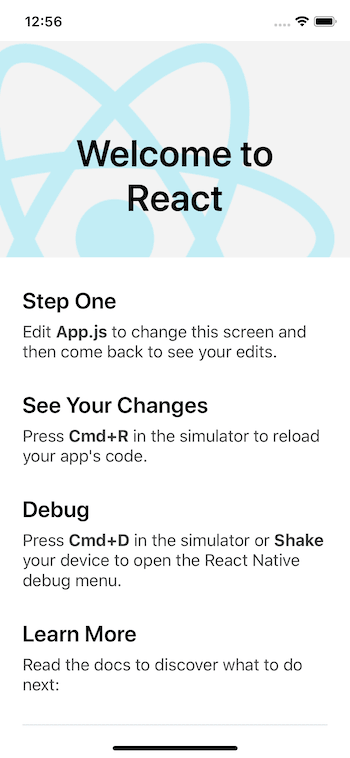
If you open this demo React Native application in its current state using an iOS simulator or an Android emulator, you will be welcomed by the following screen.
Edit the line in App.js file where it says Step One with the environment variable as shown below.
<Text style={styles.sectionTitle}>{SOME_KEY}</Text>
Now go back to the simulator and you will notice the change.
Conclusion
It is that simple to use react-native-dotenv. You do not have to add any native code to integrate for each mobile OS platform separately. For a more pragmatic example, you can check out my recent post on Firebase authentication in a React Native and Expo app. You will notice that using the same module we have discussed above in an Expo app.
I am on available on 🐦 Twitter and run a free weekly newsletter (600+ devs have joined) in which I share tips and new posts on Nodejs, Reactjs, GraphQL and React Native.

Posted on July 9, 2019
Join Our Newsletter. No Spam, Only the good stuff.
Sign up to receive the latest update from our blog.


